20 _ Removal and Reassembly
Part Figure Description
Separating the
Heater at the Bottom
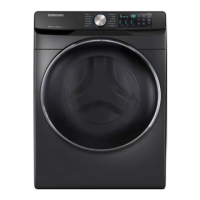
Front
1. DisassembletheFront-Frame.
2. Separatetheconnectionwire.
- SeparatetheThermostatxedatthebottomofthe
Tub.
(Takeprecautionastheremaybewater
remaining.)
MakesuretoseparatetheThermostatrstand
thenseparatetheHeater.Ifyoufailtoobservethis
order,itmayresultinashockandbedamaged.
3. ReleasethenutholdingtheHeaterwithanM10
toolandthenseparatetheHeater.
Donotcompletelyreleasethenut.
PulltheHeaterforwardafterreleasingthenut.If
theHeaterisdamaged,itmaycauseaproblem.
Thereforeunfastenthenutusingspanner
orwrenchmanuallywithoutusingpincersor
tweezers.
Whenyoure-assemblytheheater,makesureto
installtheHeaterexactlyontotheBracketinside
theTub.Ifitisnotproperlyinstalled,itmaycause
are.Inaddition,completelyinsertthepacking
partintotheTubwhenassemblingitsothatthe
packingpartiscompletelyattachedontotheTub.
* Check Points for Troubleshooting
1. CheckiftheresistanceoftheHeaterisequalto27.1Ω(forthe1900Wproduct),or26.2Ω
(forthe2000Wproduct).
2. CheckiftheresistanceoftheThermistorisequalto12kΩ(atroomtemperature).
Disassembling The
MEMS Sesnor
1. Removethe2screwsFromMEMSSensor.
2. SeparatethewireConnecter.
Reassemblyisinthereverseorderoftheremoval.
 Loading...