Santint
Automatic Shaker V1.0 5
4. Equipment installation
The machine has been configured and tested well and almost ready for use before leaving the
factory. Installation of the machine can be carried out as follow:
1) Open it carefully and unpack the outer package;
2) Take out the tool on the bottom board;
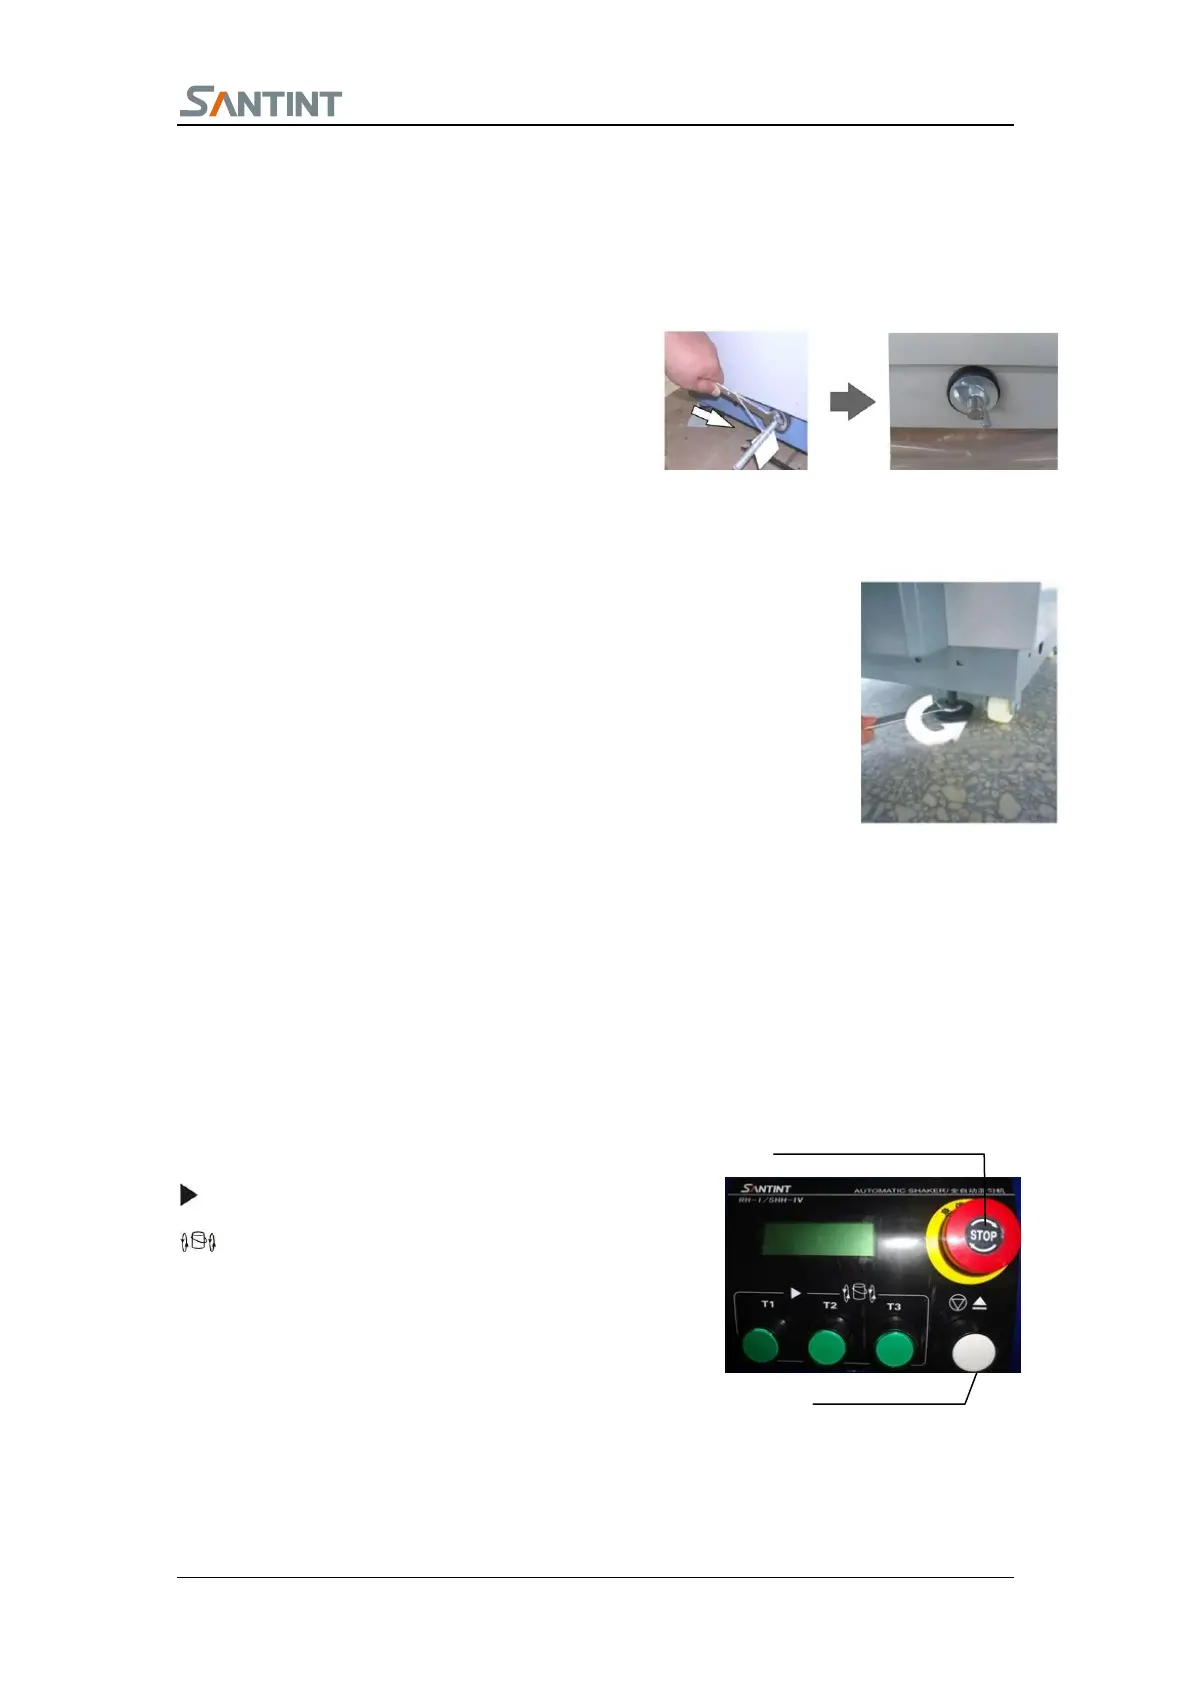
3) Remove four feet by the tools from 2). Unscrew the
wing nut and pull out the pole from the other side
(Fig. 4.1). Level the machine to the ground.
4) Rotate the fixing screw on the foot anti-clockwise to make the four feet
leave the ground (see figure 4.2),so that the machine can be moved.
5) Push the machine to the required working site. Rotate the feet to the opposite
direction of step 4) to make it touch the ground. Then adjust the feet in the
same direction for 3 to 4 rounds to dissociate the inner working part from the
shell. The castors support the shell. The feet support the inner part. Make
sure the machine can work stably without noise.
Installation is finished.
5. Preparations before use
Read preparation instructions carefully to ensure good working condition of the machine.
1) Control Panel(Fig. 5.1)
--- Press it for "Switch On";
--- "Shaking";
T1 Button--- press it, the clamping plate will automatically
clamp paint can and begin to shake for T1 time.
T2 Button---press it, the clamping plate will automatically
clamp paint can and begin to shake for T2 time.
T3 Button---press it, the clamping plate will automatically clamp paint can and begin to shake for
T3 time.