6901-002141 05
6
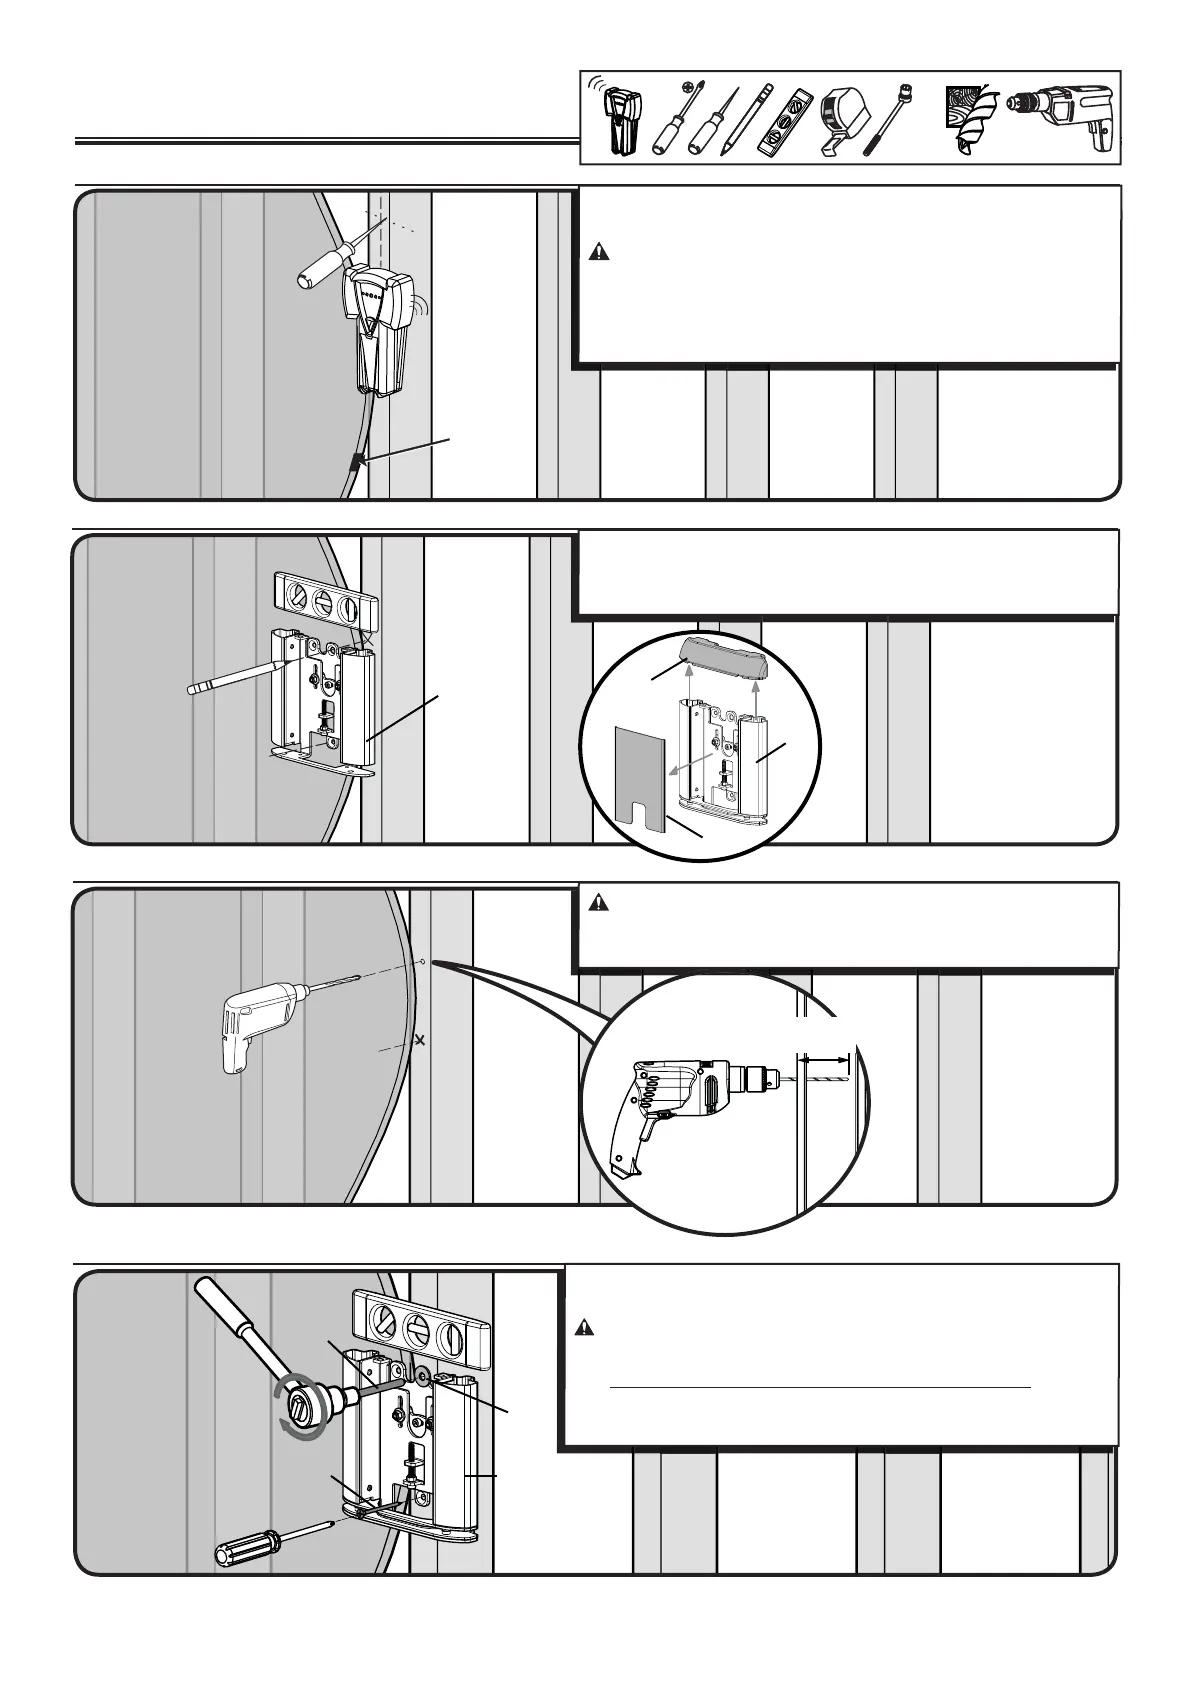
2-2 Mark the wall
2-3 Drill pilot holes
2-4 Tighten lag bolt and screw
Use the lag bolt [04] and washer [06] to secure the top of the wall plate.
Use the #8 screw [05] to secure the bottom of the wall plate.
CAUTION:
Improper use could reduce the holding power of the
lag bolt. To avoid potential injuries or property damage
DO NOT over-tighten the lag bolt [04] or the screw [05].
Tighten the lag bolt [04] only until the washer [06] is pulled firmly
against the wall plate [01].
≤ 16 mm
(5/8 in.)
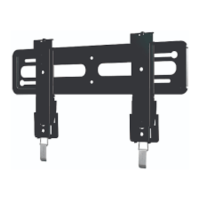
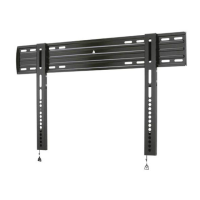
2 Mount the Wall Plate
Wood stud
3 mm
(1/8 in.)
2-1 Locate stud
Verify the center of the stud using an awl, a thin nail, or an edge to
edge stud finder.
CAUTION: Avoid potential personal injuries and property
damage!
Drywall covering the wall must not exceed 16 mm (5/8 in.).
Minimum wood stud size: common 51 x 102 mm (2 x 4 in.)
nominal 38 x 89 mm (1½ x 3½ in.).
11 mm
(7/16 in.)
IMPORTANT: For stacking configurations, stack from the top down.
Remove the front (F) and top (T) covers from the wall plate [01].
Level the wall plate [01] and mark the hole locations.
[01]
(T)
(F)
[01]
[04]
[06]
[05]
[01]
63.5 mm
(2½ in.)
CAUTION:
Avoid potential injuries or property damage! Pilot
holes MUST be drilled to a depth of 63.5 mm (2½ in.) using a 3 mm
(1/8 in.) diameter drill bit.
 Loading...