5
Place Loop Cable around listening area
Run the loop cable around the room starting and ending at the amplier. The cable may be
tucked under the edge of the carpet, or xed to either a picture / dado rail or skirting board
with the clips provided. Where the cable passes a door or other obstacle, either x the cable
around the frame or tuck under the carpet. The cable only has to go round the area to be
looped, it does not matter about going up and over doors/windows or round replaces etc.
Setting Up
The loop system is supplied ready for use with the following items
• Loop Amplier with stand.
• Power Supply with lead and Mains lead with tted plug.
• Digital audio optical TOSlink and coaxial leads.
• Analogue audio lead kit : 1.2m phono - phono lead, SCART - phono and 3.5mm stereo jack - phono adaptors.
• 1 Microphone with Velcro™ pads.
• 40m(130ft) Loop Cable and pack of 50 cable clips OR Loop Pad with 5m (15ft connecting cable
• Guarantee Card
• Operating Instructions
IMPORTANT: Always disconnect from mains supply before making connections
Loop Amplier
Place amplier in a convenient well ventilated area near to the TV or other audio source such that all necessary connection
leads can reach the relevant device. The optional stand may be used to mount the amplier vertically if required.
Excess loop wire may be cut o, provided a MINIMUM of 11 metres (35 feet) is left
connected to the amplier. DO NOT leave spare cable coiled on the drum.
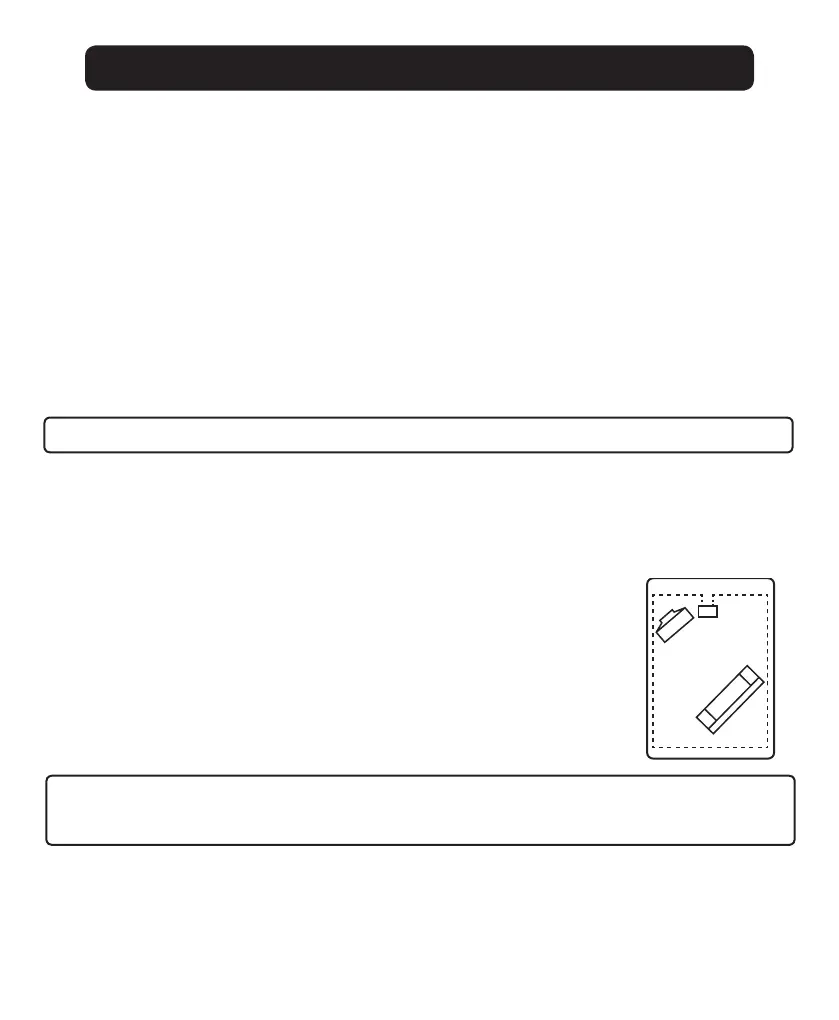
Or if using a Loop Pad
Place the loop pad in a suitable position on the chair to be used for listening, either on the chair back or under the seating
area. Lay the connecting lead from the Pad to the back of the Amplier. Make sure that the connecting lead is kept out of
the way to prevent injury or obstruction.