EasyManua.ls Logo

Sauder 412314 User Manual

Sauder 412314
28 pages
To Next Page IconTo Next Page
Page #1 background imageLoading...
Page #1 background image
NOTE
register your new purchase online
www.sauder.com
For immediate service,
our website is available
24 hours a day, 7 days a week
to order replacement parts,
access assembly tips,
register your product,
and view Sauder products.
Mon-Fri - 9am-5:30pm ET
United States and Canada (except holidays)
Consumer Services 1-800-523-3987
DO NOT RETURN YOUR UNIT
TO THE STORE
Contact us rst
Most replacement parts ship from our
facility in one or two business days.
www.sauder.com
THIS INSTRUCTION BOOKLET CONTAINS IMPORTANT SAFETY INFORMATION.
PLEASE READ AND KEEP FOR FUTURE REFERENCE.
The back pages of this book are French instructions.
Les pages de arrière de ce livre sont des instructions
françaises.
Record the date you purchased this unit and save the booklet for
future reference.
If you ever need to contact Sauder about this unit, refer to the lot #
and the model # when calling our toll-free number. For more
information about our furniture, company, or to order replacement
parts, please visit our web site.
05 / 16 / 13
Lot #: 353310
Date Purchased: ____________
Corner Computer Desk
Model # 412314
Assembly Instructions
Question and Answer IconNeed help?

Do you have a question about the Sauder 412314 and is the answer not in the manual?

Sauder 412314 Specifications

General IconGeneral
BrandSauder
Model412314
CategoryIndoor Furnishing
LanguageEnglish

Summary

Product Overview and Support

Important Safety Notice

Highlights critical safety information and the need for future reference.

Customer Service and Online Resources

Provides contact information and website for immediate service and support.

Parts Identification

Component Listing

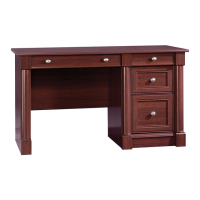
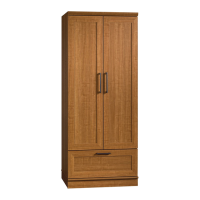
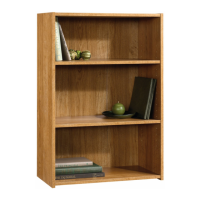
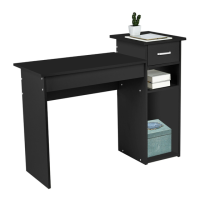
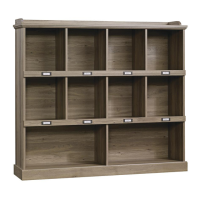
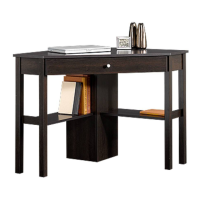
Details each furniture part with its designation, description, and quantity.

Hardware Identification

Hardware Component List

Lists all hardware pieces, including identifiers, descriptions, and quantities.

Assembly Preparation and Tools

Screw Identification Guide

Illustrates actual size screws to ensure correct selection during assembly.

Required Assembly Tools

Lists the necessary tools for assembling the furniture unit.

Step 2: Cam and Dowel Insertion

Hidden Cam and Dowel Placement

Instructions for inserting hidden cams and cam dowels into specific furniture components.

Step 3: Cam Screw Installation

Leg Cam Screw Attachment

Guides on turning cam screws into the designated leg components.

Step 4: Cabinet Slide Attachment

Drawer Uprights to Slide Fastening

Securing cabinet right and left slides to drawer uprights using specific screws.

Step 5: Leg and Support Assembly

Legs to Ends and Moldings Connection

Fastening legs to ends and shelf moldings, followed by tightening hidden cams.

Step 6: Shelves and Backs Installation

Shelves and Backs to Legs Attachment

Attaching shelves and back panels to the leg assembly using hidden cams.

Step 7: Upright Connection and Caution

Upright Panel Joining

Connecting the left upright to the right upright with hidden cams.

Hidden Cam Tightening Warning

Cautionary advice on the importance of fully tightening hidden cams to prevent loosening.

Step 8: Top Panel Attachment

Uprights to Top Panel Fastening

Securing the assembled uprights to the top panel using hidden cams.

Step 9: Main Structure Assembly

Shelves, Backs, and Ends to Structure

Attaching shelves, backs to uprights, and ends to the top panel.

Step 10: Drawer Support Installation

Drawer Uprights to Top Panel

Fastening drawer uprights to the top panel with hidden cams.

Step 11: Keyboard Shelf Assembly

Keyboard Components Connection

Assembling keyboard sides, shelf, and back using specified screws.

Step 12: Hinge Attachment

Hinges to Keyboard Parts

Attaching hinges to the keyboard front and keyboard shelf components.

Step 13: Drawer Slides and Knob

Drawer Slides and Knob Attachment

Fastening drawer slides to keyboard sides and attaching the knob to the front.

Step 14: Final Assembly and Adjustment

Keyboard Shelf Insertion Procedure

Guide for inserting the keyboard shelf into the main unit.

Keyboard Front Adjustment Guide

Instructions for adjusting the keyboard front using hinge screws.

Step 15: Completion and Care

Cam Cover Application

Applying cam covers to conceal visible hidden cams.

Final Cleaning and Assembly Note

Completes assembly; advises on cleaning and reading further information.

Warranty Information

Five-Year Limited Warranty Terms

Details the terms, conditions, exclusions, and duration of the limited warranty.

Important Safety Guidelines

Safe Furniture Usage and Handling

Provides warnings and advice on safe loading, moving, and usage of the furniture.

Related product manuals