Setting °C/°F and Date/Time
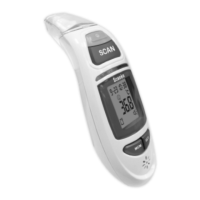
When the thermometer is used for the first time and each
time the batteries are changed, the date and time are
displayed in the format 1-1 00:00 during the basic set-up
(after the self test). Set each of the following settings in turn :
unit in which the temperature will be displayed, date and
time. To set the device, proceed in stages:
Unit – year – month – day – hours – minutes (there is no
voice output when setting date and time).
Press the SET button for 5 second to switch the
thermometer on. The device performs a brief self test: all
elements of the display are shown for approx. 1 second.
Following a successful self test, the device emits two short
beeps. In Standby mode, the date and time are shown and
“--” is displayed.
7
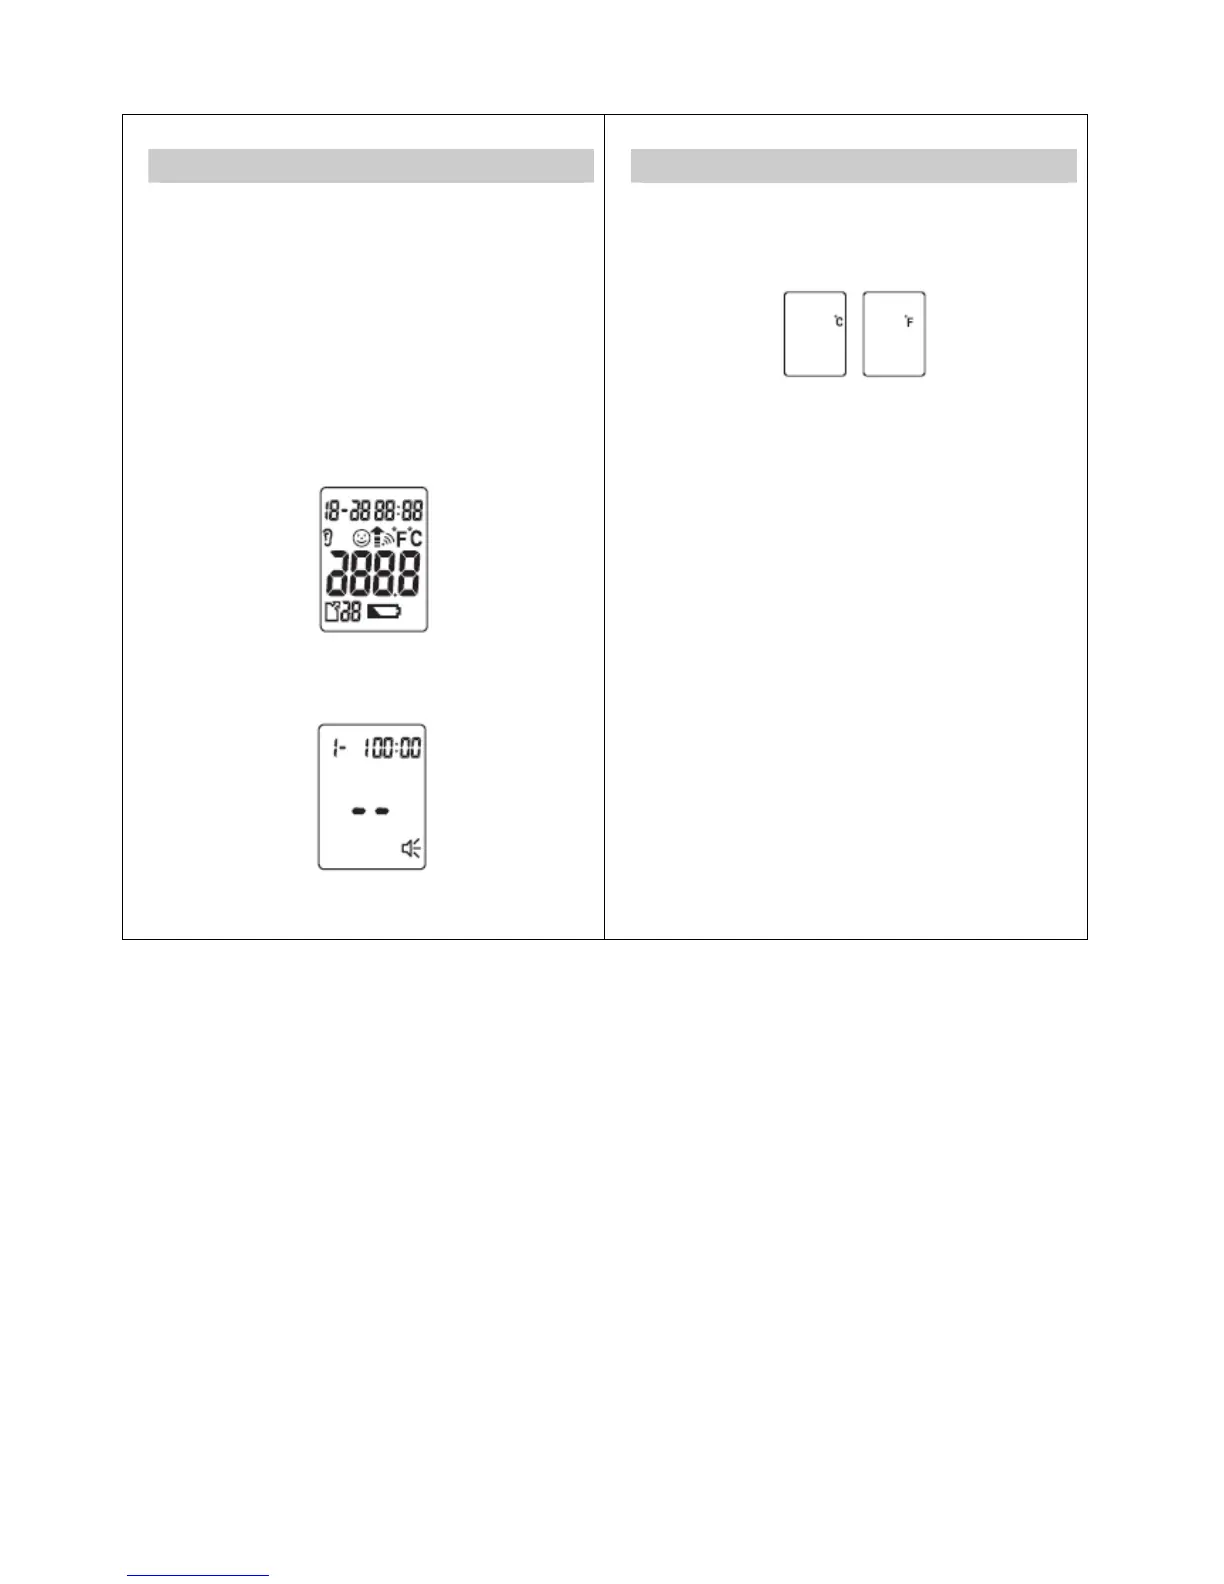
Setting °C/°F and Date/Time
1. Changing from Fahrenheit to Celsius
(1) Press the "SET" button to set the °C/°F function on or off.
(2) Press the “Memory” button to confirm entry.
2. Date/Time Function
(1) Press the "SET" button to change.
(2) Press the "Memory" button to confirm entry.
(3) The blinking Date, followed by Year, Hour and Minutes
will display. Repeat steps (2) and (3) to adjust the
date/time setting.
(4) Your unit is now ready to take a reading, or press the
“MEM” button to turn the unit off.
(5) After this process, the thermometer shows the word
“OFF” in the display and switches off automatically.
8