Page 6 Quick Reference Manual
Note: If you don't drop the panel on one of the drop targets, it will not be added.
After placement you can move the diving line between the panels to scale the area the panels should
occupy.
This procedure can be repeated over and over, by dividing existing panels into two panels, allowing
for any division of the available screen area.
You can move a panel after it is placed by selecting the top banner of the desired panel and drag and
drop it in its desired location.
Note: You can also place a new panel on top of an existing panel by dragging the new panel to the
center of an existing panel. This will stack the panels on top of each other, with an indicator which
allows you to select between the panels.
2.4.1 Removing panels
To remove a panel, enter edit mode and select the top banner of
the desired panel. This will reveal an "X" button in the top right,
press it to remove the panel. Alternatively, you can right click
inside the panel and select "remove panel".
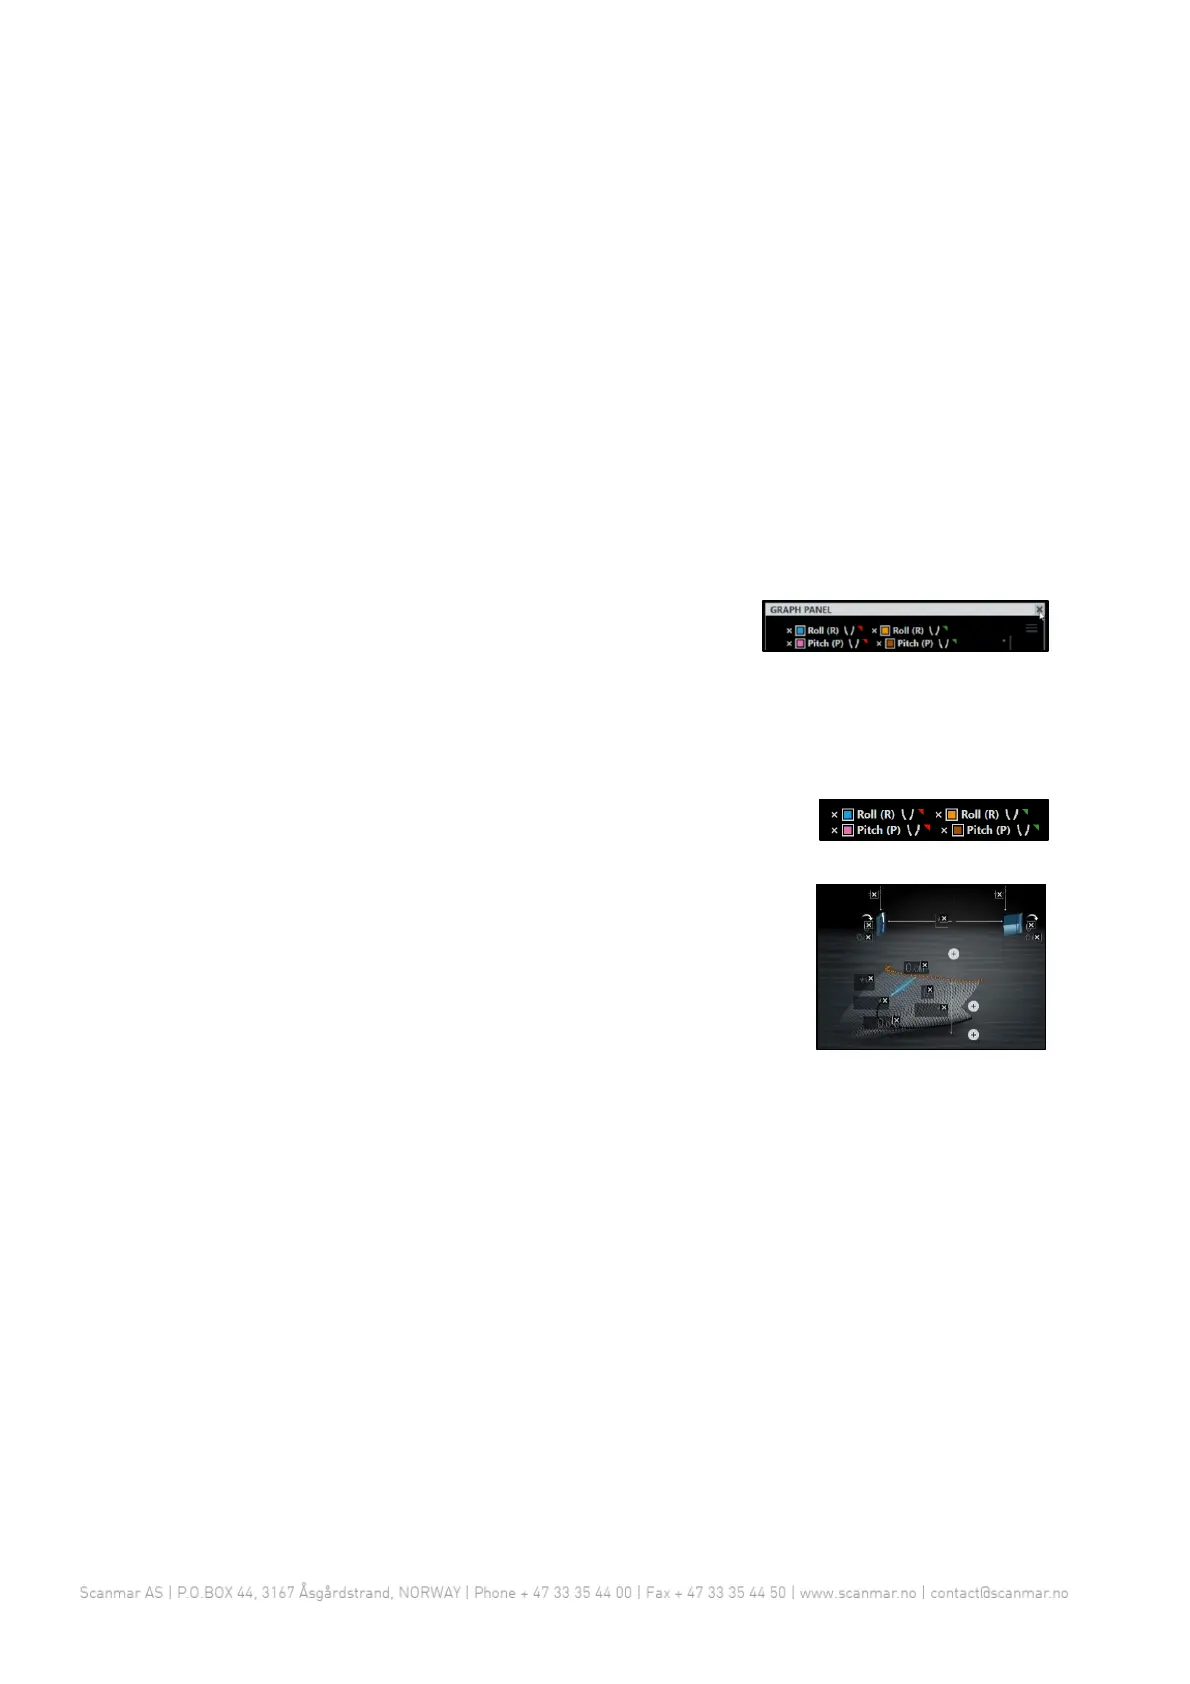
2.5 Adding and removing measurements in a panel
When in edit mode all measurements in any panel have an "X" button
next to it. Press this to remove this measurement.
To add measurements to a graph panel or spider panel, simply right click
in the panel and select "Add measurement".
The symmetry and codend panels only have the predefined set of
measurements, but a removed measurement can be re-added by
pressing the "+" button in its place in edit mode.