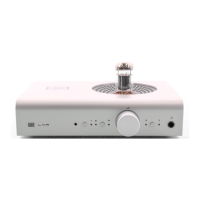
CAUTION! Dangerous voltages inside!
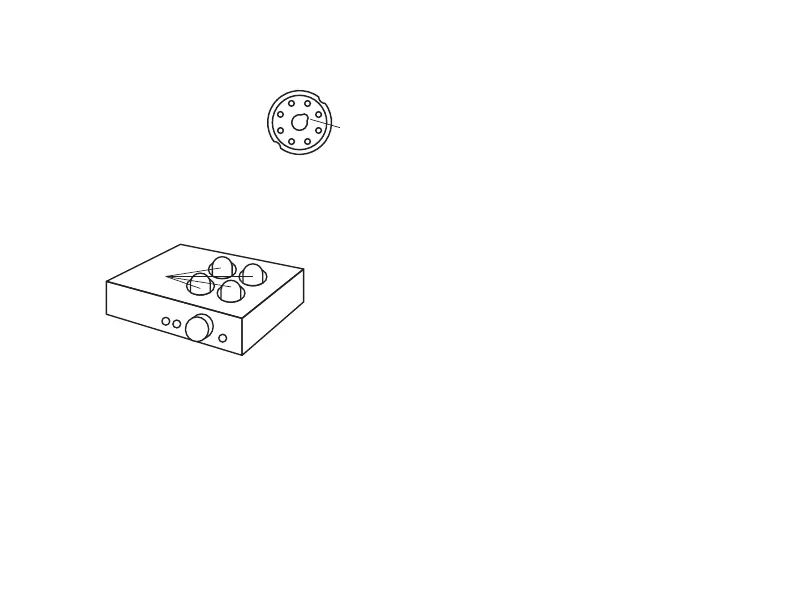
1. Before plugging
in the preamp, insert
the tubes. Carefully
align the key in the
tube base to the notch in the tube socket for
each tube. It doesn’t matter which tube goes
where—all tubes in Freya are the same type.
2. Ensure tubes
are well-
seated. Push
down rmly
until the tube
is seated on the
tube socket.
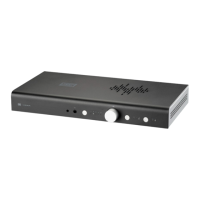
3. Plug it in, turn it on, and select Tube
Output if you want to use tubes. Otherwise
the tubes won’t turn on. Freya only turns on
the tubes when you need them.
4. Connect your sources. Connect up to 5
sources to Freya’s XLR and RCA inputs.
5. Connect the output. Connect Freya’s
output to your amp using XLR or RCA cables.
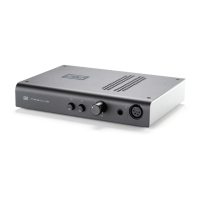
TUBES
6. Ensure the volume is turned down if
you’re using Freya for the rst time. You
don’t want any big surprises!
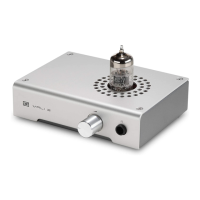
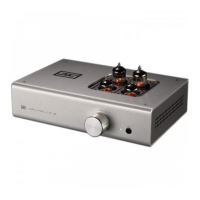
REPLACING TUBES
Freya+ accommodates any 6SN7, 6N8S, or
5692 tube type. Looking from the front, the
right-hand tubes are the voltage gain stage.
The left-hand tubes are the output stage.
To replace or swap tubes:
1. Turn off and unplug the preamp. Wait a
while for the tube to cool. Seriously, these
suckers are pretty hot.
2. Carefully extract the tube by gently
rocking it back and forth and pulling up.
3. Carefully insert the replacement tube.
Align the key to the notch and press down
rmly until the tube is seated.
4. Plug the preamp back in and turn it on.
NOTCH
GETTING STARTED