GETTING STARTED
CAUTION! Dangerous voltages inside!
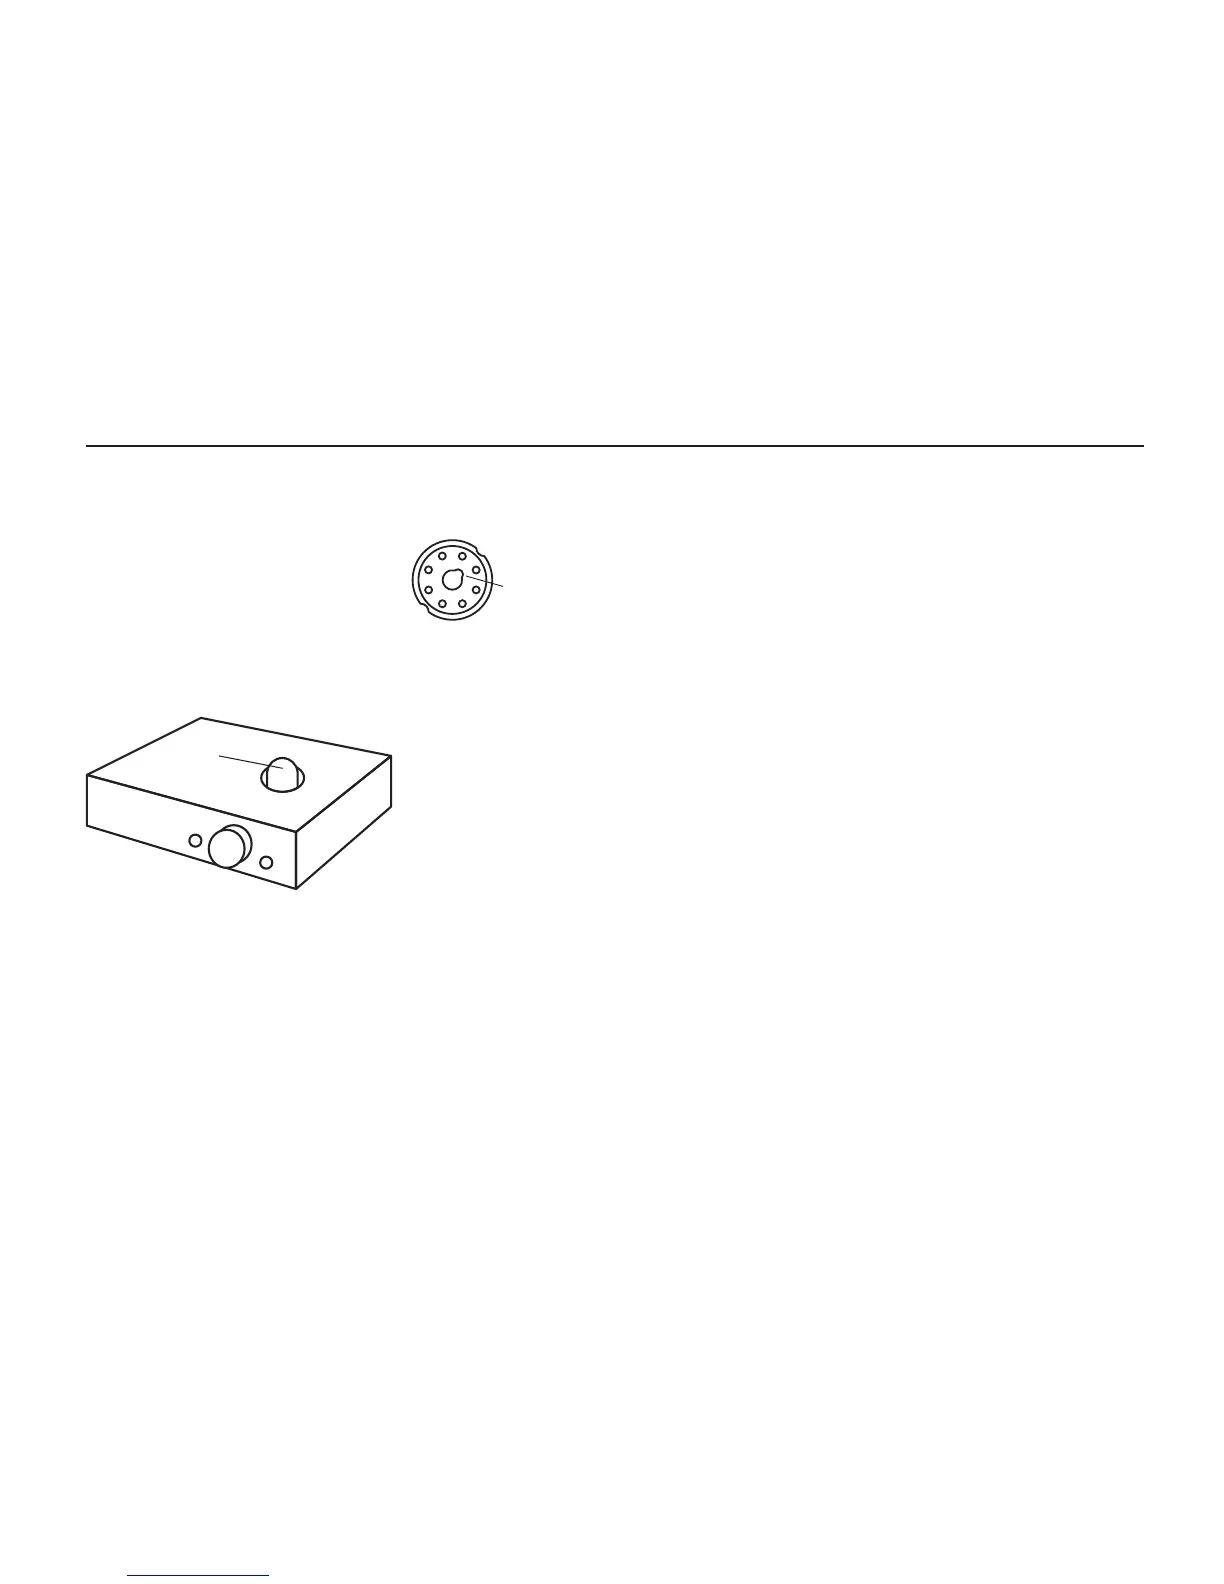
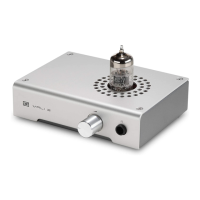
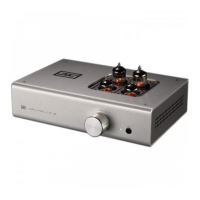
1. Insert the tube. Carefully
align the key in the tube base
to the notch in the tube socket.
2. Ensure tube is well-seated. Push down rmly
until the tube is seated on the tube socket.
3. Connect your source.
Use high-quality
RCA cables and a
good source.
4. Plug it in and
turn it on. The tube
will glow after a few sec-
onds, and the relay will connect the output in about
40-50 seconds.
If you have an optional DAC module, you’ll also need
to connect your digital source.
a. Use a high-quality, USB 2.0-rated cable of 2M or
less in length.
b. On some Windows machines, you may
need drivers, available at schiit.com/drivers.
If you have the optional phono card, you’ll also need
to connect your turntable.
a. Using short, high-quality, well-shielded cables,
connect your turntable to the phono card inputs.
b. Also connect the turntable ground to the ground
post with a short, sturdy wire.
c. Note that the phono preamp’s gain is xed at
42dB, input impedance is 47k, and load capacitance
is 100pF.
REPLACING TUBES
Lyr 3 accommodates any 6SN7, 6N8S or 5692 tube.
1. Turn off and unplug the preamp. Wait a while for
the tube to cool.
2. Carefully extract the tube by gently rocking it
back and forth and pulling upwards.
3. Carefully insert the replacement tube. Align the
key to the notch and press down rmly until the
tube is seated.
4. Plug the preamp back in and turn it on.
TUBE
NOTCH