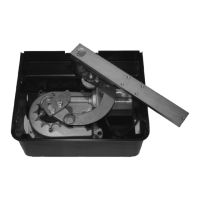
Fig. 7
Fig. 6
Fig. 4
25
2
,
17,7
7,9
dimensions (inches)
Fig. 3
Mechanical stop
in closing
2.3. Before concreting the carrying box, use a level to make it
perfectly horizontal to the ground (Fig. 6) and perpendicular to
the axis of the gate (Fig. 7).
The axis of the upper hinge of the gate must correspond
exactly to the axis of the carrying box shaft.
Follow the distance of 2,5 inches closely between the carrying
box cover and the base of the gate.
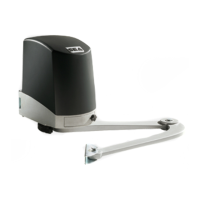
Fig. 5
Sheath for electric
cables passage
PVC tube
water discharge
Electric
connection box
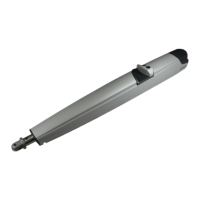
2.4. Insert the ball into the perforated shaft (Fig. 8)
Fig. 8
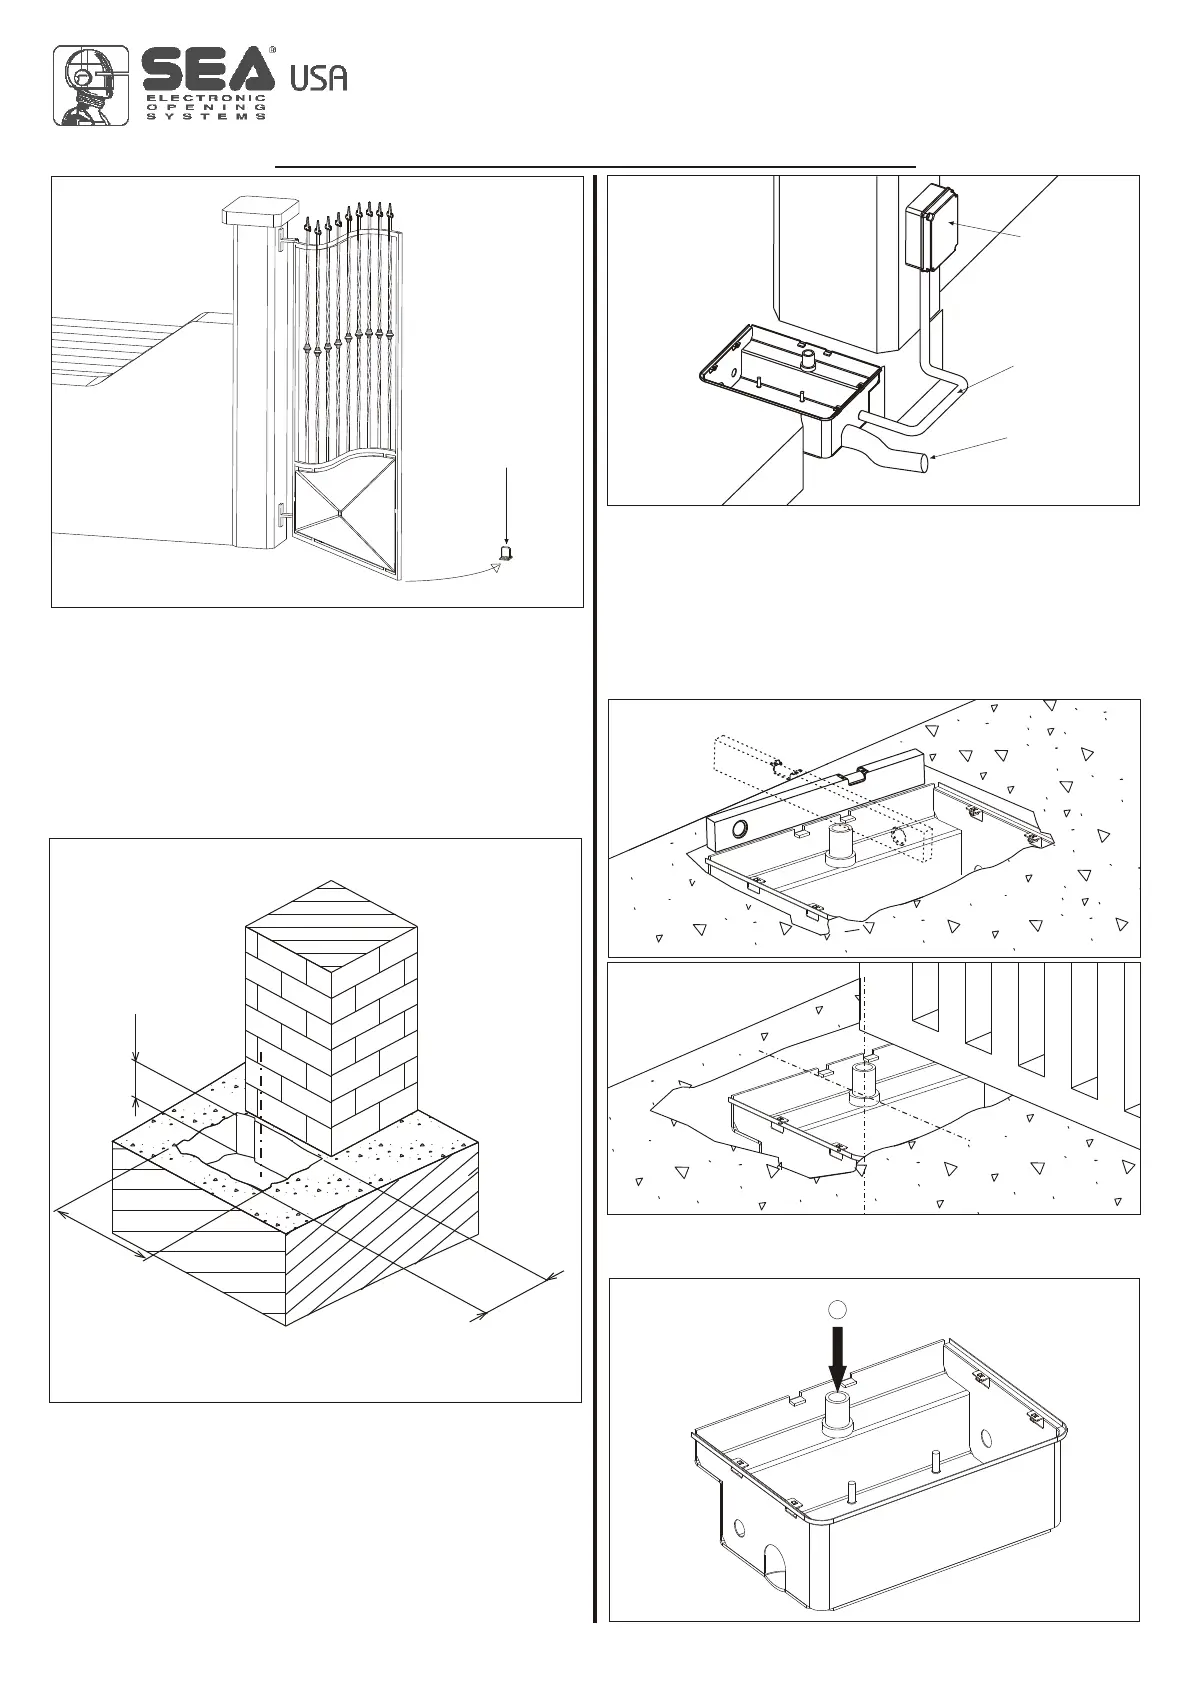
2. CARRYING BOX INSTALLATION
2.1. The hole which contains the carrying box must have the
approximate dimensions mentioned in Fig. 4.
For a correct placing, it is obbligatory to follow closely the
quote of 1,8 inches which corresponds to the minimum
distance of the rotation axis from the pillar.
2.2. Inside the excavated pit you have to plan:
- rain water drainage;
- a water waste pipe in PVC of about 1,6 inches of diameter
to put inside the provided hole of the box before it is
concreted (Fig. 5). It must be brought until the drain of
the sewer line;
- a sheath for the passage of electrical cables of about 0,8
inches of diameter which must be brought to the proximity
of the electric connection box (Fig. 5).
International registered trademark n. 2.777.971
MECHANICAL INSTALLATION
FIELD
67410825 Rev.04 - 02/2016
6