DOCS-010 Manual, SeaBotix Inc. Users, 200 Series – 18 Mar 09 - Rev B - Page 19 of 52
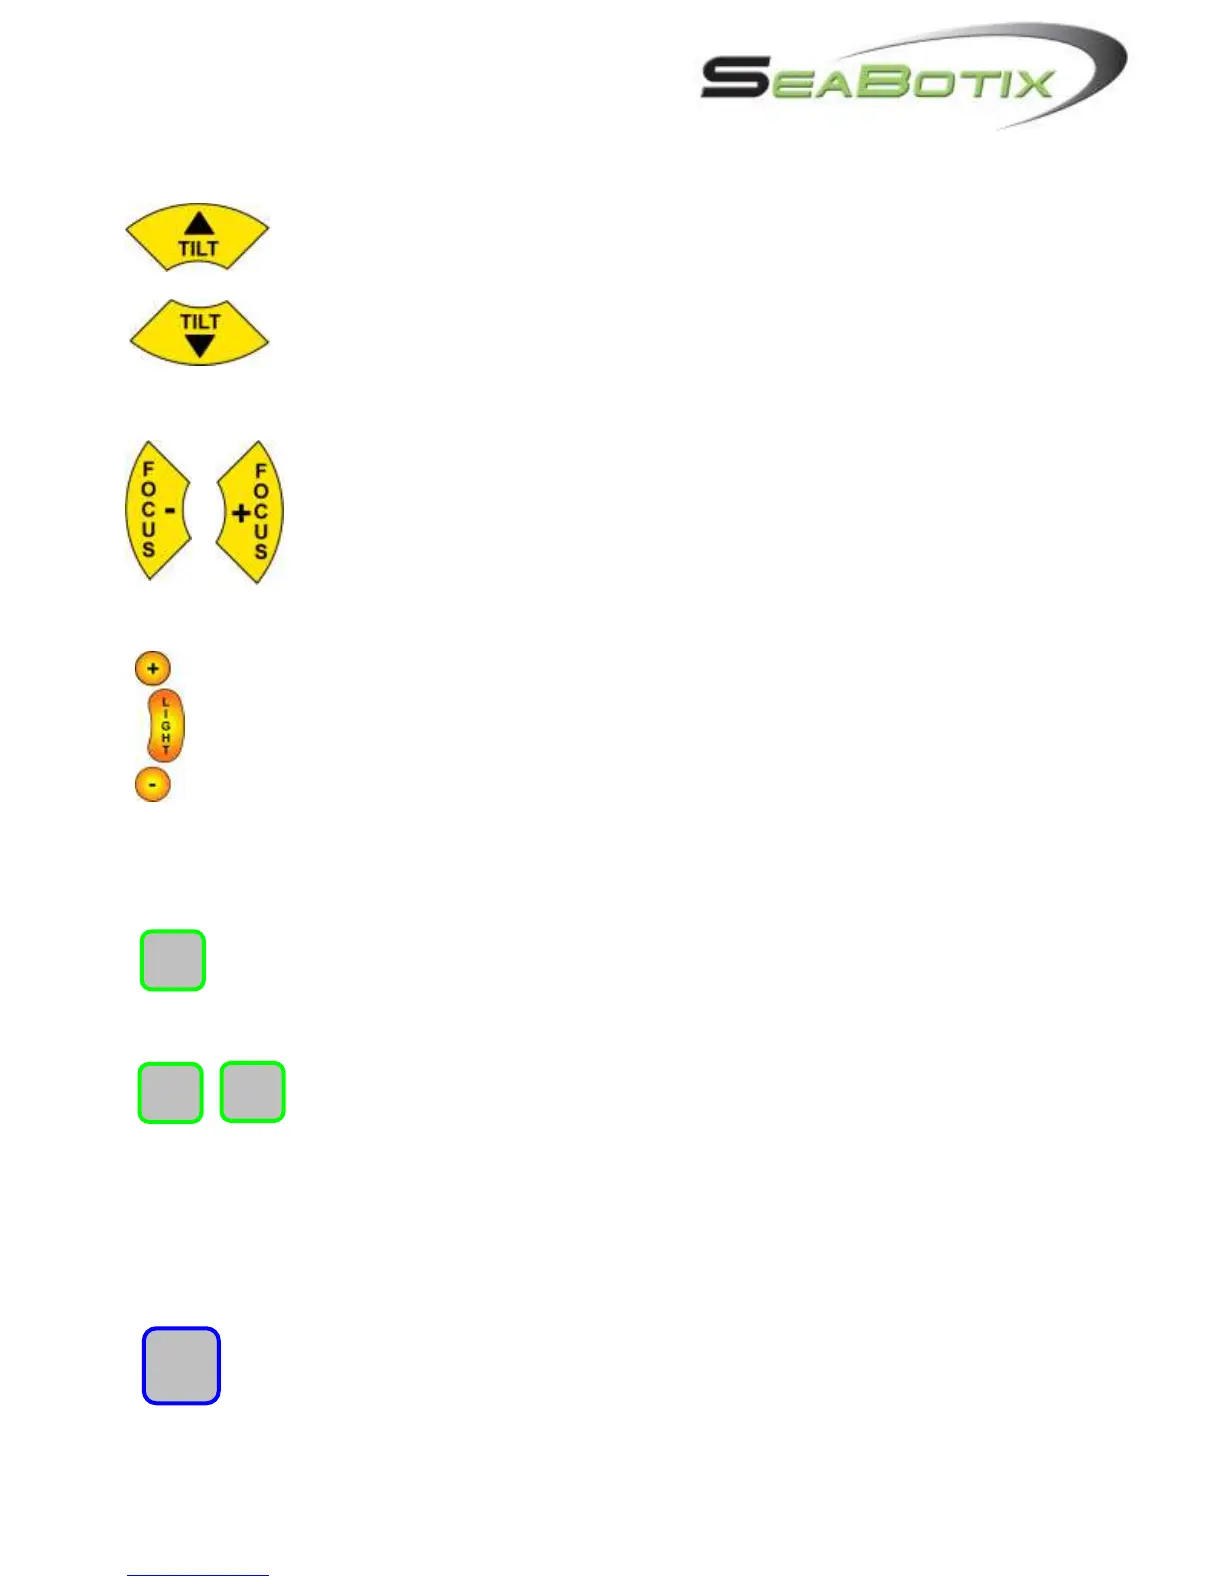
2.1.3.2 Tilt
The TILT buttons allow the user to rotate the camera chassis up or down.
The maximum rotation is 180 degrees per camera giving a total of 270
degrees if an optional second camera is fitted. As the camera chassis
rotates, the angle is displayed on the Video Overlay.
Note: In the Options menu the keys can be reversed for desired preference.
(section 2.3.6.)
2.1.3.3 Focus
The FOCUS buttons allow the user to focus the cameras. Pressing the
FOCUS + focuses the camera in closer and pressing the FOCUS – focuses
the camera farther away. When the CAMERA button is pressed switching
cameras, the FOCUS controls also switch to the active camera.
2.1.3.4 Internal Light
To turn the light on and off, press the LIGHT button. Pressing the + or – buttons
varies the intensity of the lamp; + being brighter and – being dimmer. The intensity of
the light will be displayed on the Video Overlay L1 to L10.
2.1.4 Accessories
2.1.4.1 Select
If fitted with accessories (such as grabber, external lighting, scaling laser or zoom
camera) push the SELECT button to cycle through the installed accessories.
2.1.4.2 Arrow Keys
Press the and keys to operate the accessories. For the grabber, the
button closes and the button opens the jaws. For the external lighting
system the button turns the external lighting system (ELS) on and
increases the brightness, the button decreases brightness, and turns off the lights. To
turn off the ELS, the button is pressed until the lights are off.
2.1.5 Auto Functions
2.1.5.1 Trim
The Trim function enables the user to lock the thruster settings without having to
manually hold a key or move the joystick. For example, a user wishing to maintain
a certain direction of thrust and speed need only hold the joystick producing the
desired vector while pressing the TRIM button. Press the TRIM button again to