98 • seca 651/650
17-10-07-653-100_01-2020B
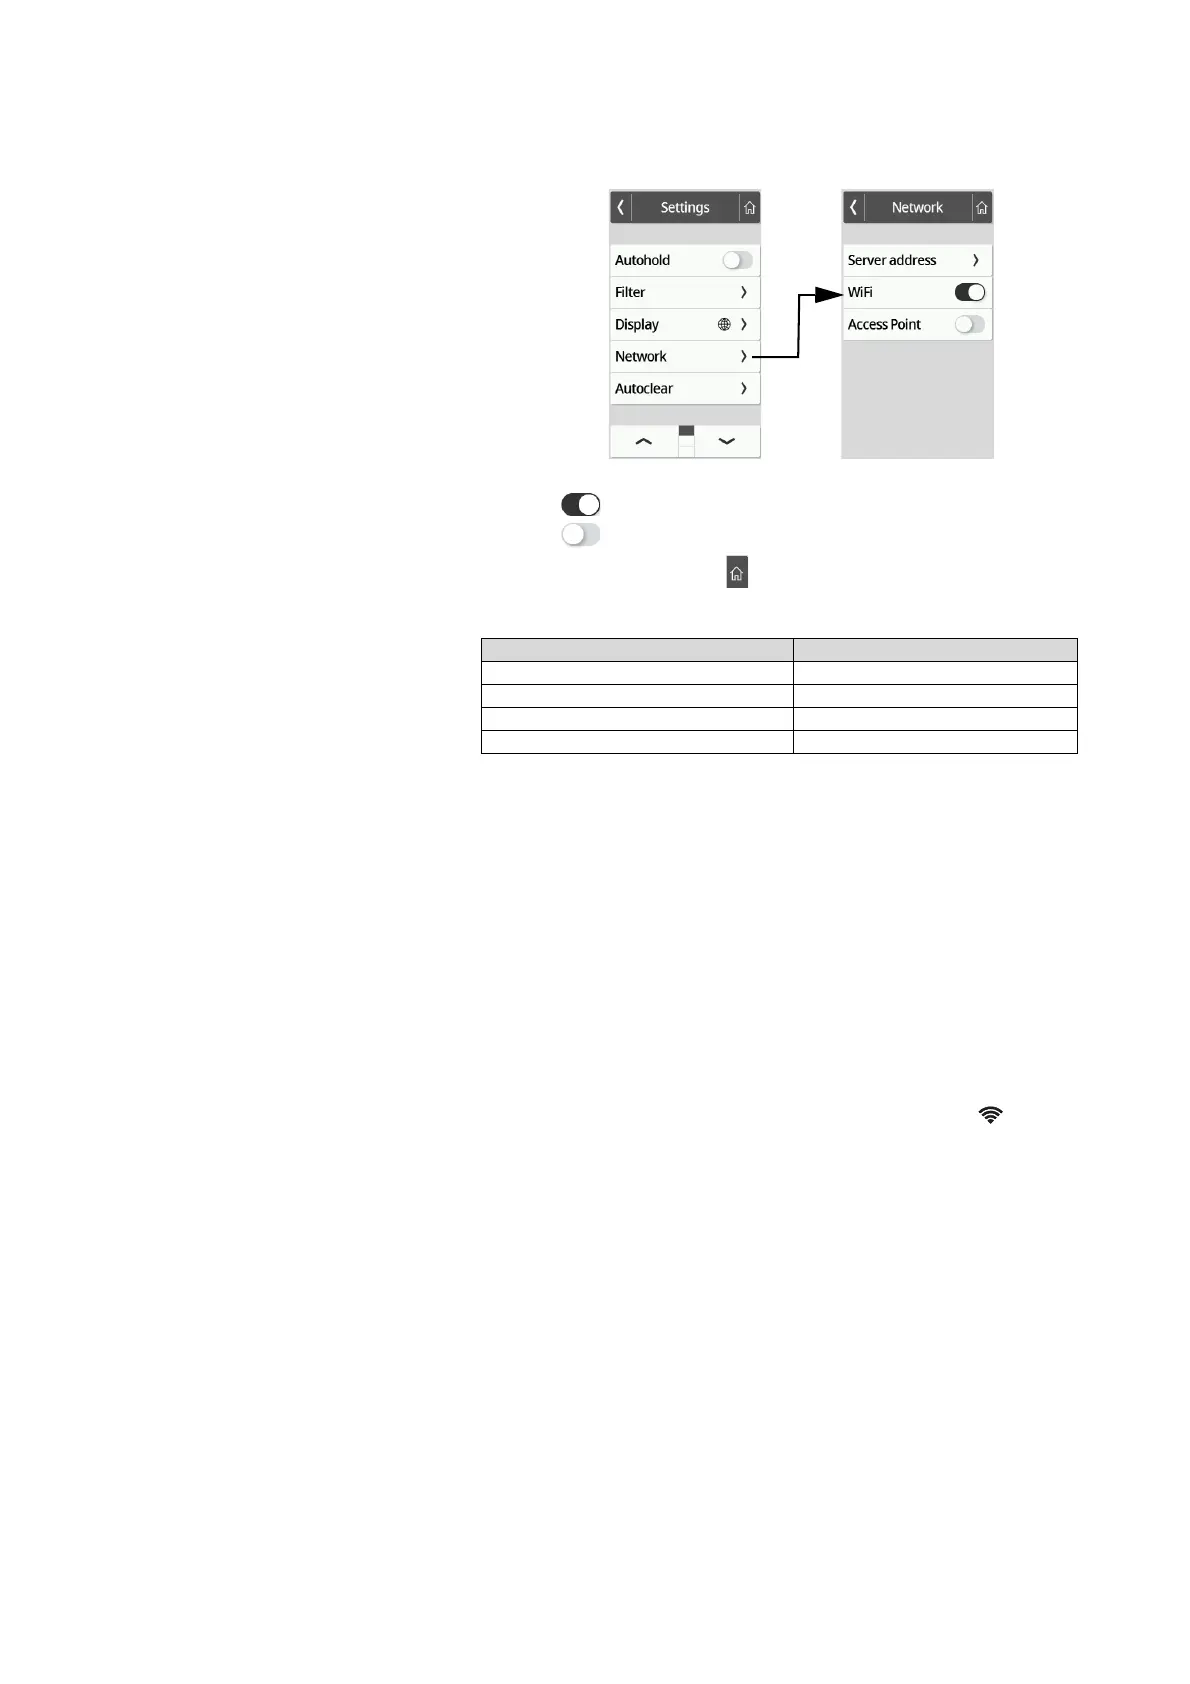
3. Press the Network item.
The current setting is displayed.
4. Press the desired setting for the WiFi item:
– Function activated
– Function deactivated
5. To exit the menu, press the key.
Connecting the device to the WiFi
network (seca
connect 103)
Connect your device to the WiFi network via the seca connect 103 software if
you do not have access to the WPS function of the router or want to integrate
several devices:
1. Make sure that the WiFi function of the device is activated ➔ Activating/
deactivating the WiFi function, page 97.
2. Enter the data for the WiFi network in the
seca connect 103 software as
described in the system instructions for use for the software.
The software generates a QR code containing the entered information.
3. Make sure that a barcode scanner is connected to the device
➔ Connecting a barcode scanner (optional), page 78.
4. Scan the QR code from the software user interface.
The settings carried out in the
seca connect 103 software are stored in
the device.
The device connects to the router of the WiFi network.
As soon as the device is connected to the WiFi network, the symbol
is permanently on.
Connecting the device to the WiFi
network (WPS)
Connect your device to the WiFi network via WPS if no barcode scanner is
connected to the device and you have access to the router.
1. Make sure that the WiFi function of the device is activated ➔ Activating/
deactivating the WiFi function, page 97.
2. Press the WPS button on the router and on the connection panel on the
weighing platform.
Device mode Function available
Basic –
Advanced –
Expert •
Service •



 To Next Page