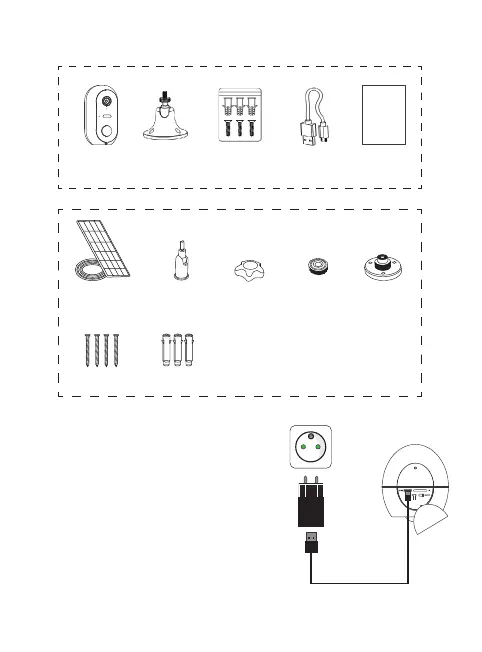
Step 1: Charging the batteries
Please fully charge the camera’s batteries
before installation. Use the supplied Micro
USB cord to connect the camera to a USB
power supply (not supplied). For optimum
charging time (2-3 hours), it is recommended
to use a USB charger of 1A or higher and keep
the camera switched o (power switch OFF).
Once plugged in, the charging indicator will
light up red.
Caméra
sur batteries
Panneau
Solaire
Fixation
orientable
Contre
écrou
Base
fixation
Ecrou de
serrage
Fixation
murale
Vis &
Chevilles
Cordon
Micro USB
Notice
d’installation
Notice
d’installation
rapide
Vis Chevilles
Chargeur USB
non fourni
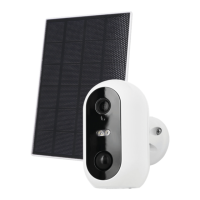
Solar panel
Camera
Solar panel
not included
Counter nut
Installation
instructions
Camera batteries