3
Safety Precaution
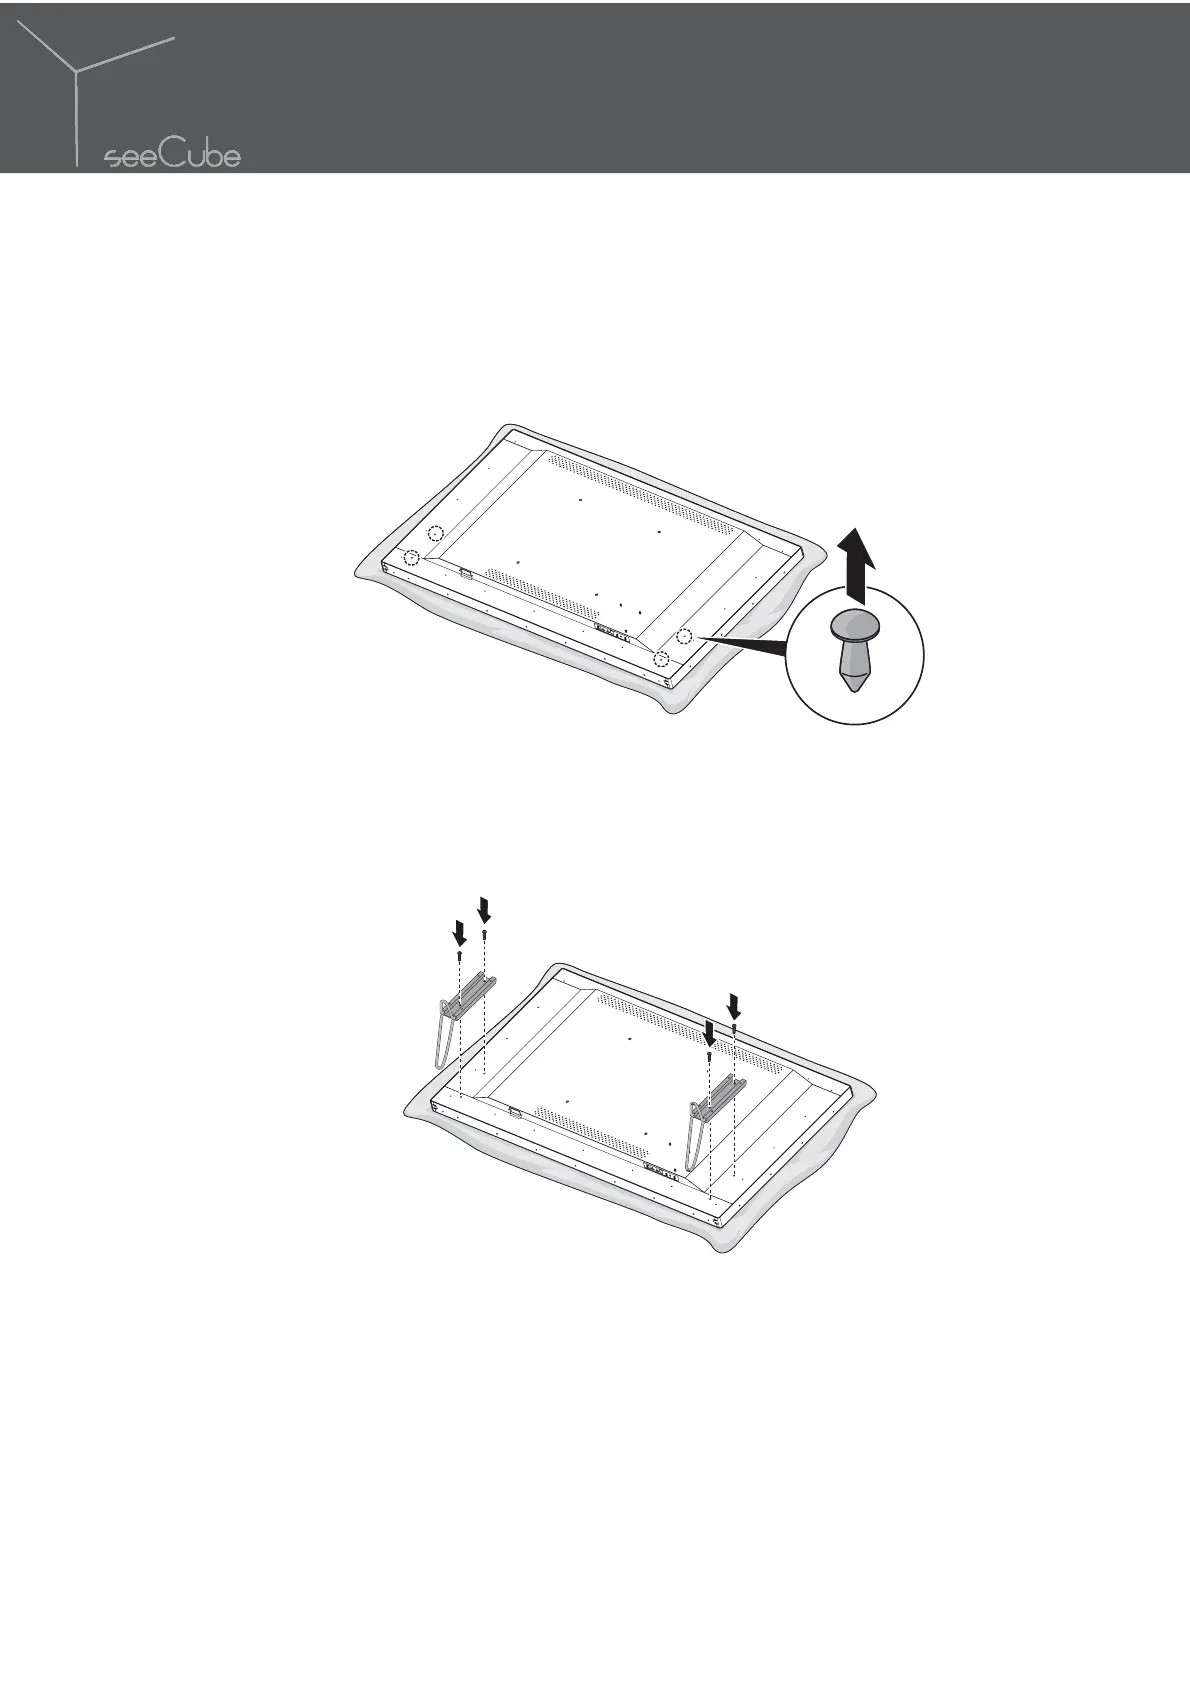
4. Carefully place the monitor (front side facing down) over the
work surface and slowly lay it on the work surface. Make sure the
monitor is secure before releasing the monitor.
5. Remove the 4 plastic caps that cover the screw holes (left side x
2, right side x 2) for attaching the stand.
6. Align the holes on the stand with the holes on the rear side of the
seeCube Glasses-Free 3D.
7. Secure the stand with the provided screws.
The following screw type is recommended for use in a pedestal stand
installation: M6 x 9mm.
NOTE:
It is not recommended to insert the screws into the screw holes
 Loading...