Radio Flash Mode (for L-478DR Series)
11
_
1
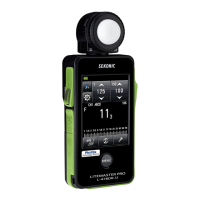
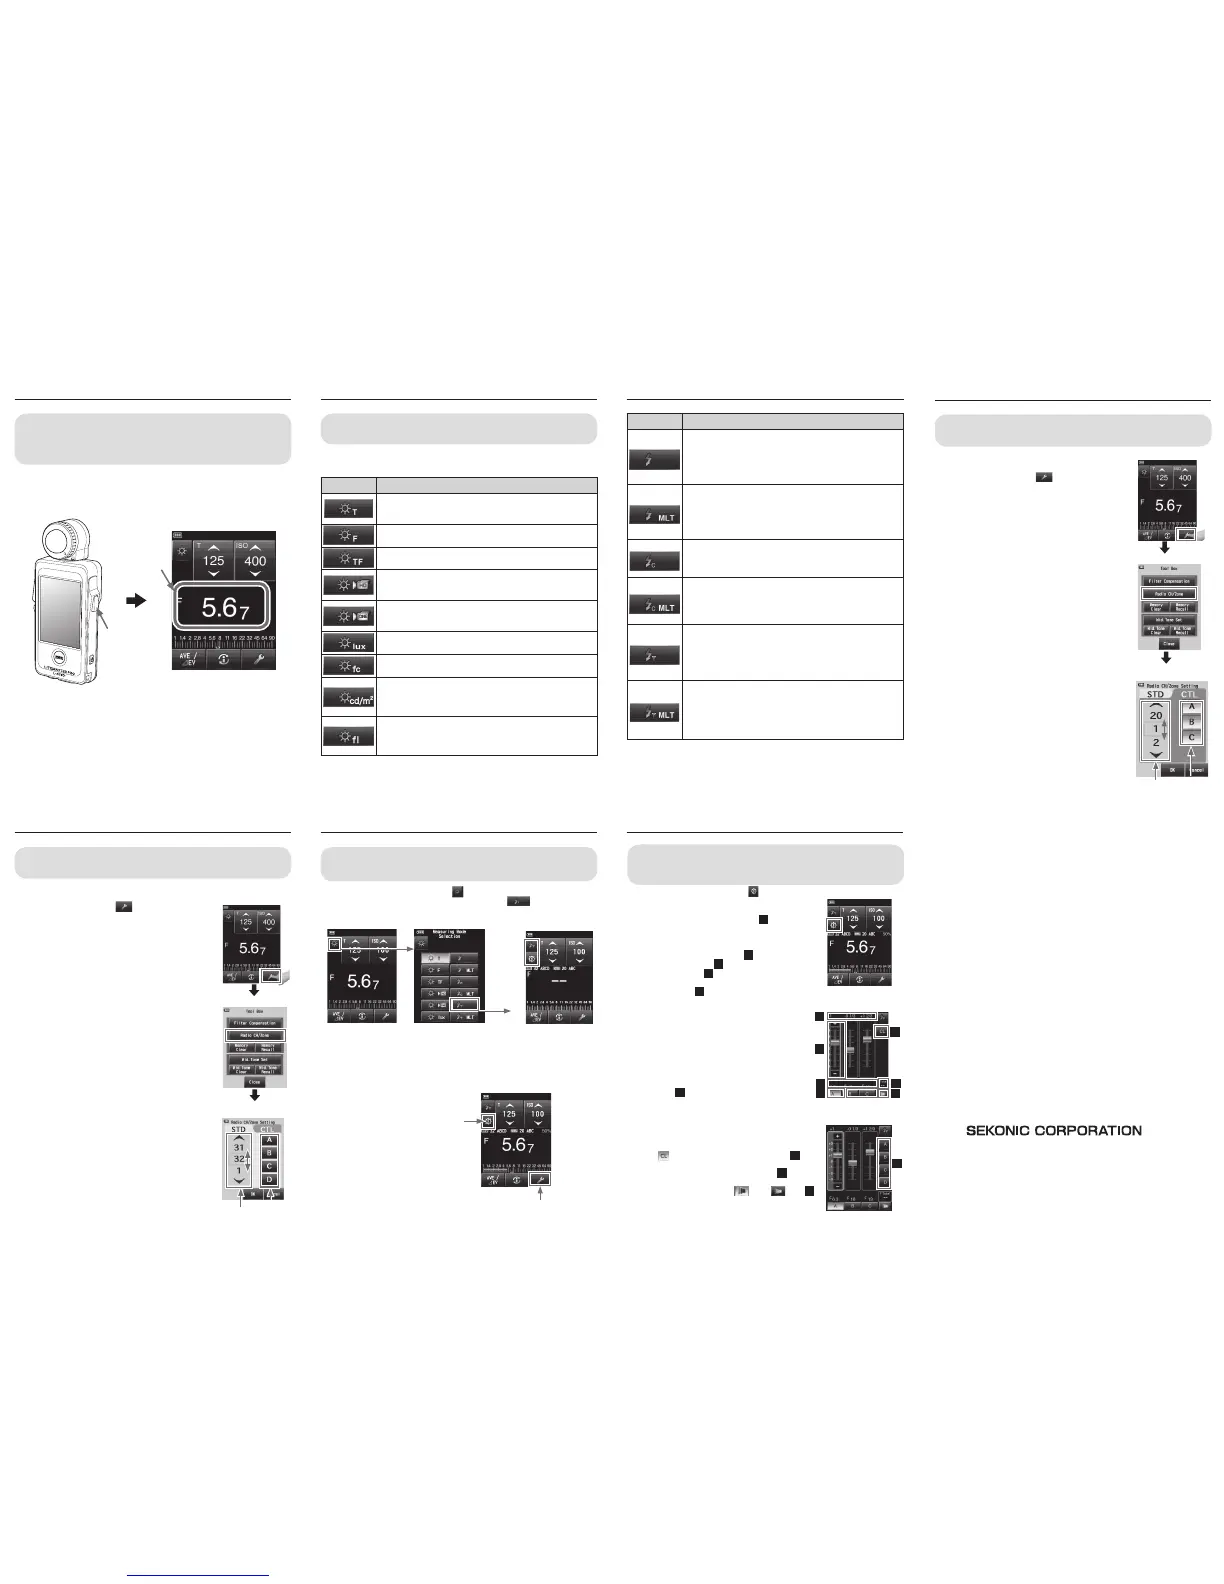
Measuring Flash Light
The following describes how to trigger the ash units in Radio
Flash Mode.
1) Touch the Measuring Mode icon ( ) at the top left of the Measuring
screen and then select of the Radio Flash Mode ( )
2) Set the shutter speed and ISO sensitivity to use in Measuring screen.
3) Press the Measuring button to trigger the ash units set in advance with
channel and zones.
4) Select the zones to trigger from the Power Control screen (See next page)
or Tool Box.
Radio CH/Zone
setting
8
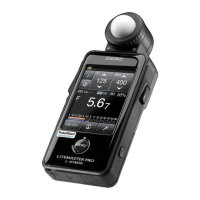
Checking Measured Value
This example explains how to observe exposure value using the
ambient light T value (shutter speed) priority mode.
F stop value (aperture) is displayed for ambient light in T (shutter
speed) priority mode.
Measuring
button
Measured
Value
9
_
1
Measuring Modes (ambient light)
The following describes the other measuring modes available to
meet your shooting needs.
* Measuring Modes can be added or removed in the Custom Setting Mode.
Icon Mode Details
Ambient light T (shutter speed) priority mode
Displays f-stop values (apertures numbers) for input shutter
speed and ISO values.
Ambient light F stop(aperture) priority mode
Displays shutter speed values for input F stop and ISO values.
Ambient light TF (Shutter speed and F stop) priority mode.
Displays ISO value for input shutter speed and F-stop.
Ambient light HD Cine mode
Displays F-stop value for input shutter speed, frame rate and ISO
values.
Ambient light Cine mode
Displays F-stop value for input frame rate (f/s), ISO, and shutter
angle values.
Ambient light Illuminance (lux) mode
Displays brightness values in lux units.
Ambient light Illuminance (fc) mode *
1
Displays brightness values in foot-candle units.
Ambient light Luminance (cd/m
2
) mode (by reected light
measurement using with accessory viewnder available as
separate purchase)
Displays brightness values in cd/m
2
units.
Ambient light Luminance () independent display mode *
1
(by
reected light measurement using with accessory viewnder
available as separate purchase)
Displays brightness values in foot-lambert units.
Icon Mode Details
Cordless mode
Detects ash brightness without meter-ash connection after
measuring button pressed to arm meter for 90 seconds and ash
red separately.
Displays f-stop values (apertures numbers) for input shutter
speed and ISO values.
Cordless multi (cumulative) ash mode
Detects and accumulates ash brightness without meter-ash
connection after measuring button pressed to arm meter for 90
seconds and ash red separately.
Displays f-stop values (apertures numbers) for input shutter
speed and ISO values.
Cord (PC) mode
Detects ash brightness with PC cord meter-ash connection.
Displays f-stop values (apertures numbers) for input shutter
speed and ISO values.
Cord multi (cumulative) ash mode
Detects and accumulates ash brightness with PC cord meter-
ash connection.
Displays f-stop values (apertures numbers) for input shutter
speed and ISO values.
Radio ash mode *
2
Detects ash brightness without meter-ash connection after
radio transmitted trigger signal is received by radio-receiver
connected ash.
Displays f-stop values (apertures numbers) for input shutter
speed and ISO values.
Radio multi (cumulative) ash mode *
2
Detects and accumulates ash brightness without meter-ash
connection after radio transmitted trigger signal is received by
radio-receiver connected ash.
Displays f-stop values (apertures numbers) for input shutter
speed and ISO values.
*
1
Models sold in some countries do not display “fc” and “” due to legal
restrictions.
*
2
L-478DR Series only. PocketWizard
®
receivers are required to work with
PocketWizard
®
radio system by LPA Design.
9
_
2
Measuring Modes (flashlight)
Radio Flash Mode (for L-478DR Series)
10
_
1
Setting Channel and Zones
The following describes how to select the channel and zones for
using PocketWizard
®
ControlTL
®
.
Setting ControlTL
®
Channel
1) Touch the Tool Box icon ( )
at the bottom
of the Measuring screen to display the Tool
Box screen.
2) Touch the Radio CH/Zone button to display
the Radio Trigger Channel / Zone setting
screen. Then touch the CTL tab activate the
ControlTL settings.
3) Touch the arrows ▲/▼ or slide your nger
over the screen to select a channel from 1 to
20 for FCC & Canada IC version, from 1 to 3
for CE version.
4) Touch one or more of the control zone
buttons (A,B,C) to select ash zones you want
to use.
* Zone(s) can be selected from Power Control
Screen as well.
5) Touch the OK tab to conrm settings and
return to the Measuring screen. (Touch the
Cancel tab to cancel settings.)
* See more details for PocketWizard
®
system at
www.pocketwizard.com.
Zones
Channel numbers
Radio Flash Mode (for L-478DR Series)
10
_
2
Channel Setting in Radio Triggering Mode
The following describes how to select the channel and zones for
using PocketWizard
®
Standard Channels.
Setting Standard Channel
1) Touch the Tool Box icon ( )
at the bottom
of the Measuring screen to display the Tool
Box screen.
2) Touch the Radio CH/Zone button to display
the Radio Trigger Channel / Zone setting
screen. Then touch the STD tab to activate
the Standard Channel settings.
3) Touch the arrows ▲/▼ or slide your nger
over the screen to select a channel from 1 to
32. Channels 1-16 provide single triggering(no
zone).
4) Select channel numbers17-32 to display zone
buttons A, B, C, D provide triggering of up to
four zones of lighting.
·
The displayed example below is for channel
number 32.
·
Touch the OK to conrm settings and return
to the Measuring screen. (Touch the Cancel
tab to cancel settings.)
* See the Operating Manual for the radio receiver
to learn about settings for the radio receiver
incorporated into the ash.
Zones
Channel numbers
Radio Flash Mode (for L-478DR Series)
11
_
2
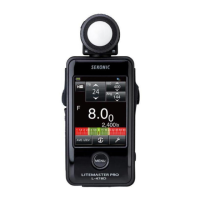
Adjusting Flash Intensity
1) Touch the Power Control icon ( ) on the
Measuring screen to display the Power Control
screen.
2) Select one or more Zones (A to C)
1
and press
the Measuring button to trigger ash for the
selected Zone.
3) The measured value is displayed in a box at
the bottom right of the screen
2
and over the
selected Zone button
3
. Move the slider or
press [+]/[-] button
4
to change the power of
ash. Set power level is displayed in the area
above the slider
5
.
* Up to +/- 3 step of value (f stop) can be
controlled.
4) Press the Measuring button for measurement
to conrm that the ash power is set to desired
value.
5) Repeat 2) to 4) above for other Zones until each
ash unit’s brightness is set to proper value for
the effect you want.
6) Select the Zones you want to use, and press
the Measuring button. Measured values of
each Zone
3
will not change. The F-number
for the measured brightness of all lights will be
displayed in the “F Total” box.
7) When Standard System radio products are
used at the same time, they can be triggered
at the same time as power controlled ashes.
When a Standard channel number is set from 1
to 16, (classic channel) button appears
6
. When channel number is sent from 17 to 32,
the zones (A to D) appear in the area of
7
.
* Press Modeling Lamp ON /OFF icon
8
if necessary after selecting the desired zones.
7
Power Control screen
ControlTL+Standard CH17 to 32
Measuring screen
*
PocketWizard
®
and ControlTL
®
are the registered
trademarks of LPA Design.
7-24-14, Oizumi-Gakuen-cho, Nerima-ku Tokyo
178-8686 JAPAN
TEL +81-3-3978-2335 FAX +81-3-3978-5229
http://www.sekonic.com
JR129762-PW_en-03
NOVEMBER 2015
Printed in Philippines
Measuring screen
Measuring screen
Tool Box
Measuring screen
Tool Box
Radio CH/Zone
setting
Measuring Mode
Selection screen
Measuring screen Measuring screen
The following describes how to control the power of ash in
Radio Flash Mode. Power Control function is available with
PocketWizard
®
system only.
2
Power Control screen
ControlTL+Standard CH1 to 16
1
3
4
5
6
8
Measuring screen
Go to Power
Control screen
Tool Box
 Loading...