

R
Ryan LiuAug 17, 2025
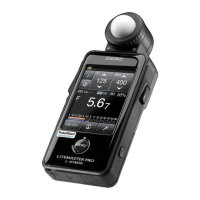
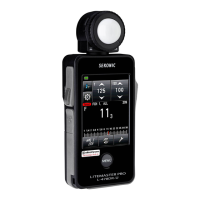
How to fix a Sekonic LITEMASTER PRO L-478 Measuring Instruments device when the power doesn’t turn on?
- CConnor Owen DDSAug 17, 2025
If your Sekonic Measuring Instruments device isn't powering on and the display is blank, try the following: * Ensure you press and hold the power button for more than one second. * Replace the batteries if they are dead. * Clean the battery terminals with a dry cloth if they're dirty. * Verify that you're using the correct type of batteries.