IN0051 Revision 05 (005293)– 3 of 26
POWER PERFORMANCE PASSION
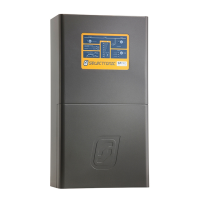
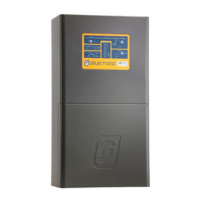
SP PRO Interactive Inverter Charger
Preparation
If installing Sonnenschein@home batteries: Make sure there are 2x 200A NH fuses (ABB
OFAF1H200 or equivalent) for SPMC482 OR 2 x 160A NH fuses (ABB OFAF1H160 or equivalent)
for SPMC481 installed in each battery box. Battery fuses are not supplied.
NOTE: The battery fuse size for the SPMC482 when used with a Sonnenschein@home Lithium must be
200A. In this application ONLY, do not use 250A fuses as specified in the SP PRO installation manual as
this may damage the Sonnenschein@home lithium. A 200A fuse is suitable in this application as the
battery voltage for the Sonnenschein@home lithium is higher (54 VDC) than nominal (48 VDC).
Summary of steps
The following is a summary of the steps needed to complete the installation.
Once the installation is completed, use the below points as a check list:
Make sure the appropriate Battery kit is on site.
Install batteries according to the manufacturer’s installation manual.
Install the latest version of SP LINK (11.15 or higher) on your computer from
http://www.selectronic.com.au
If the system is Advanced Multiphase with BYD batteries, wire in the Pre-charge.
Connect to the SP PRO via the original green comm card using SP LINK software.
Update the SP PRO firmware, selecting a firmware suitable for your AC coupled inverter if
applicable.
Install the blue or black comm card in the SP PRO.
Connect Communication cable from battery to the blue or black comm card in the SP PRO.
Update firmware in blue or black comm card to 2.06 or higher using SP LINK.
Create the configuration for SP PRO using the Site Configuration Wizard in SP LINK.
Connect to the SP PRO via SP LINK and save the configuration to the SP PRO.
Turn battery power OFF and back ON again to the SP PRO.
Test and commission the system.