English
www.self-sat.com
12
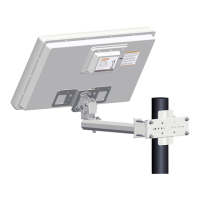
Step 5: Pointing and locating the Signal (rst without Attenuation Thin Pad)
Skew
Note
To adjust the antenna with precision and to allow a good reception (even in bad weather),
professional installers use a "signal meter". This indicates the level of signal strength received.
Only the use of this measuring device guarantees an optimum adjustment.
Once all installed and connected, you may take o the Attenuation Thin Pad from the antenna (and
keep to one side for step 6) and then start adjusting your antenna in order to receive a signal. For that,
you will need to move your antenna in three dierent ways in order to receive the maximum signal
level & best reception quality.
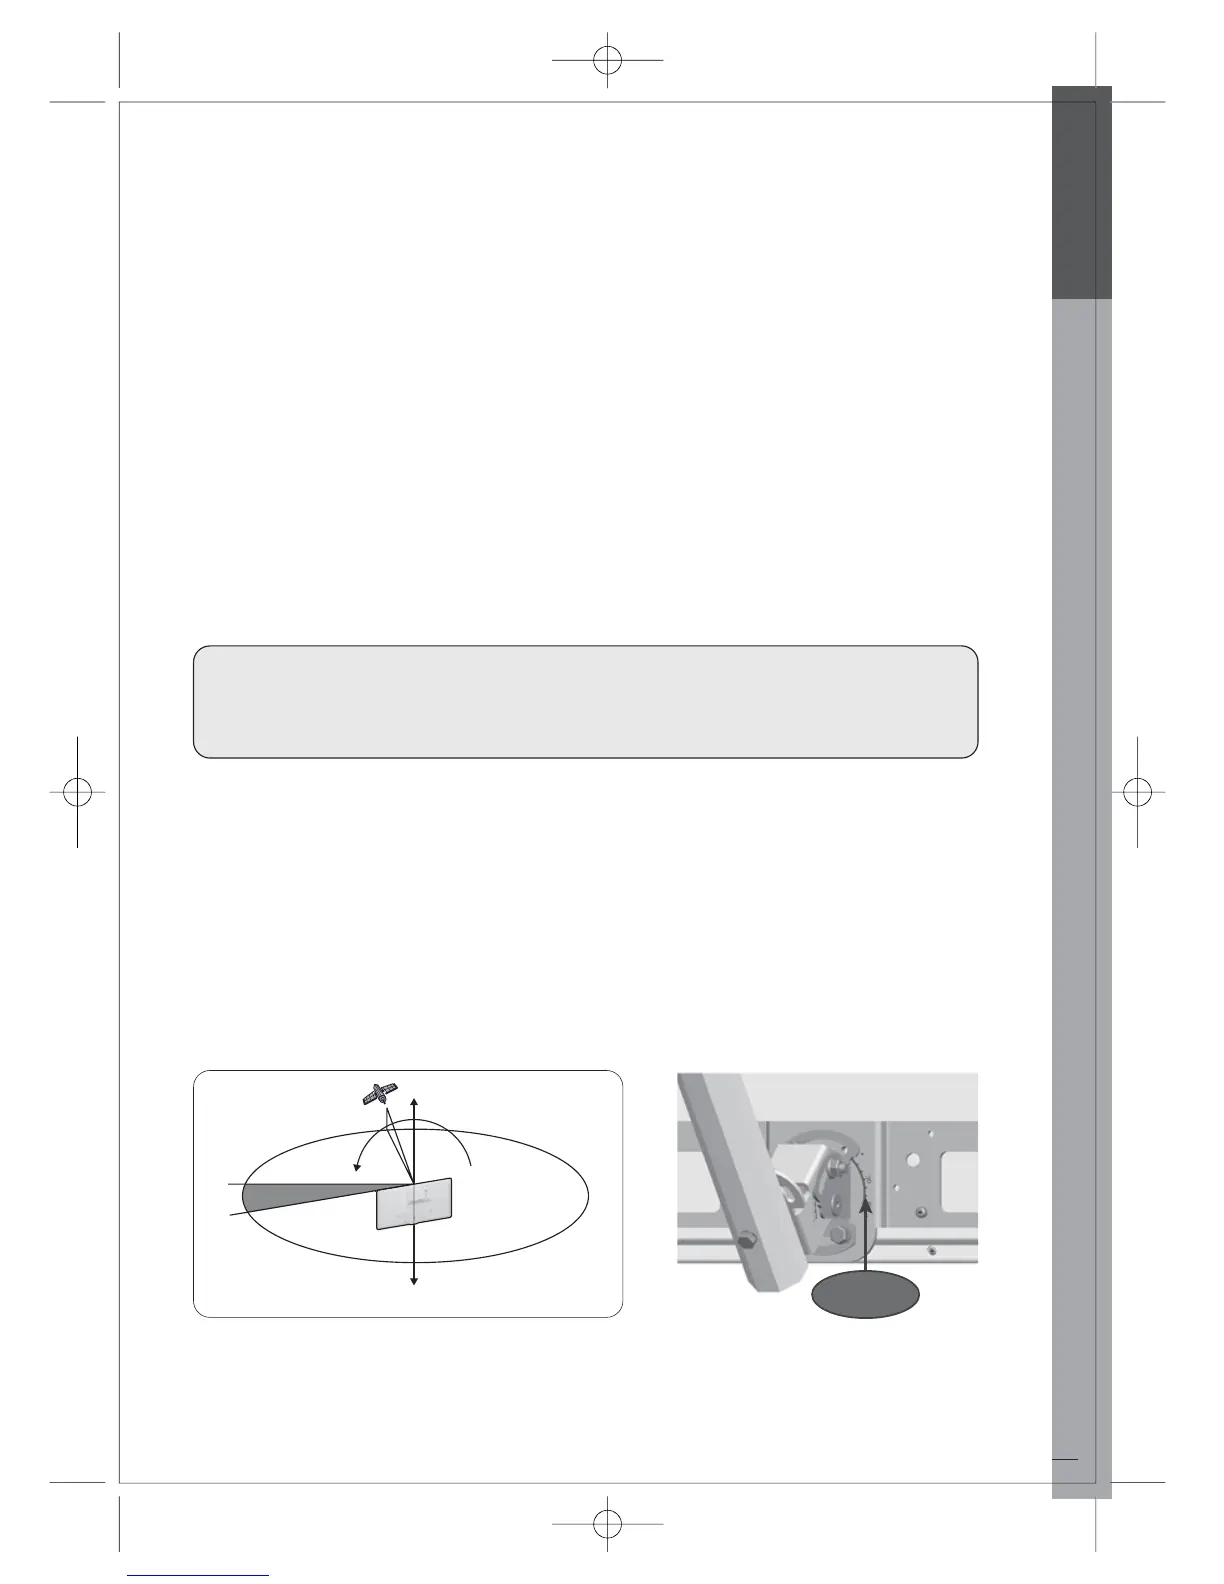
A - Cross Polarisation Tilt: or Skew Angle is to tilt the antenna
B - Elevation: Move your antenna vertically (Up/down)
C - Azimuth: Turn antenna on a horizontal plain (left/right)
Whatever your choice of mount type, you will be able to adjust your antenna easily by following these
instructions.
A) Cross Polarisation (Skew Angle) :
S 180
o
N 0
o
Cross Polarization
Skew
Angle
Obtain the Skew Angle of the chosen satellite, from the lists in this manual which cover many European
countries & big cities),
Tilt your antenna to the specied degree by looking to the degree graduation located on the back of
the antenna bracket.
Once achieved, tighten both screws connecting the Angle Bracket (B1) to the Antenna Body (A1).