7
How to Install?
By following the instructions step by step you can proceed easily to install SELFSAT-H10D/H21D by
yourself or with the help of a professional antenna installer.
Step 1: Where to Install?
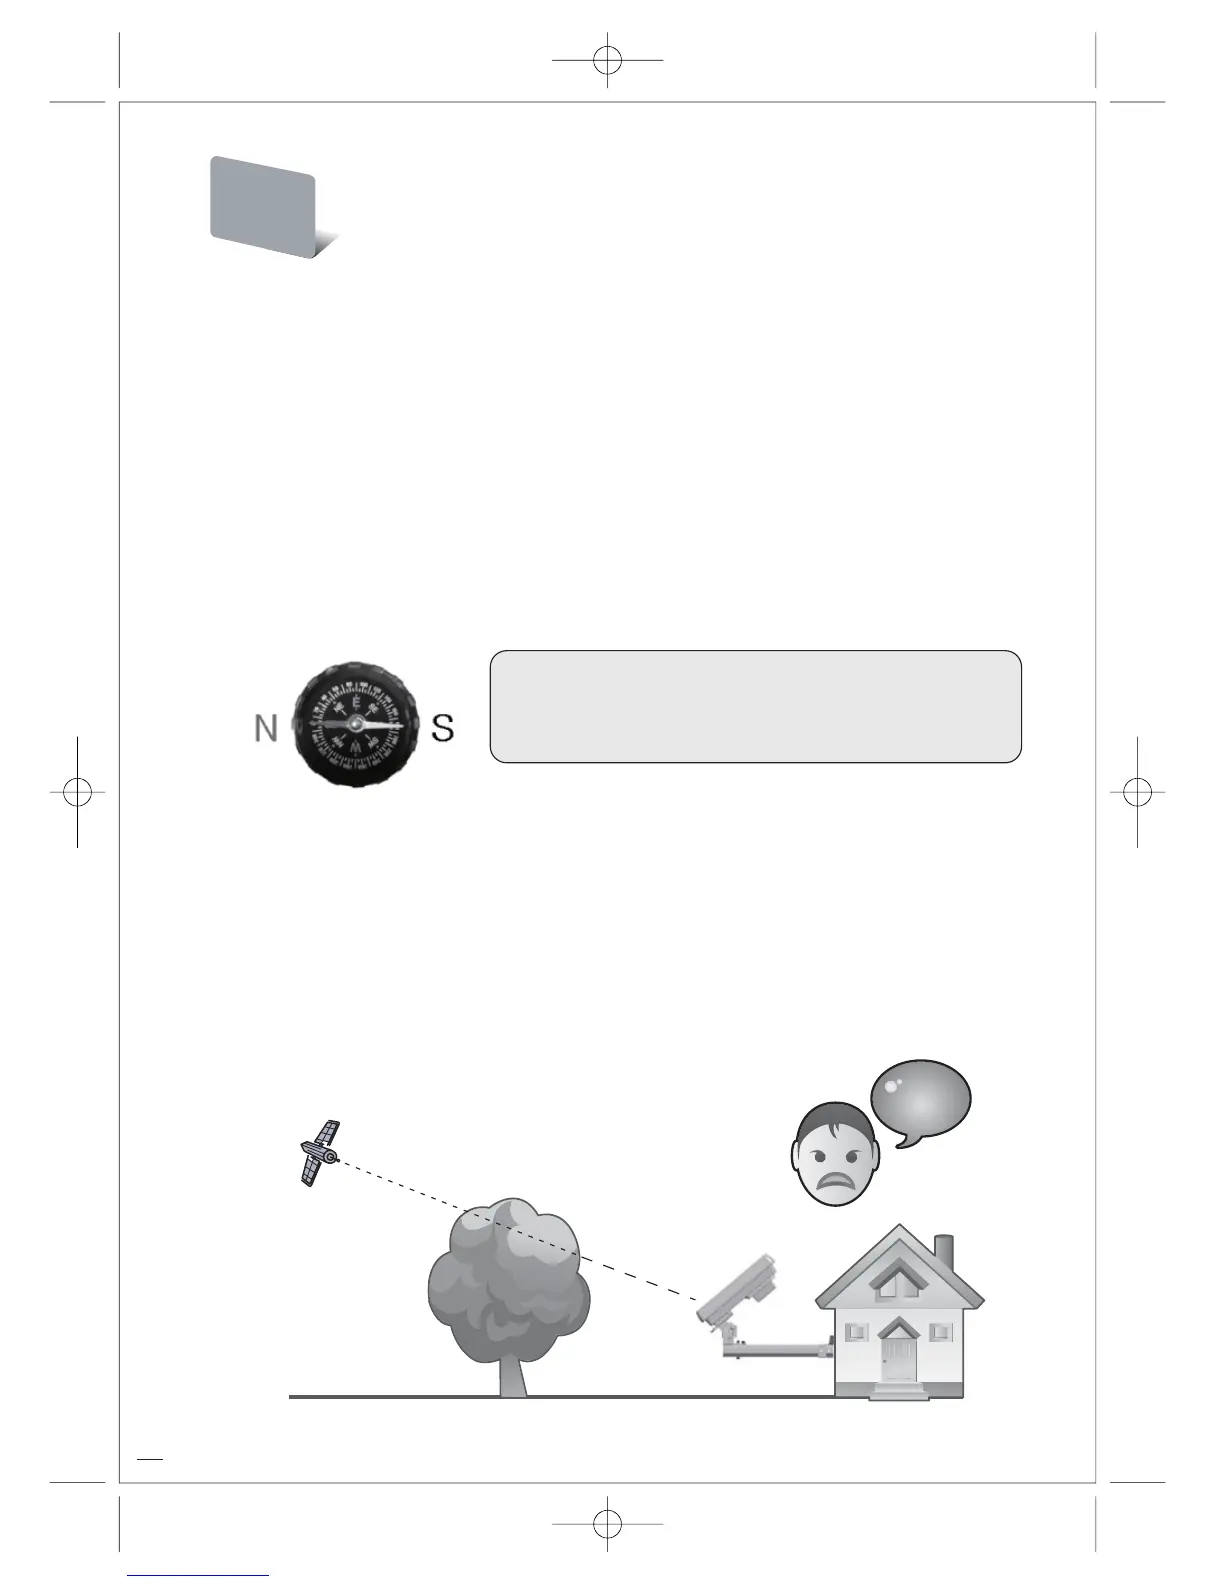
Bad Quality Singnal Reception
Note
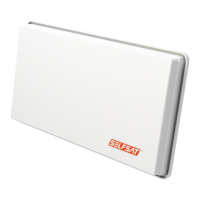
In order to receive a signal from the Satellite, SELFSAT-H10D/H21D is to be installed in an open loop
space (outside the house or the apartment), in the direction of the satellite towards the equator, for
which, you will need a compass to exactly orient SELFSAT-H10D/H21D toward the satellite (Note;
please take reference to the table of the Azimuth angles specied in the back pages of this manual)
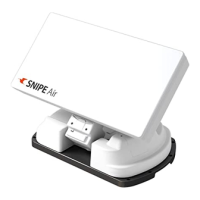
Make sure that there are no obstacles in front of SELFSAT-
H10D/H21D which can decrease the signal reception quality, such as buildings, or trees (you may
keep in mind that trees will grow and may block the signal).
In order to be able to x and install your antenna easily you might choose an easily accessible place
without any potential danger for installation.
Think about the way you might pass your cable in a discreet way from the SELFSAT-H10D/H21D to
your Set top Box. The antenna should not be too distant from your satellite receiver; a cable longer
than 30 meters can decrease the quality of the signal.
Before installing your antenna, you check that SELFSAT-H10D/H21D box contains all the items listed
above in the ‘Box Content’. In the event of any missing parts, please contact your distributor.
To ensure an accurate compass reading, stay away from large
metal objects, specically electrical cables and then make
multiple readings
BAD!BAD!
Install