Senco Brands, Inc.
4270 Ivy Pointe Blvd.
Cincinnati, OH 45245
1-800-543-4596
www.senco.com
EMEA: www.senco-emea.com
© 2014 by Senco Brands, Inc.
Operating Instructions
(Original Instructions)
Betriebsanleitung
(Übersetzung der Ursprünglichen Anweisungen )
Gebruiksaanwijzing
(Vertaling van de Oorspronkelijke Gebruiksaanwijzing)
Käyttöohjeet
(Alkuperäisten Ohjeiden Käännös)
Bruksvisning
(Oversettelse av de Originale Instruksjonene)
Bruksvisning
(Översättning av de Ursprungliga Undervisningarna)
Brugsanvisning
(Oversættelse af de Originale Instruktioner)
Mode d’Emploi
(Traduction des Instructions Originales)
Instrucciones de Empleo
(La Traducción de las Instrucciones Originales)
Instruziono per l’Uso
(Traduzione delle Istruzioni Originali)
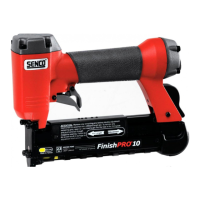
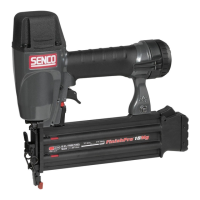
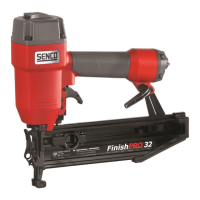
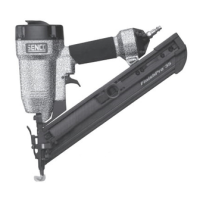
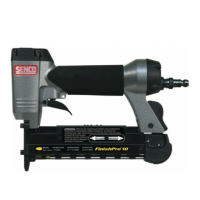
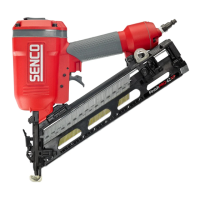
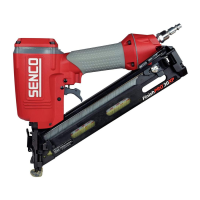
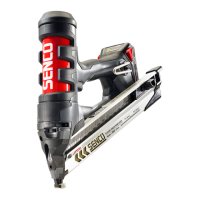
Brad Nailers
FinishPro 2N1 / FinishPro 10 /
FinishPro 15 / FinishPro 18 / LS1XP