10
Clearing Jams:
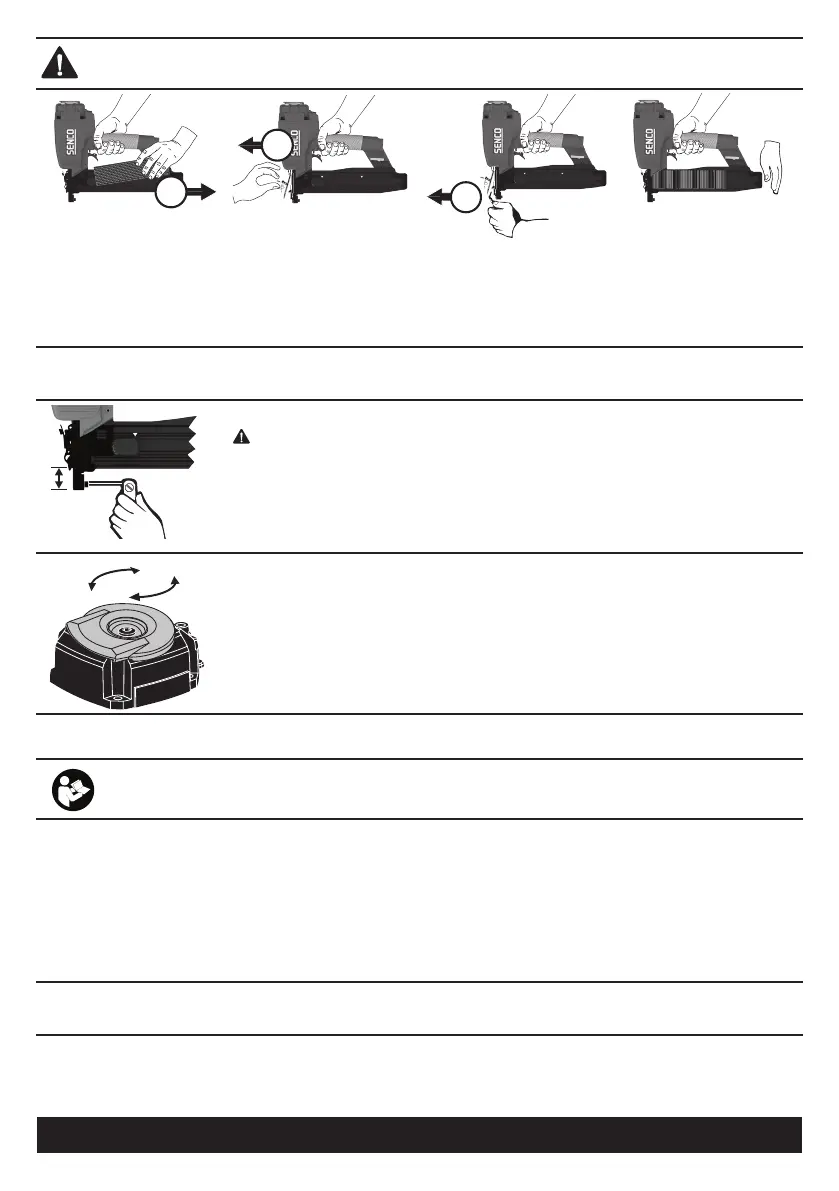
Should a fastener jam occur, disconnect air supply.
1
2
3
➀ Pull feeder shoe back into “locked” position and remove fasteners.
② Open the Quick Release latch.
③ Remove jammed fastener. Close door and latch.
Connect air supply and replace fasteners. Tap feeder shoe and allow to slide forward.
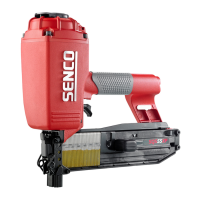
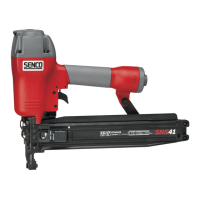
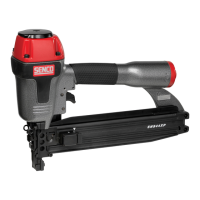
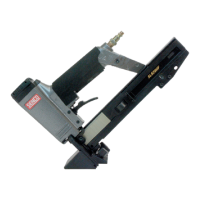
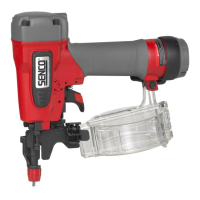
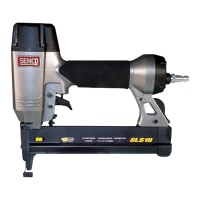
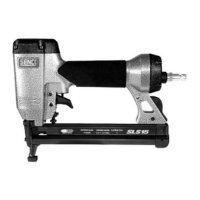
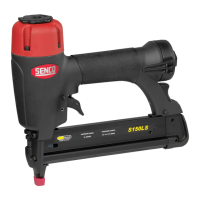
Features
To adjust the depth the fastener is driven:
Disconnect air supply before adjusting.
This tool is equipped with a depth control workpiece contact (safety element). To adjust
the depth of the fastener being driven, loosen the screw and slide the lower workpiece
contact up or down and lock in place by tightening the screw. Be sure the workpiece
contact moves freely after adjustment. A malfunctioning workpiece contact can cause a
fastener to be discharged accidentally.
To adjust the direction of the exhaust air:
The deflector can be rotated to change the direction of the exhaust air.
Rotate deflector to desired location.
Maintenance
Read section titled “Safety Warnings” before using tool.
All screws should be kept tight. Loose screws result in unsafe operation and parts breakage.
With tool disconnected, make daily inspection to assure free movement of trigger. Do not use tool if trigger sticks or
binds.
Wipe tool clean daily and inspect for wear. Use non-flammable cleaning solutions only if necessary–DO NOT SOAK
Caution: Such solutions may damage O-rings and other tool parts.
Squirt Senco pneumatic oil (5 to 10 drops) into the air inlet twice daily. (Depending on frequency of tool use.)
Other oils may damage O-rings and other tool parts.
Repairs other than those described here should be performed only by trained, qualified personnel. Contact SENCO
for information at 1-800-543-4596.
 Loading...