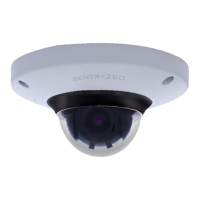
1.4 Outdoor Installation (IS-DM260-R)
We suggest installing the IS-DM260-R according to the following steps to make sure the camera
is waterproof.
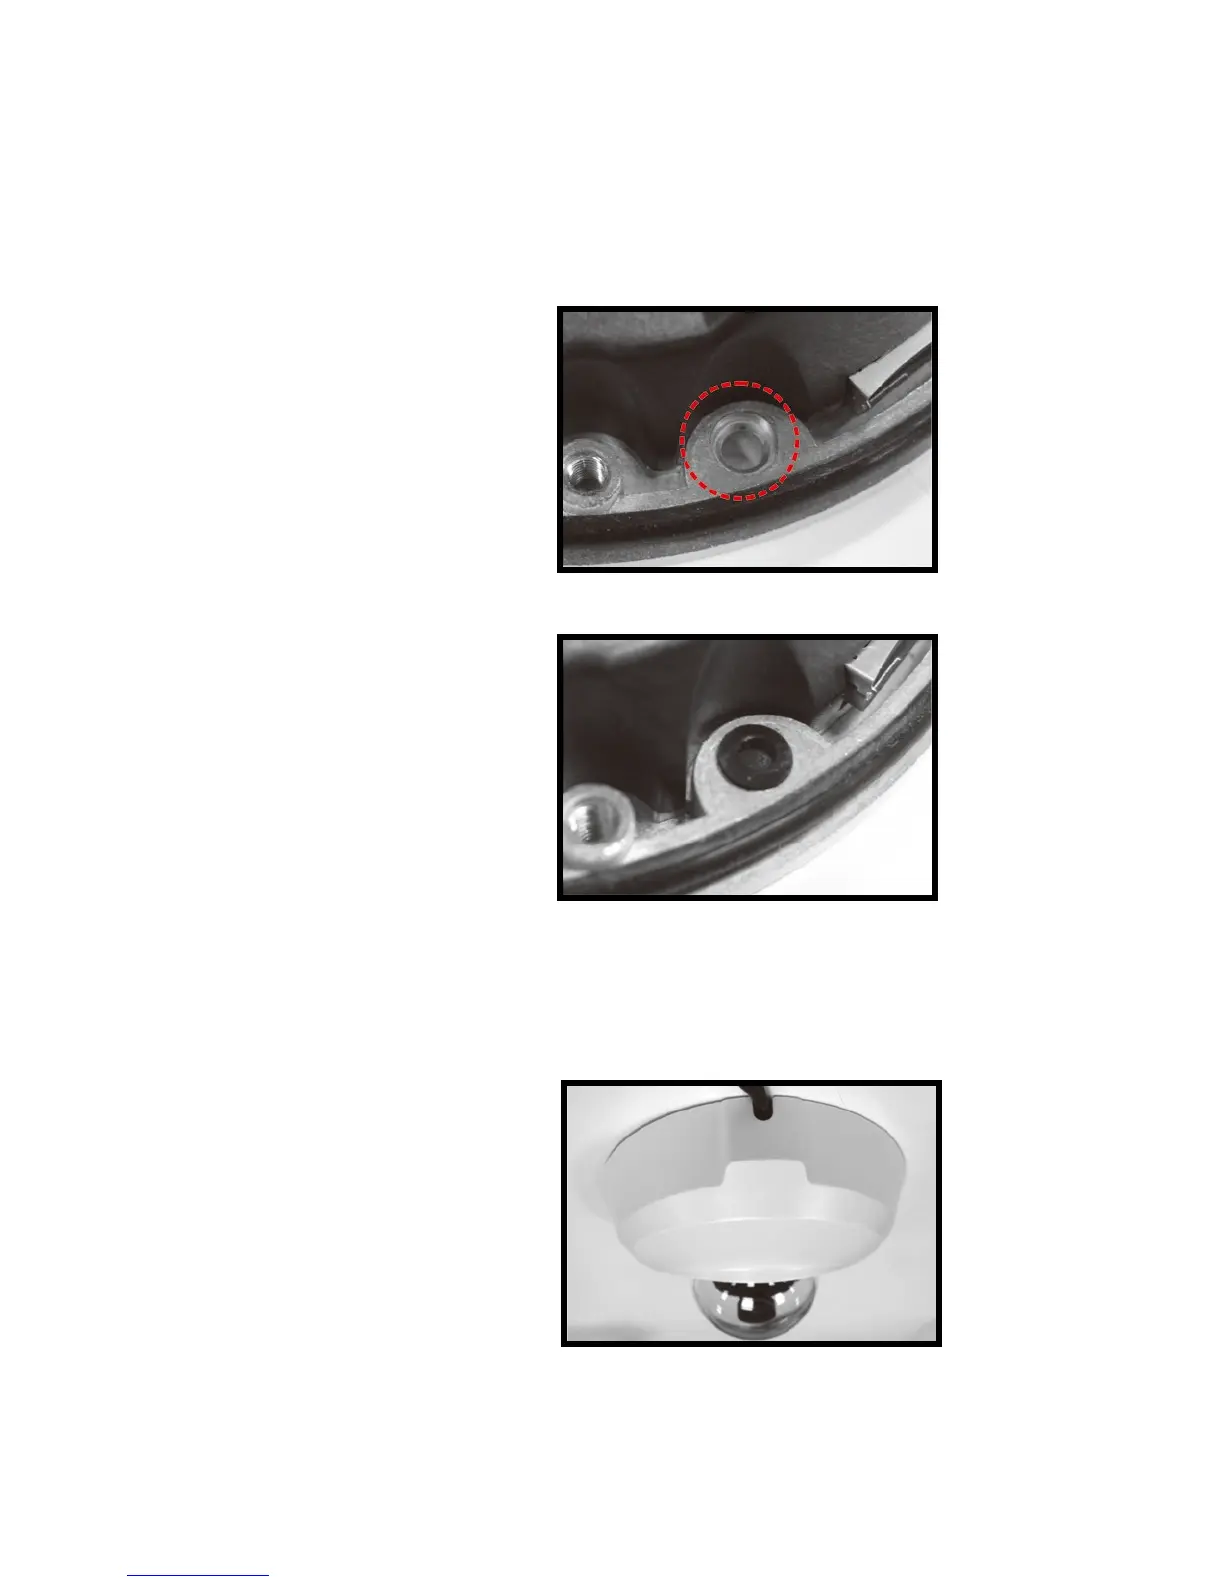
Step 1. Put the rubber washer in both
sides of the holes on the
bottom plate of the camera.
Step 2. Align the installing hole to the
target position and fasten the
screws to attach the camera.
Step 3. Refer to 1.5 CONNECTORS and 2. CONNECT ETHERNET CABLE to connect
the cable and adjust the lens.
Step 4. Align the arched parts on both
the dome cover and bottom
plate to attach the two parts
firmly together. Fasten the
security screws on the dome
cover to finish installing the
camera.