Do you have a question about the SentrySafe SF123ES and is the answer not in the manual?
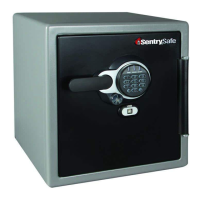
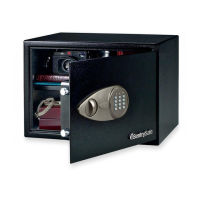
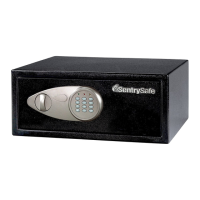
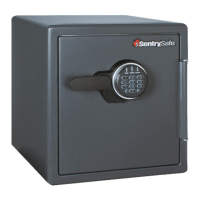
This document describes the construction, operation, and maintenance of a Sentry brand safe, specifically a model purchased around 2003/2004. The safe is designed to provide secure storage, opening via a combination of a physical key and a digital keypad code. It's intended to help users understand how the safe works and how to maintain it, rather than serving as a replacement for the official instruction manual.
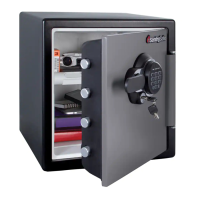
The primary function of the safe is to secure its contents. This is achieved through a robust locking mechanism involving six deadbolt latches. These latches are strategically positioned, with two on each side, and one each on the top and bottom of the door, engaging with the safe body. The entire latch system is interconnected through a wheel gear, which is operated by the safe's external handle.
To ensure a high level of security, the safe incorporates two distinct interlock mechanisms that prevent the door from being opened even if the handle is turned. The first interlock is a key-operated pin block. This mechanical block physically obstructs the door mechanism, preventing the latches from retracting. The second interlock is a solenoid, which is an electromagnetically controlled block. This solenoid is activated by the electronic combination entered on the digital keypad. Both of these interlocks must be disengaged for the door to be opened.
Once the door is successfully opened, an additional mechanical latch interlock engages. This mechanism holds the door latches in their retracted position. This feature is crucial because it prevents the latches from accidentally extending while the door is open, which could potentially cause damage or make it difficult to close the door later. This interlock is typically a simple leaf spring mechanism that presses against a specific latch, holding it in place until the door is closed. When the door is closed, a plastic pin presses inward, releasing this interlock and allowing the latches to extend and secure the door.
Operating the safe involves a sequence of steps that combine mechanical and electronic actions.
To open the safe:
When the door is fully opened and the handle is in the down position, a specific mechanism engages to keep the latches retracted. A leaf spring presses against the lower right door latch (when viewed from the interior), causing it to move forward slightly. This latch arm then drops over a small ledge, where it is held by the spring. This prevents the handle from rising and the door latches from springing back to their extended, engaged positions.
To close the safe:
Accessing the internal mechanisms of the door, for maintenance or inspection, requires careful removal of the plastic inner panel. This panel is secured by several plastic dimples and projections. To remove it:
It is crucial to proceed slowly and carefully when removing the panel, as it has projections that hold various mechanism parts in place. Disturbing these parts or removing them without understanding their function can lead to operational issues.
Regular maintenance is essential to ensure the safe operates smoothly and reliably. Several key areas require attention:
The document also mentions a repair scenario where the safe's handle broke off during a robbery attempt. This highlights the importance of understanding the safe's construction for potential repairs. In this specific case, the handle was repaired by drilling several 1/8" holes into both the handle and its stub, roughing both surfaces, and then liberally applying PC7 epoxy to the pins and joint, allowing it to cure completely. This demonstrates that with proper knowledge and tools, certain mechanical repairs can be undertaken to restore the safe's functionality.
| Lock Type | Electronic |
|---|---|
| Waterproof | Yes |
| Battery Type | AA |
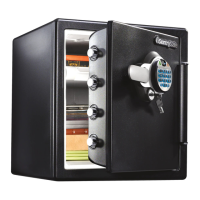
| Shelves | 1 adjustable shelf |
| Color | Black |
| Material | Steel |
| Fire Rating | 1 hour |