7 8
1-800-798-7398 sharkclean.com
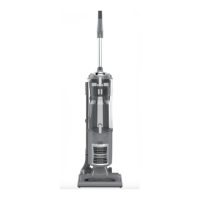
ASSEMBLING
YOUR VACUUM
1 Lay your vacuum body on
a level surface.
2 Slide the electrical
connection from the
power nozzle into the main
body to click into place.
3 Connect the hose from
the main body to the
power nozzle; push with
a slight turning motion to
create a snug fit.
4 Slide the handle assembly
into the upright unit
aligning the hose hook on
the handle assembly with
the power cord hooks on
the back of the unit.
5 Secure the handle
assembly in place
with included nut/bolt
(shipped attached to
handle assembly).
6 Place the vacuum in the
upright position.
7 Insert the Cleaning Wand
into the center post on
the tool caddy.
8 Store the Crevice Tool,
Dusting Brush on the back
of the unit.
9 Attach the Super Stretch Hose:
a) Snap hose into swivel connector
b) Route under anti-tip hook to prevent
vacuum from tipping
c) Route over upper hose holder
d) Press securely onto cleaning wand
with handle
IMPORTANT:
Insert the hose into the wand. This
completes the air path and enables
suction to reach the Floor Power Nozzle.
10 To store the vacuum:
When storing your vacuum, wind the cord
around the two cord holders and secure
with cord clip:
• Quick Cord release at the top of the unit
– place in the upright position.
• Cord holder near the base – turn it until it
is pointing down.
To release the cord, turn the Quick Cord
release to the left or right.
11 To carry the vacuum:
With the unit in the standing position, lift
by the Dust Cup Assembly Handle (carry
handle).
7
8
4
2
3
a
C
b
d
9
5
 Loading...