38
Settings when using external devices
Press MENU and the MENU screen displays.
1
Press
c
/
d
to select “Option”.
2
Press
a
/
b
to select “Colour System”, and
then press ENTER.
3
Press
a
/
b
to select a compatible video signal
system of your equipment, and then press
ENTER.
4
PAL
SECAM
NTSC 3.58
NTSC 4.43
PAL-60
AUTO
You can change the colour system to one that is
compatible with the image on the screen.
NOTE
• Factory preset value is “AUTO”.
• If “AUTO” is selected, colour system for input signal is
automatically set. If an image does not display clearly,
select another colour system (e.g. PAL, NTSC 4.43).
• “Colour System” is selectable only when inputting an
S-VIDEO or composite signal.
Colour system settings
You can assign each input source a label as you
prefer.
NOTE
• You cannot change labels if the input source is TV.
Press TV/VIDEO to select the desired input
source.
1
Press MENU and the MENU screen displays.
2
Press
c
/
d
to select “Setup”.
3
Press
a
/
b
to select “Input Label”, and then
press ENTER.
• When an HDMI input terminal (INPUT 4 to INPUT 6)
is selected, a Menu screen for selecting “Auto” or
“Manual” is displayed.
• When you select “Auto” using
a
/
b
, the Menu
screen returns to the “Input Label” Menu screen.
4
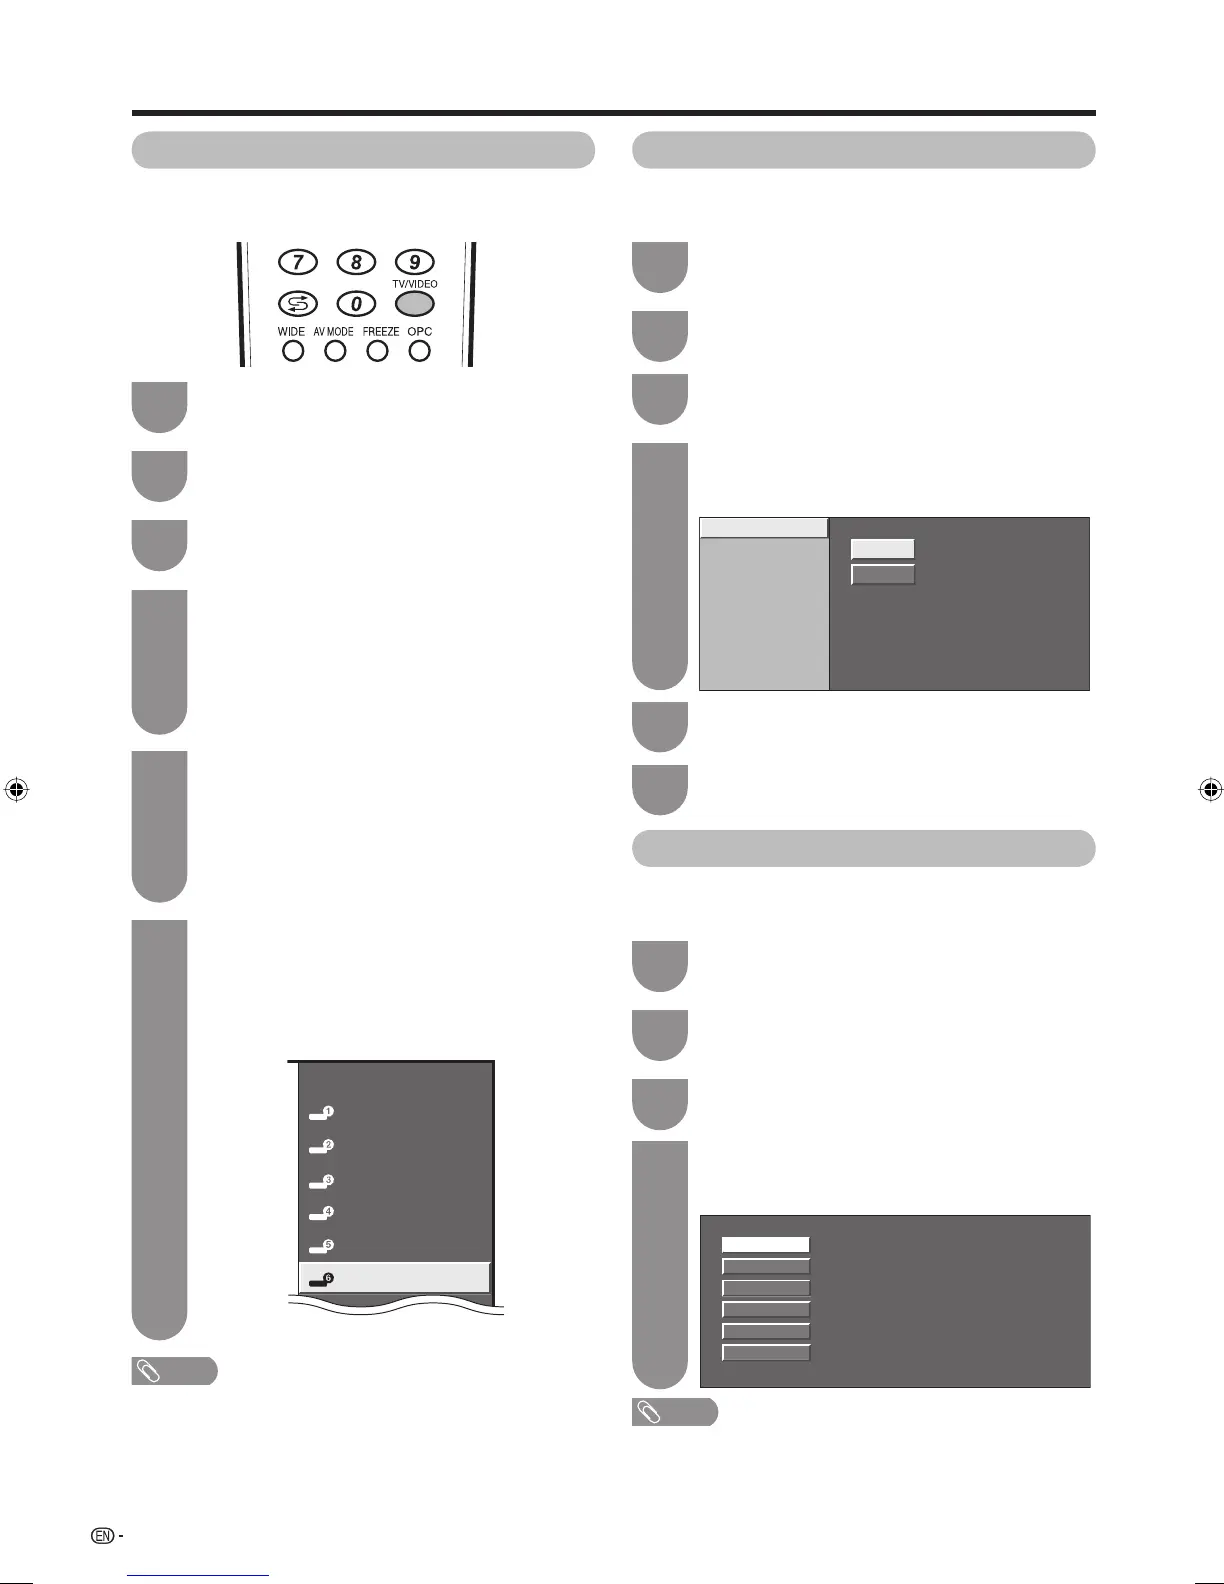
Labelling input sources
TV
INPUT1
INPUT2
DVD
INPUT3
INPUT4
INPUT5
Repeat the above until the name is fully spelt
out, and then press MENU.
• The name can be 6 characters or less.
• When you want to set an input source name of
less than 6 characters, press MENU to exit from
the labelling menu.
(Example)
6
Press
a
/
b
to select characters and
c
/
d
to move to the desired digit to label the input
source.
• When you want to change the input label that you
have already assigned to the default name, press
c
/
d
to move to “CLEAR” on the “Input Label”
screen, and then press ENTER.
5
INPUT 4
INPUT 5
INPUT 6
INPUT 7
Yes
No
This setting allows you to skip the HDMI or PC input
on the “Input Select” menu.
Press MENU and the MENU screen displays.
1
Press
c
/
d
to select “Setup”.
2
Press
a
/
b
to select “Input Skip”, and then
press ENTER.
3
Press
a
/
b
to select the Input (INPUT 4 to
INPUT 7) you wish to skip, and then press
ENTER.
4
Press
a
/
b
to select “Yes”, and then press
ENTER.
5
Press MENU to exit.
6
Skipping HDMI/PC input
42A63X_en_f.indd 3842A63X_en_f.indd 38 2007/10/31 16:09:542007/10/31 16:09:54