On=Screen Display Menu
m
Automatically detects a film-based source (originally
encoded at 24 frames/second), analyzes it then
recreates each still film frame for high-definition picture
quality.
On: Detects,analyzes,convertsfilm source.
Off: Normal viewing mode.
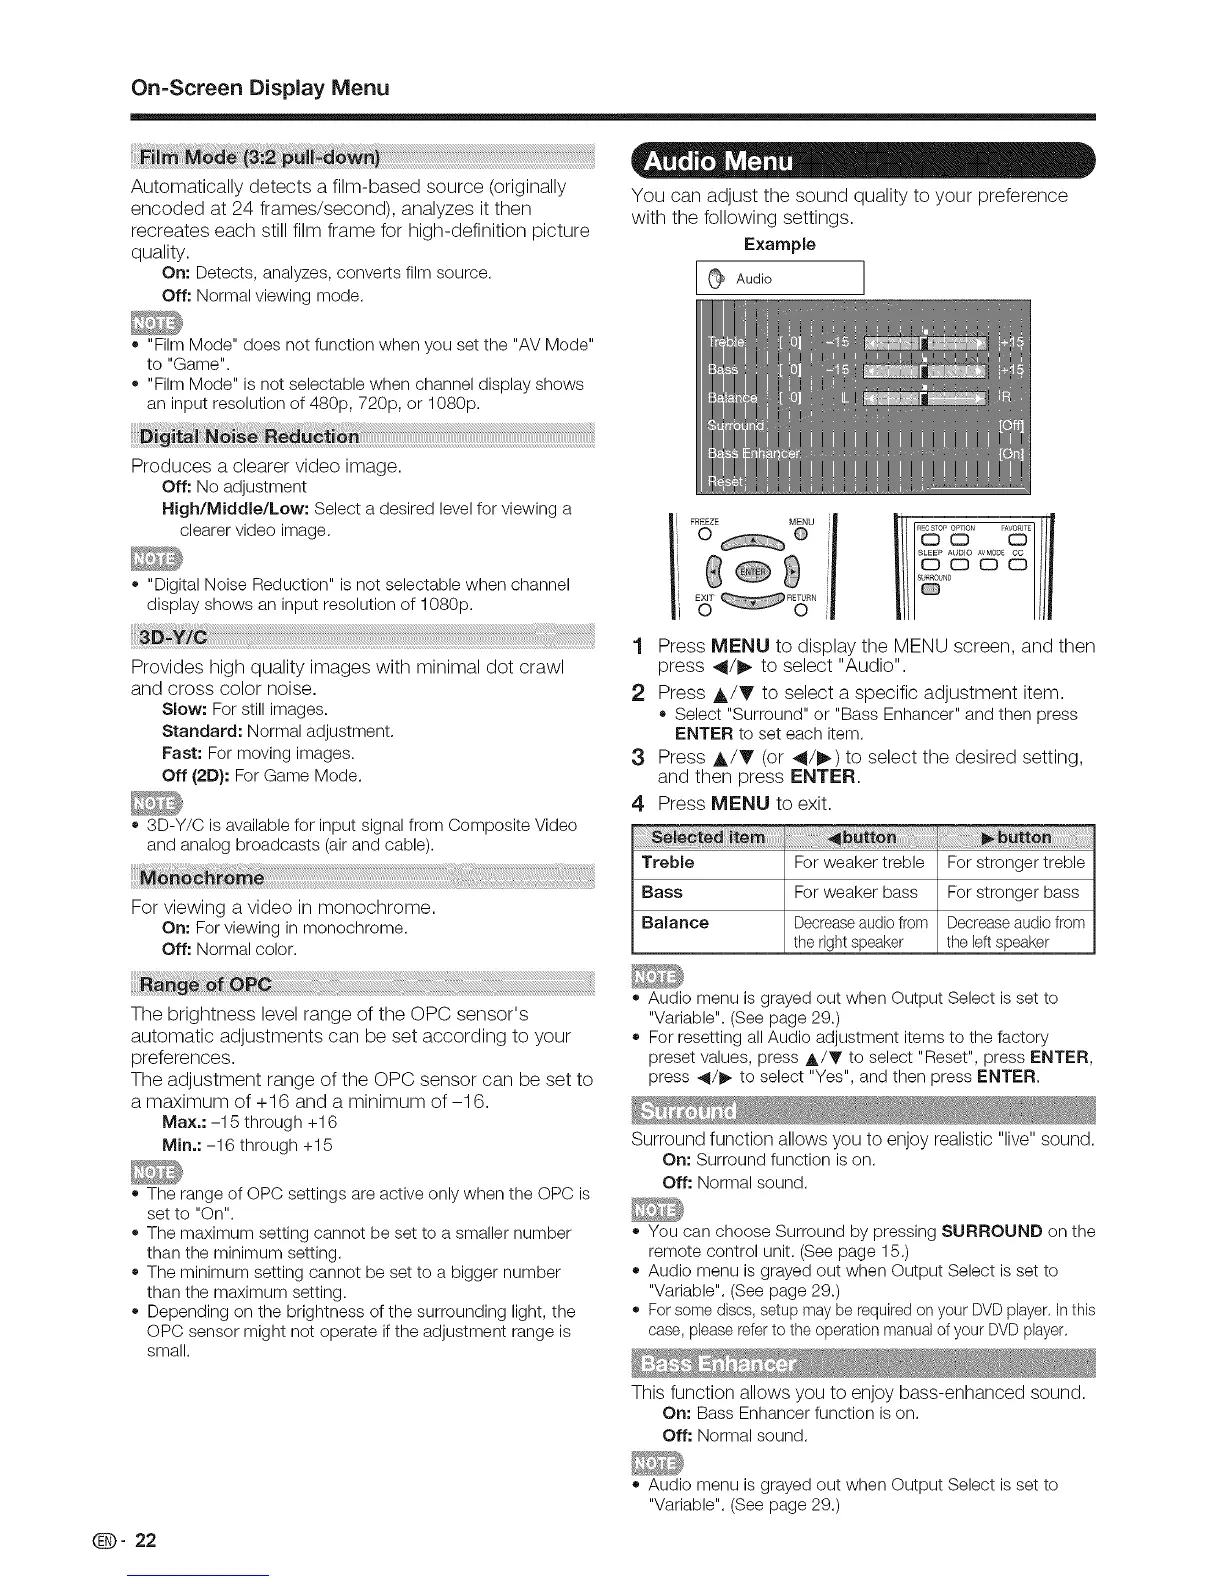
You can adjust the sound quality to your preference
with the following settings.
Example
[9 Audio
o "Film Mode" does not function when you set the "AV Mode"
to "Game".
o "Film Mode" is not selectable when channel display shows
an input resolution of 480p, 720p, or 1080p.
Produces a clearer video image.
Off: No adjustment
High/Middle/Low: Select a desired level for viewing a
clearer video image.
o "Digital Noise Reduction" is not selectable when channel
display shows an input resolution of 1080p.
Provides high quality images with minimal dot crawl
and cross color noise.
Slow: For still images.
Standard: Normal adjustment.
Fast" For moving images.
Off (2D}: For Game Mode.
o 3D-Y/C is available for input signal from Composite Video
and analog broadcasts (air and cable).
For viewing a video in monochrome.
On: For viewing in monochrome.
Off: Normal color.
The brightness level range of the OPC sensor's
automatic adjustments can be set according to your
preferences.
The adjustment range of the OPC sensor can be set to
a maximum of 4-16 and a minimum of-16.
Max.: -15 through +16
Min.: -16 through +15
e
e
e
e
The range of OPC settings are active only when the OPC is
set to "On".
The maximum setting cannot be set to a smaller number
than the minimum setting.
The minimum setting cannot be set to a bigger number
than the maximum setting.
Depending on the brightness of the surrounding light, the
OPC sensor might not operate if the adjustment range is
small.
Q- 22
¢ 9
, sP
'8"° /
1 Press MENU to display the MENU screen, and then
press 4/!_ to select "Audio".
2 Press A/V to select a specific adjustment item.
o Select "Surround" or "BassEnhancer"and then press
ENTER to set each item.
3 Press ,&/T (or 4t/_) to select the desired setting,
and then press ENTER.
4 Press MENU to exit.
Treble For weaker treble For stronger treble
Bass For weaker bass For stronger bass
Balance Decreaseaudiofrom Decreaseaudio from
the right speaker the left speaker
o Audio menu is grayed out when Output Select is set to
"Variable". (See page 29.)
o For resetting all Audio adjustment items to the factory
preset values, press A/Y to select "Reset", press ENTER,
press 41/I_ to select "Yes", and then press ENTER.
Surround function allows you to enjoy realistic "live" sound.
On: Surround function is on.
Off: Normal sound.
o You can choose Surround by pressing SURROUND on the
remote control unit. (See page 15.)
o Audio menu is grayed out when Output Select is set to
"Variable". (See page 29.)
o For some discs, setup may be required on your DVD player. In this
case, please referto the operation manualof your DVD player.
This function allows you to enjoy bass-enhanced sound.
On: Bass Enhancer function is on.
Off: Normal sound.
o Audio menu is grayed out when Output Select is set to
"Variable". (See page 29.)