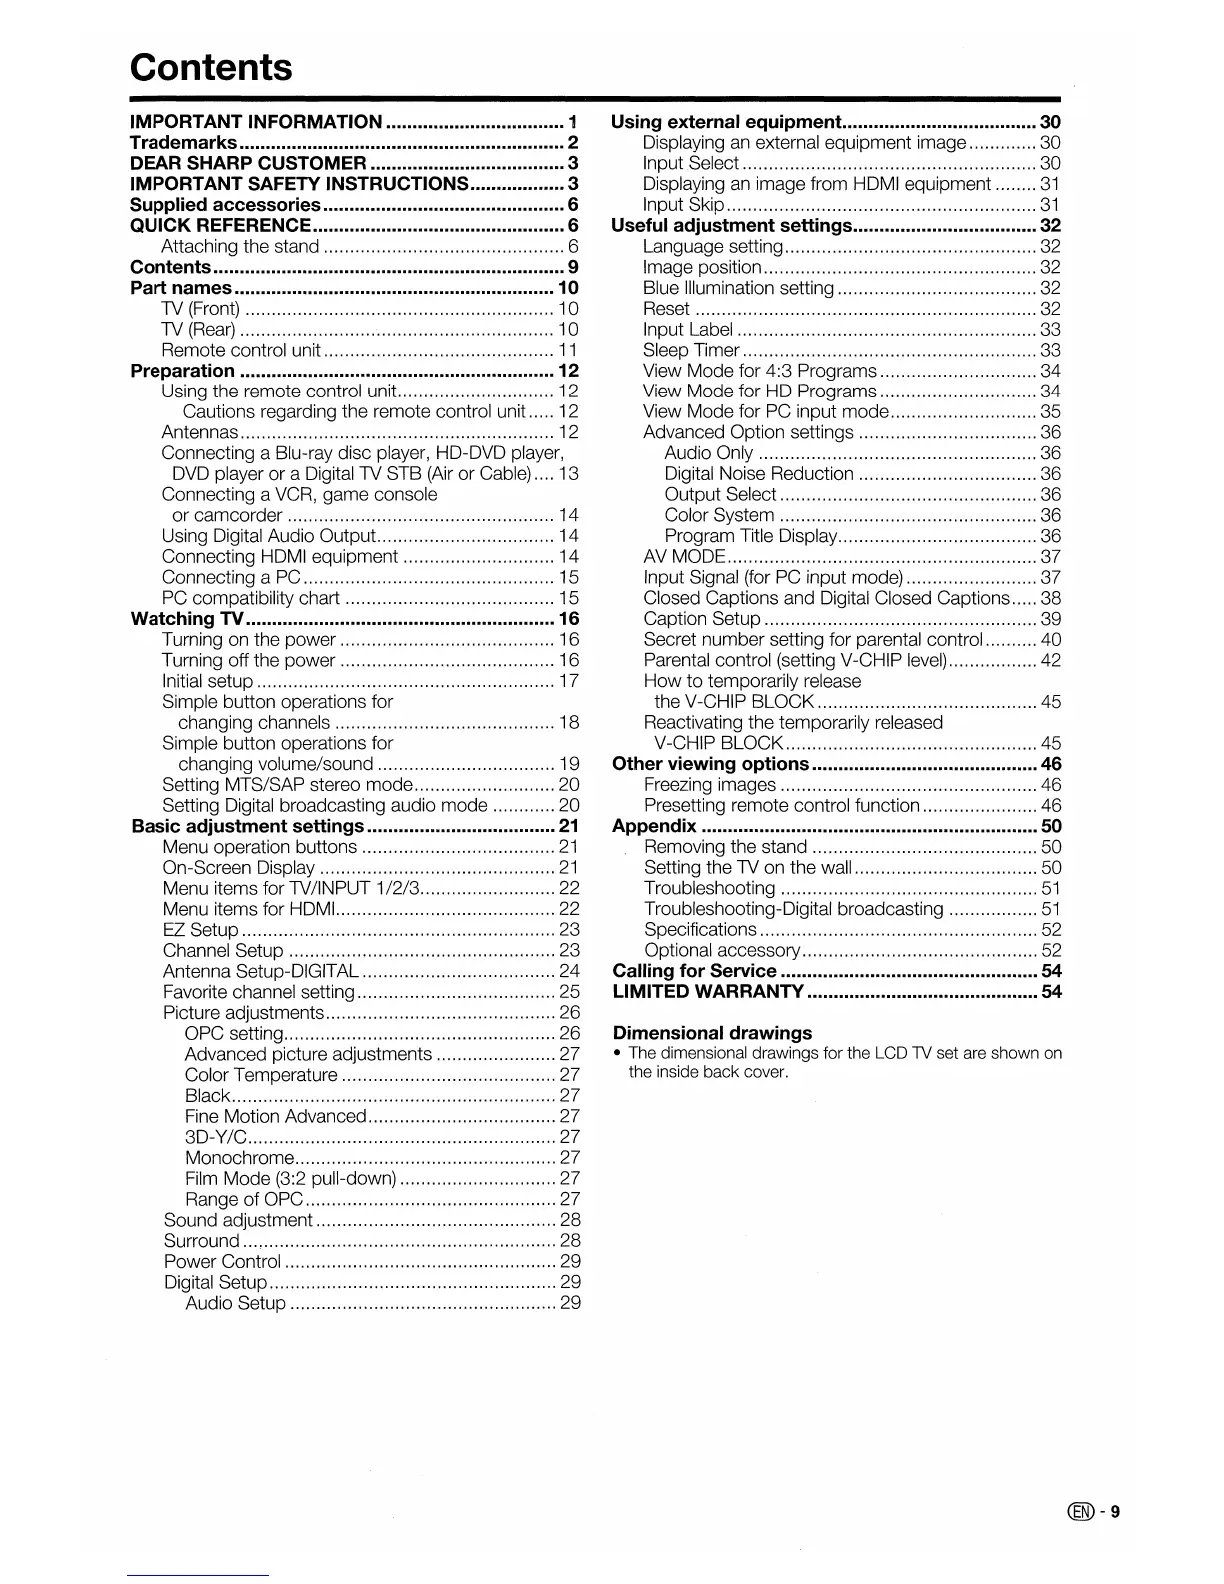
Contents
IMPORTANT INFORMATION 1
Trademarks 2
DEAR SHARP CUSTOMER 3
IMPORTANT SAFETY INSTRUCTIONS 3
Supplied accessories 6
QUICK REFERENCE 6
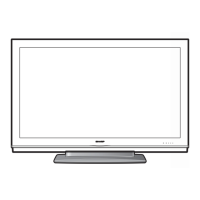
Attaching the stand 6
Contents 9
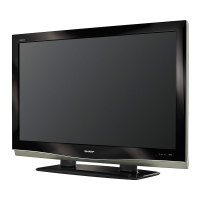
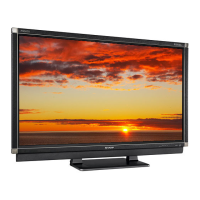
Part names 10
W (Front) 10
1V
(Rear)
10
Remote control unit
11
Preparation 12
Using the remote control unit 12
Cautions regarding the remote control unit
12
Antennas 12
Connecting a Blu-ray disc player, HD-DVD player,
DVD player or a Digital1V STB (Air
or
Cable) .... 13
Connecting a VCR, game console
or
camcorder 14
Using Digital Audio Output 14
Connecting HDMI equipment 14
Connecting a PC 15
PC compatibility chart 15
Watching TV 16
Turning on the
power
16
Turning off the power 16
Initial setup 17
Simple button operations for
changing channels
18
Simple button operations for
changing volumelsound
19
Setting MTSISAP stereo
mode
20
Setting Digital broadcasting audio mode
20
Basic adjustment settings
21
Menu operation buttons
21
On-Screen Display
21
Menu items for TVIINPUT 1/2/3 22
Menu items for HOM!. 22
EZ
Setup 23
Channel Setup 23
Antenna Setup-DIGITAL
24
Favorite channel setting 25
Picture adjustments
26
OPC setting 26
Advanced picture adjustments 27
Color Temperature 27
Black 27
Fine Motion Advanced 27
3D-Y/C 27
Monochrome 27
Film
Mode
(3:2 pull-down) 27
Range
of
OPC 27
Sound adjustment 28
Surround
~
28
Power Control 29
Digital Setup 29
Audio Setup 29
Using external equipment 30
Displaying an external equipment image 30
Input .Select 30
Displaying an image from HDMI equipment
31
Input Skip
31
Useful adjustment settings 32
Language setting 32
Image position 32
Blue Illumination setting 32
Reset 32
Input Label
33
Sleep Timer 33
View
Mode
for 4:3 Programs 34
View
Mode
for HD Programs 34
View
Mode
for PC input
mode
35
Advanced Option settings 36
Audio Only 36
Digital Noise Reduction 36
Output Select 36
Color System 36
Program Title Display 36
AV MODE 37
Input Signal (for PC input mode) 37
Closed Captions and Digital Closed Captions
38
Caption Setup 39
Secret number setting for parental control 40
Parental control (setting V-CHIP level)
42
How
to
temporarily release
the V-CHIP BLOCK 45
Reactivating the temporarily released
V-CHIP BLOCK 45
Other viewing options 46
Freezing images 46
Presetting remote control function 46
Appendix 50
Removing the stand 50
Setting the
1V
on the wall 50
Troubleshooting
51
Troubleshooting-Digital broadcasting
51
Specifications 52
Optional accessory 52
Calling for Service 54
LIMITED WARRANTY 54
Dimensional drawings
• The dimensional drawings for the LCD TV set are shown on
the inside back cover.
@-g