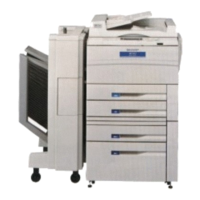
In addition, the saper is required which is packed together with the
desk.
Before installing
Before installing to copier model, turn the DIP
switches to "ON".
Remove the 2 mounting screws securing the sorter control cover,
then remove the sorter control cover.
Next, move dip switch number 5 to the "ON" position (the dip
switches are attached to the sorter controller circuit board).
Reattach the sorter controller cover in its document position and
secure it with the 2 mounting screws.
Be sure that you have plenty of room around the
copier for work space.
Remove the securing fixtures and attach the caster
spacers.
★ When performed on the skid.
Remove the securing fixtures (2).
Remove the caster screws (2 per caster) and take off the 4 casters.
Next, attach the casters and caster spacers using 2 screws each (M4
x 50) as shown in the figure.
Green label: 1
Support guide: 1
Stapling location label A: 1 Stapling location label D: 1
Sorter protection mat: 1
Dip switches
Mounting screws
Sorter control cover
Sorter control circuit board
ON
1
2
3
4
5
6
1.5m
1.0m
Securing fixtures
Caster spacers
Caster screws
Casters
Caster spacer
Caster screws
Casters
Caster spacer
5 – 16