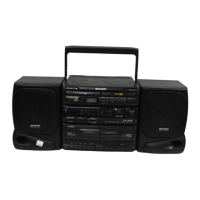
GX-CH170X/CH170Z
CD SECTION
Since this CD system incorporates the following automatic
adjustment function, when the pickup is replaced, it is necessary
to reajust it.
Since this CD unit does not need adjustment, the combination
of PWB and laser pickup unit is not restricted.
– 10 –
TEST MODE
After setting the FUNCTION switch to "CD" turn on power. Not later than 1s but later than 500 msec after power is
turned on press simultaneously the following buttons.
1. CD TEST mode DISC1/2 + DOWN/REVIEW
2. LCD TEST mode DISC1/2 + UP/CUE
3. ELECTRONIC VOLUME TEST mode DISC1/2 + STOP
Start
Note
1. When the CD LID switch is in the OFF position, the unit will be able to enter the test mode.
However, playback cannot be performed in this mode.
2. The LCD lights wholly.
1
2
When the "PLAY" button is pressed, the laser will be lit, and when the "STOP" button is pressed, it will be
turned off. Playback will also start and stop when these buttons are pressed.
Turning the tracking servo on or off.3
a. If the "PLAY" button is pressed while in the stop mode, the laser will simply be turned on at first.
b. If the laser is lit and the "PLAY" button is pressed again, playback will start from the current pickup position.
c. If the "STOP" button is pressed, playback will stop. When pressed again, the laser will be turned off.
a. Each time the PAUSE button is pressed during playback, the tracking servo will be turned on or off.
(Note: If the PLAY button is pressed while in the stop mode, the tracking servo will automatically be
turned on.)
Operation
The use of the "UP/CUE" button will move the pickup to the outermost position.
The use of the "DOWN/REVIEW" button will move the pickup to the innermost position.
When the TEST mode is entered, at first the CD mechanism is shifted to Tray 1 or Tray 2.
The CD mechanism can be shifted by using the DISC1/2 button.
TRAY-1 OPEN/CLOSE button: The Tray1 can be opened and closed.
TRAY-2 OPEN/CLOSE button: The Tray2 can be opened and closed.
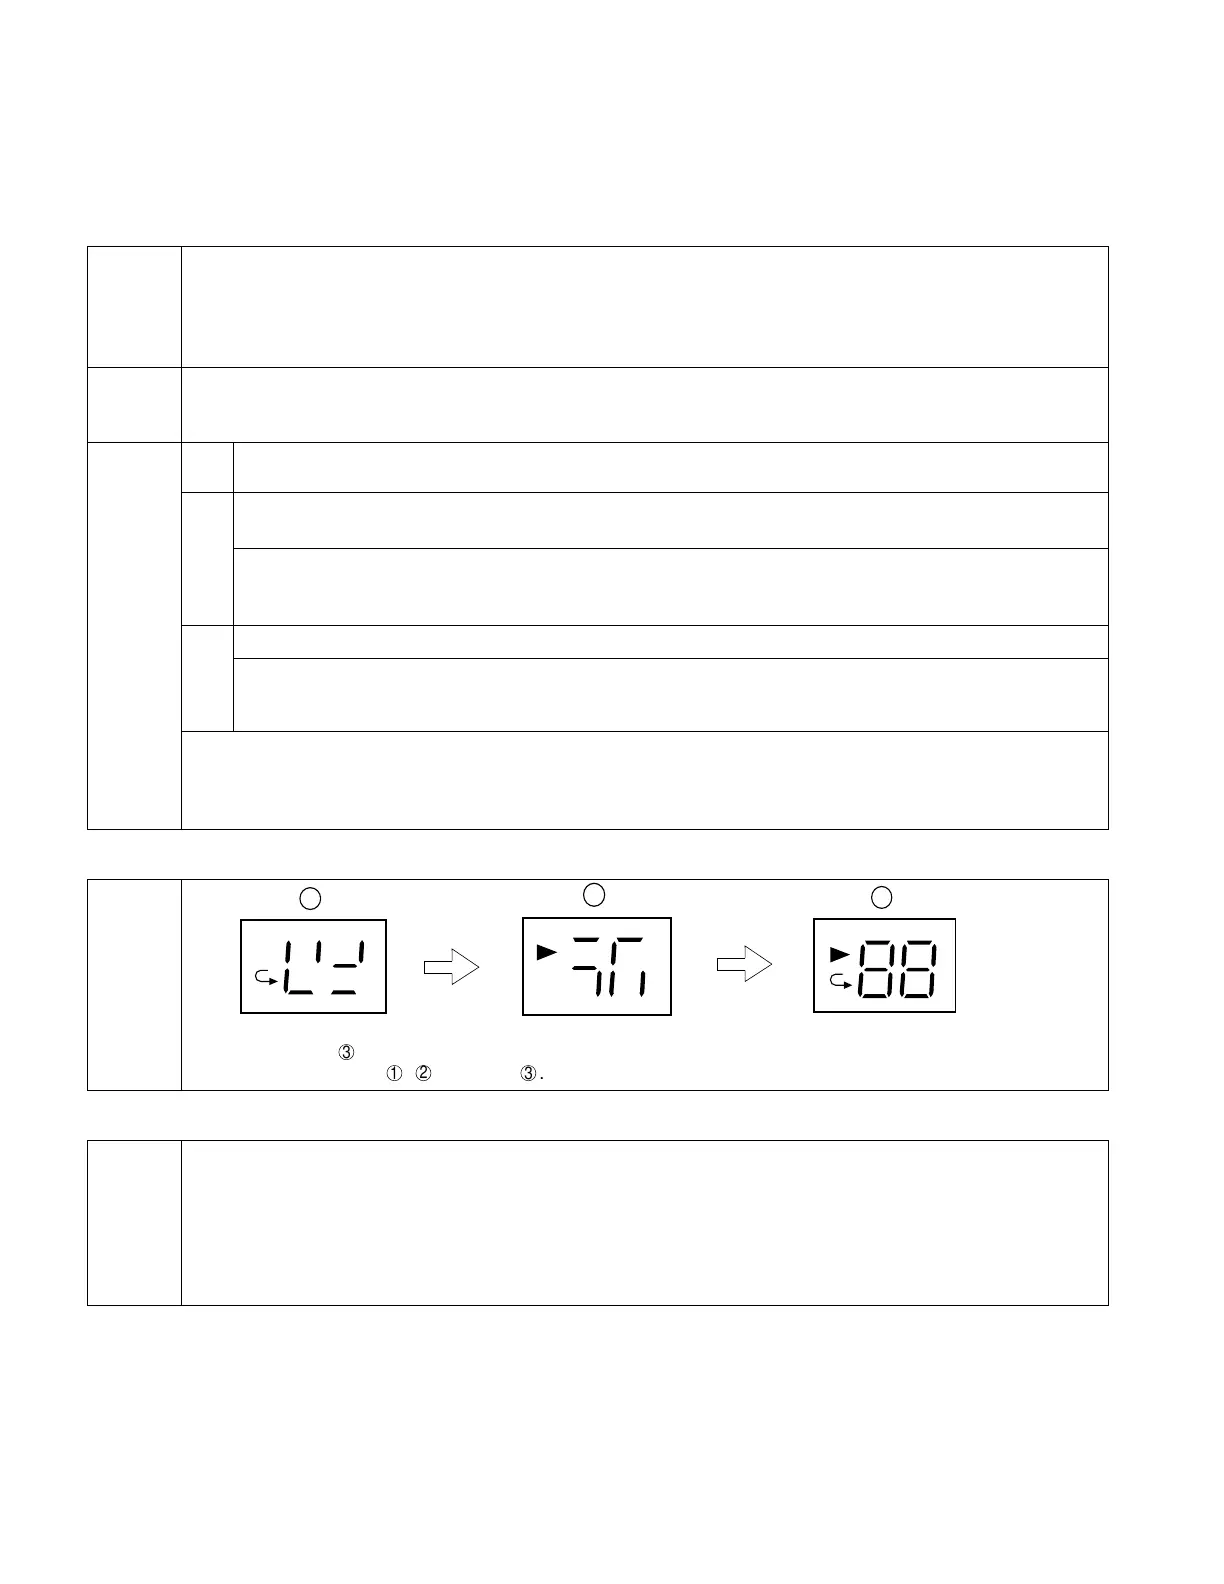
LCD MODE
Display
* After the number
3
has appeared in the display, each time the "UP/CUE" button is pressed, the display will switch
in the following order:
1
,
2
, and then
3
.
ELECTRONIC VOLUME TEST MODE
Operation
VOL is set to -14 dB (LCD indication "5").
The VOL setting is changed as follows by using the "VOL UP" button or "VOL DOWN" button.
VOL UP button: VOL setting Min VOL setting -14 dB VOL setting Max
LCD indication "0" LCD indication "5" LCD indication "10"
VOL DOWN button: VOL setting Max VOL setting -14 dB VOL setting Min
LCD indication "10" LCD indication "5" LCD indication "0"
‘
‘
‘
‘
2
1
1 second1 second