E-8
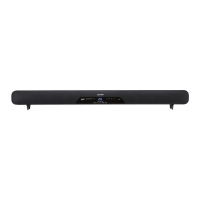
Fix a wall mount plug into the hole using
a hammer, until it is ush with the wall
surface.
3
1-1/4” (32 mm)
3/8” (8-9 mm)
Wall surface
System preparation (continued)
Wall surface
Screw the wall mount angle to the wall as
shown in the illustration. (Total screw is 8
pieces)
4
Wall mount angle
Wall mount angle
Wall mount angle
(screws x 4)
Wall surface
Wall surface
(screws x 4)
Note:
Make sure all screws are fully tightened.
(screws are not supplied)
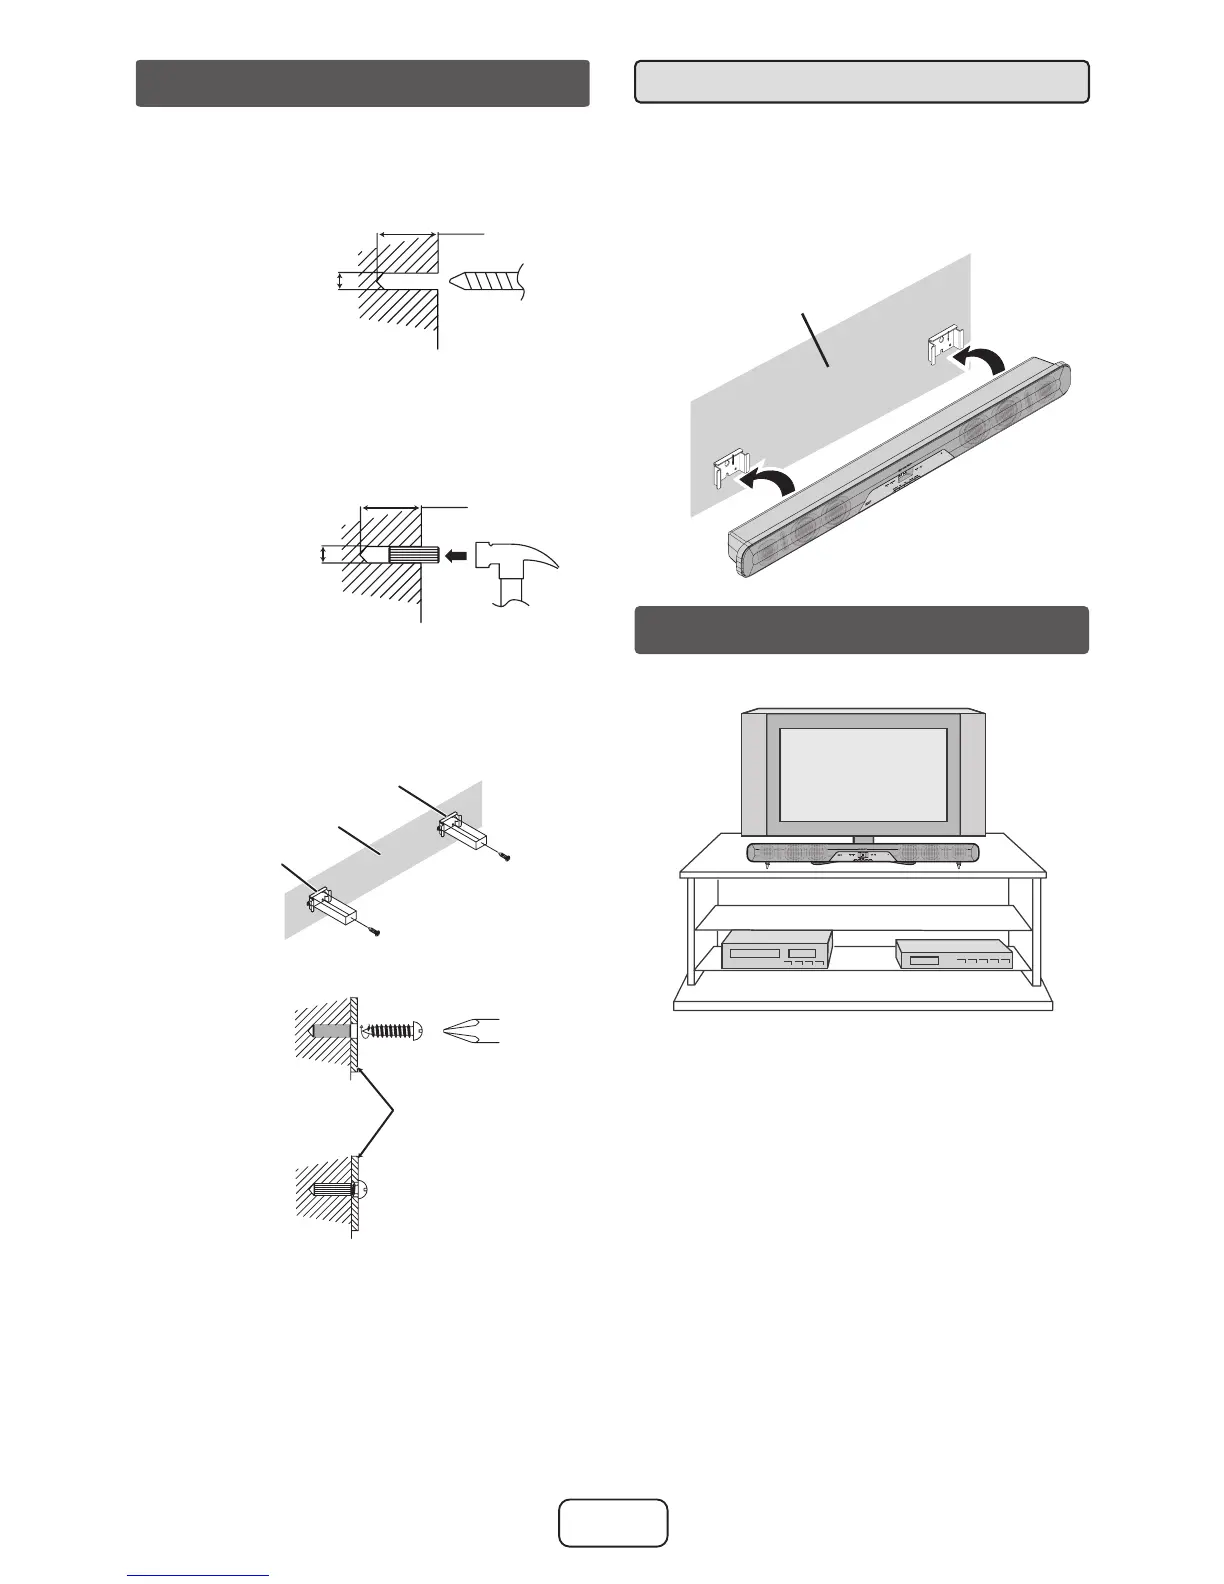
Installing the sound bar■
Align the wall mount slot at the unit to the
wall mount angle.
Slot the unit into the wall mount angle.
Fix them securely.
1
2
3
Wall surface
Make a hole on the wall following the screw
point marks on the pattern paper by using
a drill.
2
Wall surface
1-1/4” (32 mm)
3/8” (8-9 mm)
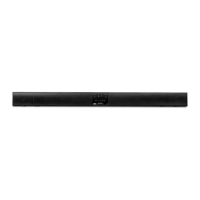
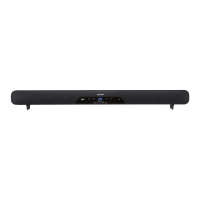
Placing the sound bar
Installation image:
Place the unit as shown.
Notes:
As the sound from the unit is omni-
directional, you can place the unit
anywhere you like. However, it is
recommended to place it as close to
the TV as possible.
The front panel of the unit is not
removable.
Caution:
Do not change the installation direction
when the unit is turned on.
Do not stand or sit on the unit as you
may be injured.
●
●
●
●
TV
VCR
DVD player