IM-MT899H/IM-MT899W
– 18 –
Performance mode =Normal
Playback volume =28
LINE REC volume =30
Microphone REC volume =20
Resume setting =Cancellation
: To the test mode stop ([Test mode menu])
Volume+
Volume –
: Version indication 2 seconds
EEPROM version
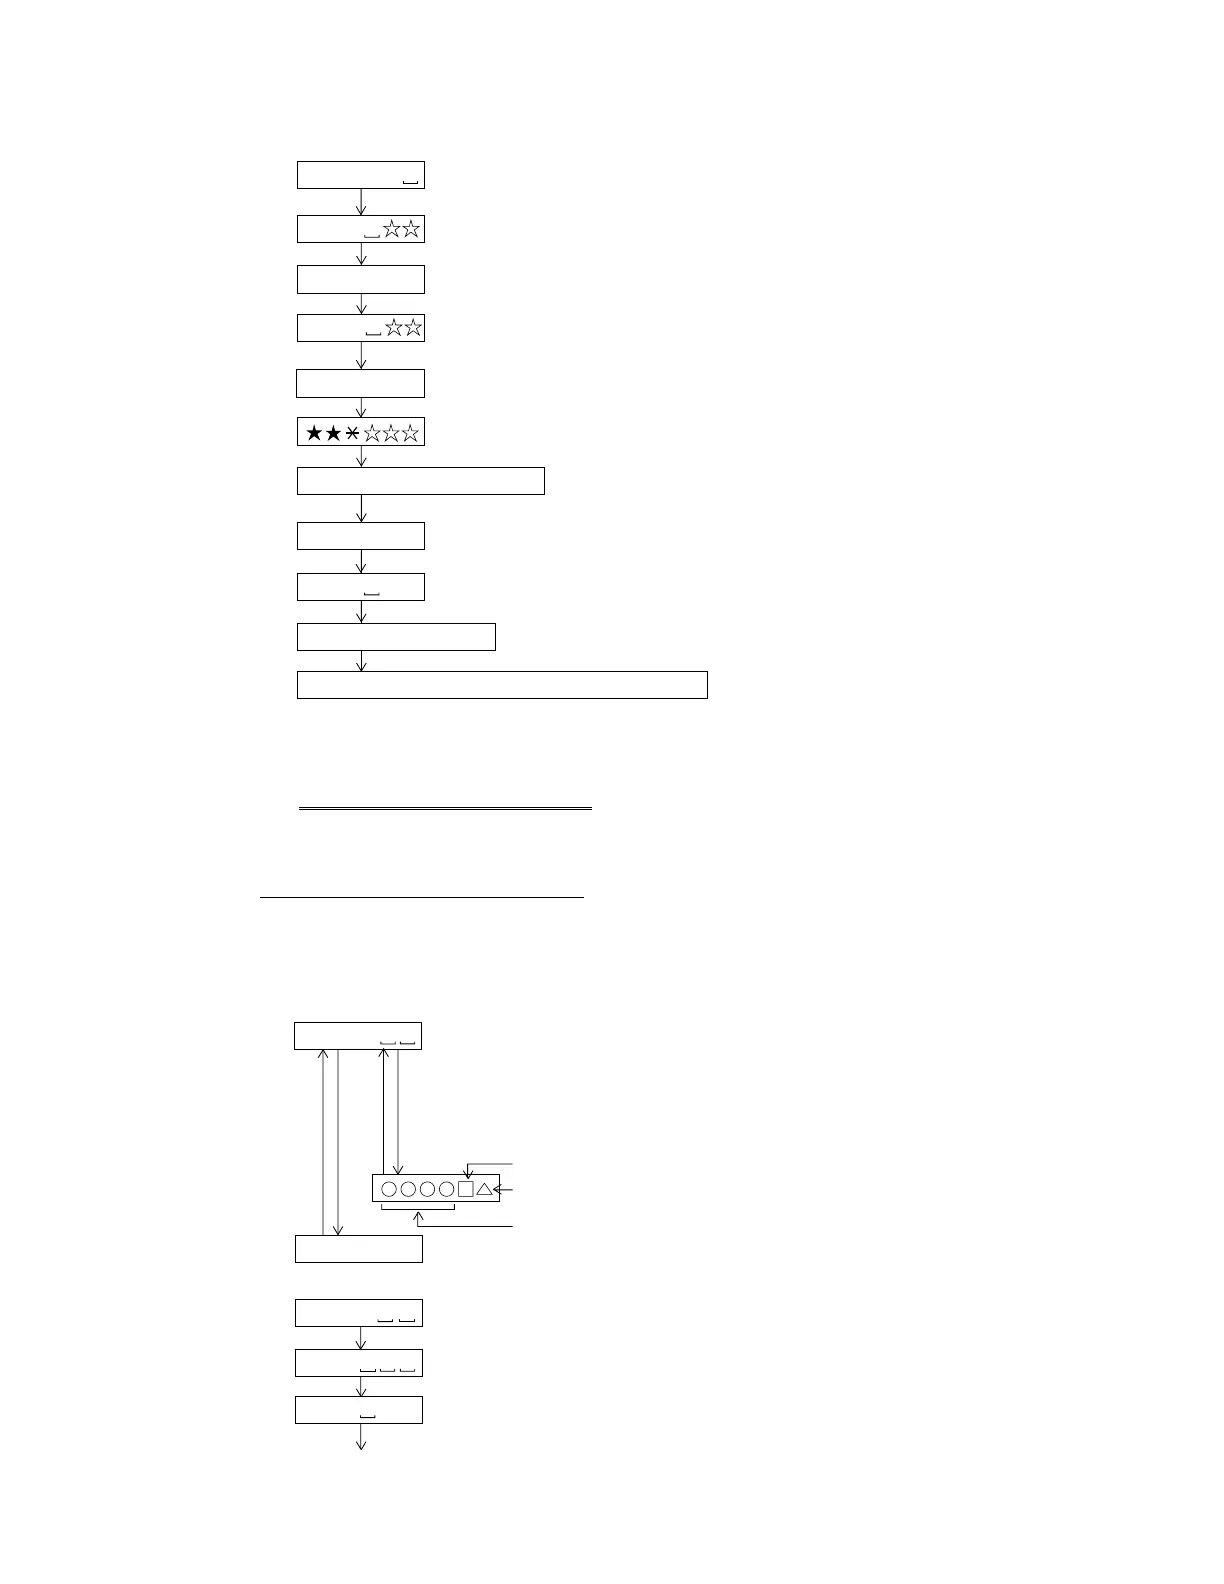
Test Mode Start · Completion method
All the lighting
T E S T
• Starting method of the test mode
When the unit is in the stand-by state (with no display), the test mode is started by performing
the following operation using the remote control.
Press the [PLAY] button while pressing the [MODE/DISPLAY] button, and release the [MODE/DIAPLAY] button
while keeping the [PLAY] button pressed, and press the [VOLUME–] button.
: LCD all the lighting two seconds
Destination
Program version
• How to cancel the test mode
T E S T
B Y E
B Y E O K
POWER OFF
: Test mode stop
: [OK] or [NG]
Check the microcomputer RAM and EEPROM with
the contents of the preliminary adjustment.
Pickup position initialisation
EEPROM contents renewal.
STOP
Indication after the start :
(During the spare style automatic adjustment.)
(During the focus balance adjustment.)
(During the adjustment that ATT is automatic.)
Normality completion.
(Adjustment completion.)
(Continuance is regenerating.)
It confirms that an address proceeds.
PLAY
PLAY
A U T O 1
Do the following when replacing the mechanism, the pickup, the
EEPROM (IC402), the LSI(IC201) or the main PWB unit.
A D J . O K
A T 2
A T 1
Use serviceable EEPROM (RH-IX2988AFZZ) for replacement.
The serviceable EEPROM is dedicated to MT899 with an authentication ID.
After replacement, write the default value in the microcomputer, and change it to the set value of
the latest version.
Note) After that, be sure to perform the shipment setting.
(The battery indicator starts to operate correctly after you complete the setting.)
The indication of RAMDOM
A P # # # #
Indication disappears.
All the supply of the power supply is turned off.
B Y E O K
STOP2 is pushed.
Remote controller MODE/DISPLAY button.
A D J . O K
Enter the test mode, move the pickup to the most internal periphery and execute AUTO1.
(Use the disc of MMD-213A.)
PLAY is pushed.
Normality completion.
(In such cases as the battery.)