18
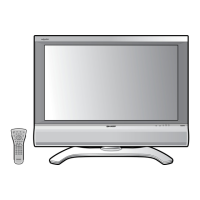
LC-26D43U
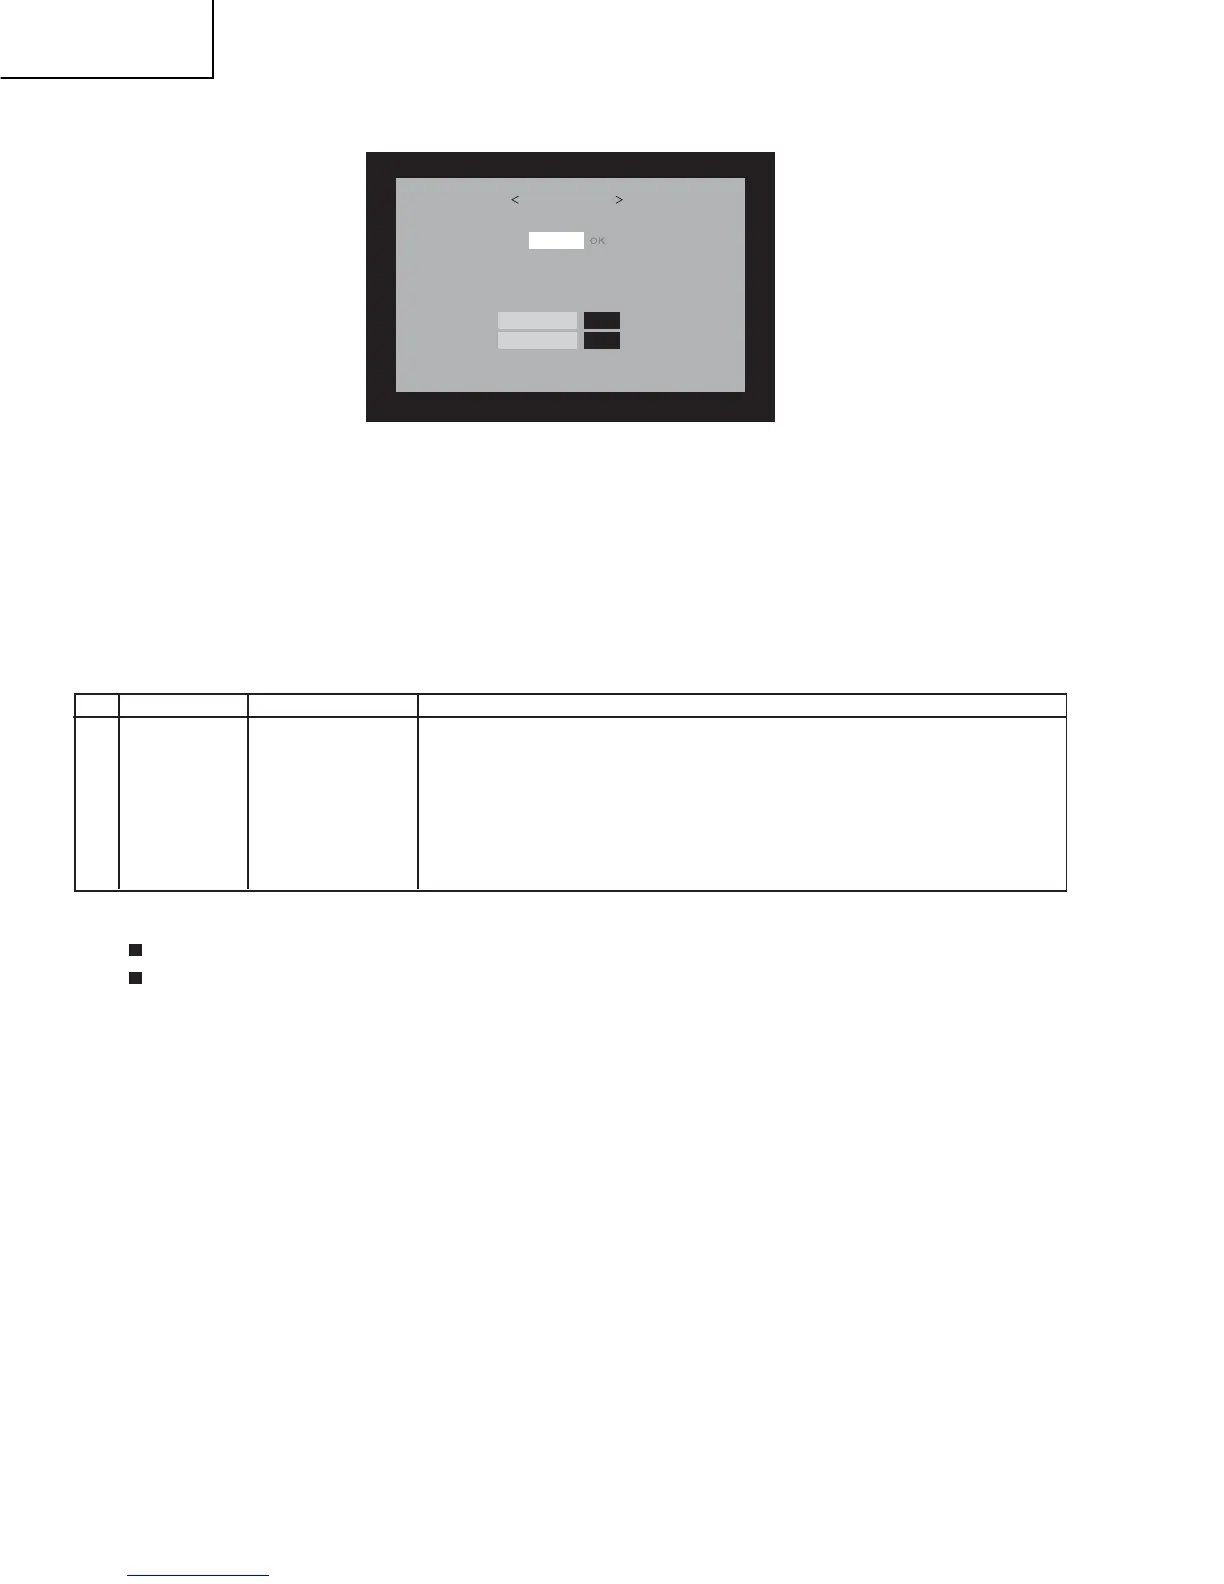
6. A failure in the process will trigger the upgrade failure screen.The word "NG" changes to red for the item failed.
NOTE: In the event of a failure,repeat the upgrading process.If the process repeatedly fails, it is likely that the hardware is troubled.
7. Upon completion of the whole process,the set will restart autowatically.
8. Unplug the AC cord and remove the USB Memory for version upgrade.
9. Now the software versin upgrade is complete.
NOTE: When you are done with the software version upgrade,start the set,go to the top page of the adjustment process screen and check the mon-
itor microprocessor software version information and panel size information.
2.4. LCD TV Adjustment item
Before starting the adjustment,make sure the adjustment tool and signal generator are set for Sharp LCD US.
Checking the signal generator level adjustment (Set to th standard level)
Composite signal : 0.714 Vp-p
± 0.02 (from pedestal to white)
15K component signal : Y LEVEL : 0.714 Vp-p ± 0.02 (from pedestal to white)
Pb, Pr LEVEL : 0.7 Vp-p ± 0.02 Vp-p
33K component signal : Y LEVEL : 0.7 Vp-p ± 0.02 Vp-p (from pedestal to white)
Pb, Pr LEVEL : 0.7 Vp-p ± 0.02 Vp-p
Analog RGB signal : RGB LEVEL : (from pedestal to white)
UPGRADE FAILURE
MONITOR
NG
Model err
0.95
OLD Version
NEW Version
0.95
1.MICON SOFTWARE Writing
(1) Monitor Micon and Main Micon software writing (Main PWB : QPWBXE001WJZZ)
Adjustment item
Adjustment conditions
Adjustment procedure
1 Software writing Inspection mode
Connect the tool by using write MAIN soft to P9301 (TL9301,TL9302,TL9310 - TL9355,TL9357,
TL9359,TL9375,TL9378,TL9380 - TL9383) that is mounted on the main PWB,and insert USB
Memory by using MONITOR MICON to main PWB.MONITOR connect to TL8123、TL8124 that
denoted figure. Load stated voltage to MAIN PWB, write the lastest version MAIN SOFT to
IC8451, and write the MONITOR MICON SOFT to IC2002, after all completed,turn off the AC
power.
[NOTE]
When the USB MEMORY can't insert to main PWB or read out is error,MAIN Miro software
must be writed again.
2. Signal adjustment
(1) Checking the Device
•
•
•
•
file version checking
0.7 Vp-p ± 0.02 Vp-p