MX3500N SIMULATION 7 – 76
If there is no item over [↓], the display grays out and the
operation is invalid.
2) Enter the set value with 10-key.
* Press [C] key to clear the entered values.
* The set values can be collectively changed by pressing [ ]
[ ] buttons.
When the set value is not the upper limit value (lower limit
value), the data of each item is increased (decreased) by 1.
3) When [EXECUTE] button is pressed, it is highlighted, and self
print is started.
* When [OK], [EXECUTE], [↑], [↓], [ ], [ ] button, [COLOR],
or [BLACK] key is pressed, the data are saved to EEPROM
and RAM.
* After completion of self print, [EXECUTE] button returns to
the normal display.
* When [C], [CA], [SYSTEM SETTINGS], or [EXECUTE] key
is pressed during self-printing, the operation is stopped.
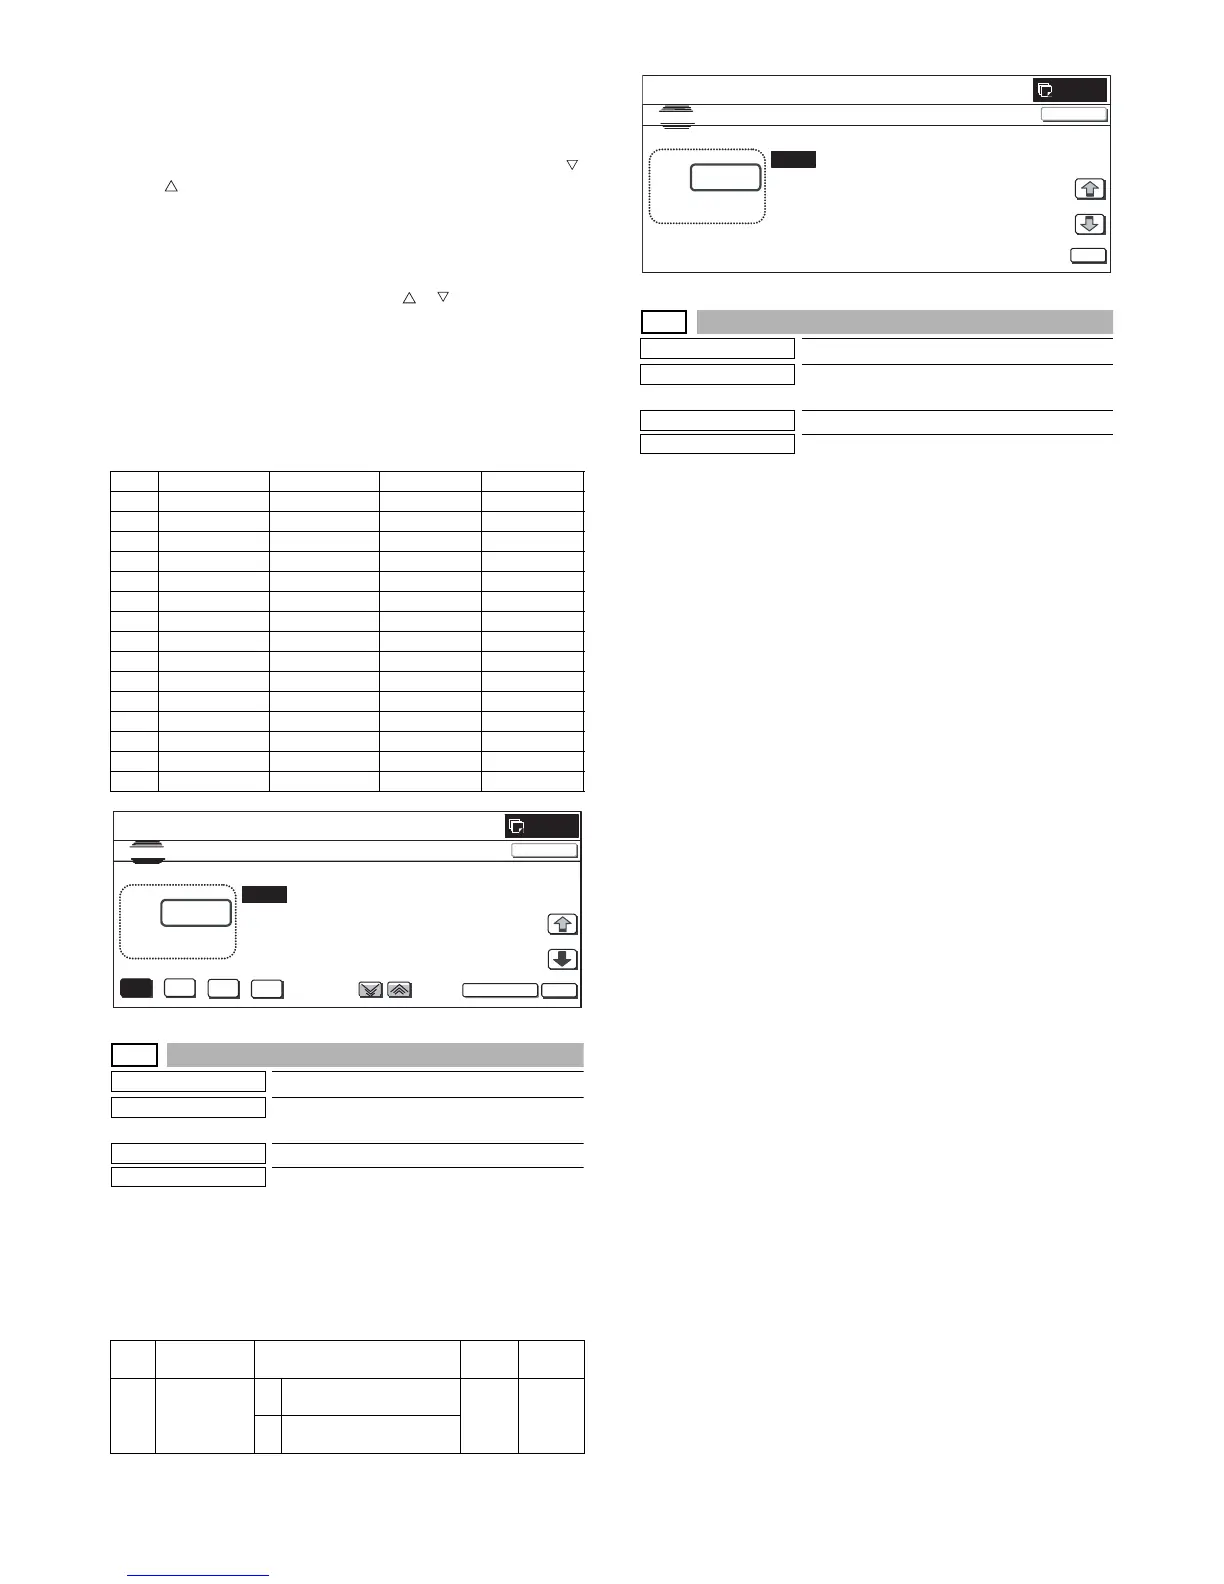
<Set range and default value of each setup>
46-23
Purpose
Setting
Function (Purpose)
Used to set ENABLE/DISABLE of the half
tone highest density correction.
Section
Item Specifications
Operation/Procedure
1) Enter the set value with 10-key.
* Press [C] key to clear the entered values.
2) When [OK] button, [COLOR] or [BLACK] key is pressed, the
current entered value is saved to EEPROM and RAM.
<Set range and default value of each setup>
46-24
Purpose
Adjustment
Function (Purpose)
Used to the copy color balance auto adjust-
ment.
Section
Engine
Item
Adjustment
Operation/Procedure
1) When the machine enters Simulation 46-24, the initial screen
is displayed.
When [EXECUTE] button is pressed, the high density process
control is executed and self print of 48 patches is started.
Check to confirm that there is A3 paper on the paper feed tray.
If there is no A3 paper, supply it.
2) While the high density process control is executed, [EXE-
CUTE] button is highlighted.
3) During the self print of 48 patches, [EXECUTE] button is high-
lighted.
4) After completion of the self print, the display is shifted to the
output patch read standby screen.
Place the printed 48 patches on the glass table, and press
[FACTORY] or [SERVICE] button to select the process mode.
5) When [EXECUTE] button is pressed, it is highlighted and the
48 patches set on the table glass are scanned.
Check to confirm that there is A3 paper on the paper feed tray.
If there is no A3 paper, supply it.
6) After reading the patches, self print of 16patches is automati-
cally started.
7) After completion of the self print, the display is shifted to the
registration standby screen. When [REPEAT] button is
pressed, the display returns to the initial screen without exe-
cuting registration.
[When [OK] button is pressed, the correction value is saved to
EEPROM and RAM, and the half tone process control refer-
ence value correction is started.
8) The display is shifted to the reference value registration pro-
cess 1 end screen automatically, and the reference value reg-
istration process 2 (BLACK) is executed automatically.
9) After completion of the reference value registration process 2,
the following message is displayed. (Each message is auto-
matically shifted.)
BLACK: 2ND STEP BLACK END
CYAN: 2ND STEP CYAN END
MAGENTA: 2ND STEP MAGENTA END
YELLOW: 2ND STEP YELLOW END
* When the process control is executed second time, "2nd" is
displayed.
10) All the registration processes are completed normally.
* When [CA], [SYSTEM SETTINGS], or [EXECUTE] button is
pressed during self print, the operation is interrupted.
Item Display Item Set range Default value
A POINT1 Point 1 245 to 755 500
B POINT2 Point 2 245 to 755 500
C POINT3 Point 3 245 to 755 500
D POINT4 Point 4 245 to 755 500
E POINT5 Point 5 245 to 755 500
F POINT6 Point 6 245 to 755 500
G POINT7 Point 7 245 to 755 500
H POINT8 Point 8 245 to 755 500
I POINT9 Point 9 245 to 755 500
J POINT10 Point 10 245 to 755 500
K POINT11 Point 11 245 to 755 500
L POINT12 Point 12 245 to 755 500
M POINT13 Point 13 245 to 755 500
N POINT14 Point 14 245 to 755 500
O POINT15 Point 15 245 to 755 500
Item Display Content
Set
range
Default
value
A (0: ENABLE
1: DISABLE)
0 Engine highest density
correction mode ENABLE
0 to 1 0
1 Engine highest density
correction mode DISABLE
0