MX-TR10 8 - 2
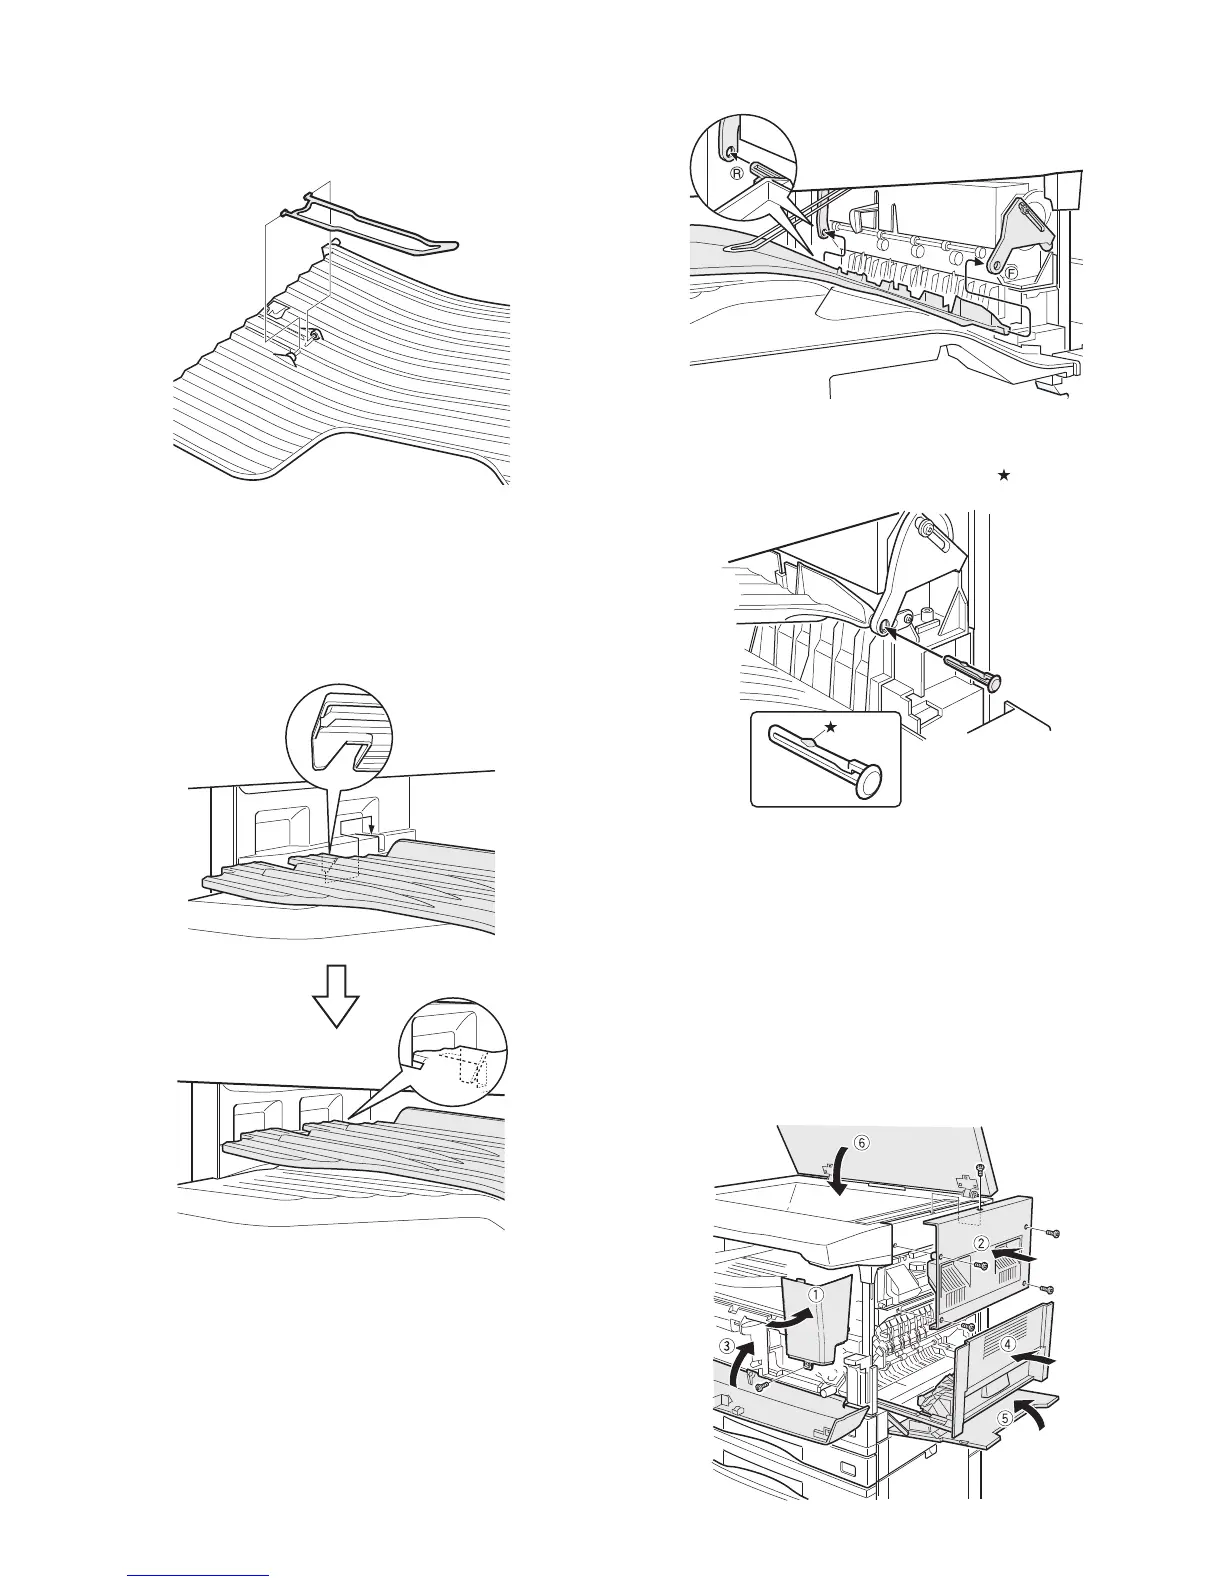
2-5. Attach the paper holder arm.
1) Attach the paper holder arm on the back side of the separator tray.
At this time, be careful about the orientation of the paper holder
arm.
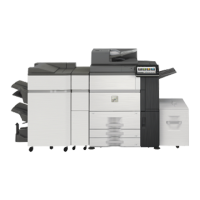
2-6. Attach the separator tray to the copier.
1) Insert the rib on the back side of the separator tray into the groove
of the copier and place the tray in the copier as shown in the illustra
-
tion.
Note: Do not remove the paper holder arm that has been attached in
the copier.
2) Attach the bosses on the rear and front sides of the separator tray
to the separator levers on the rear and front sides of the copier.
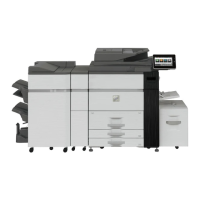
2-7. Secure the separator tray.
1) Taking care that the projection (indicated with ) of the separator
tray pin is up, push the separator tray pin until it clicks.
2-8. Reattach the right front cabinet and the right cab-
inet.
1) Reattach the right front cabinet to its orginal position and secure it
with the screw M4 x 10.
2) Reattach the right cabinet to its orginal position and secure it with
the screw M3 x 6 and the four screws M3 x 8.
3) Close the front cover.
4) Reattach the right door and close it.
5) Close the bypass tray.
6) Close the document cover or the document feeder.