5
Using 3D Viewing Mode
Use the following procedure to project 3D images.
For operation of the projector, see the projector's operation manual.
For operation of the 3D LCD shutter glasses and the 3D-video playback equipment,
see the corresponding operation manual.
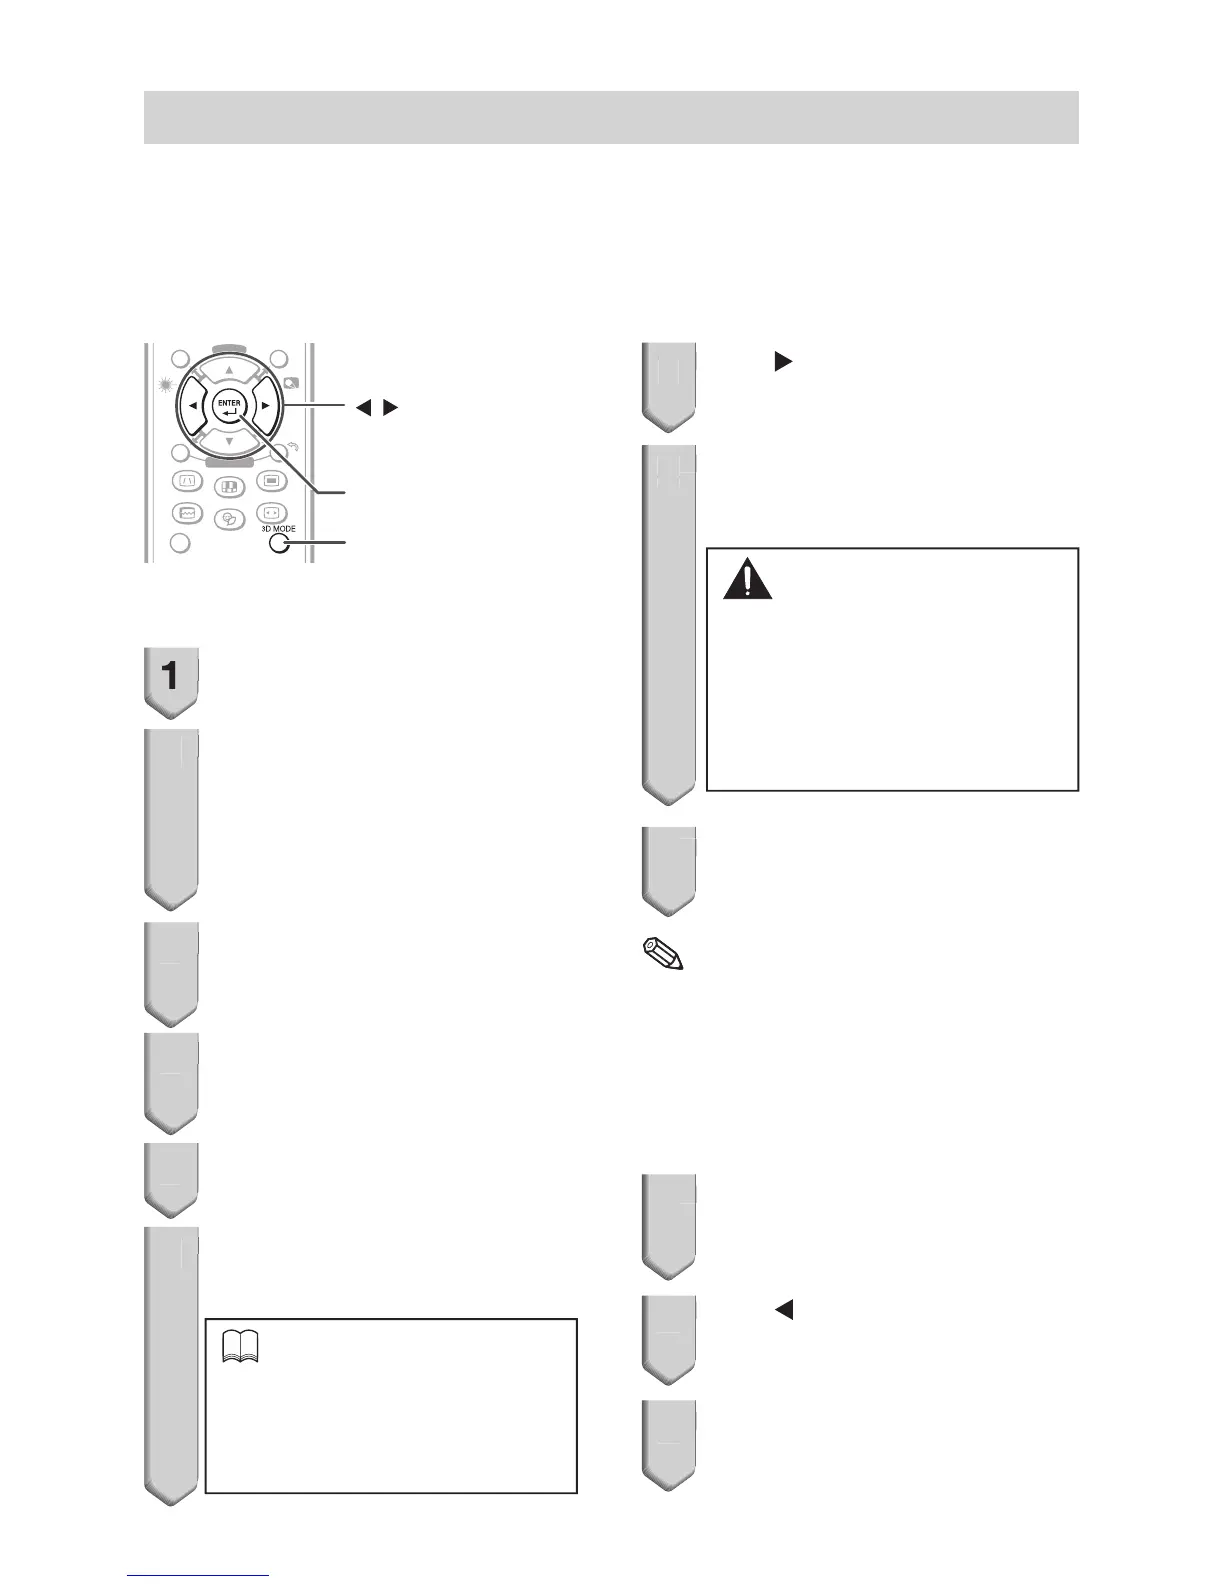
/
buttons
ENTER button
3D MODE button
Projecting 3D images
1
Turn the projector on.
2
Turn the 3D-video playback
equipment on.
Set the 3D-video playback equipment
so that it outputs one of the signals
listed in the Compatibility Chart in this
operation manual.
3
Switch the Input mode of the
projector to enable input of 3D
video signals.
4
Operate the 3D-video playback
equipment and play back the 3D
content.
5
Turn the 3D LCD shutter glasses
on and place them over your eyes.
6
Press
3D MODE
on the remote
control to display the 3D MODE
menu.
Info
If An invalid button has been
pressed. is displayed, a
3D-compatible signal is not being
input. Check the output signal on
the playback equipment.
•
•
7
Press to set DLP
®
Link™ to
On.
8
Press
ENTER
to switch the
mode and enable more natural
3D image viewing.
Warning
If the projector, 3D-video playback
equipment, and 3D LCD shutter
glasses are not properly set, you
may experience eye strain in
addition to not being able to view
the images in 3D.
•
9
Press
3D MODE
.
The 3D MODE menu will disappear.
Note
If the images are not displayed in 3D, repeat
steps 6 to 8.
You can also use DLP
®
Link™ and DLP
®
Link™ Invert on the menu screen to change
the 3D setting.
Ending 3D projection
1
Press
3D MODE
on the remote
control to display the 3D MODE
menu.
2
Press to set DLP
®
Link™ to
Off.
3
Press
3D MODE
.
The 3D MODE menu will disappear.
•
•
•
•