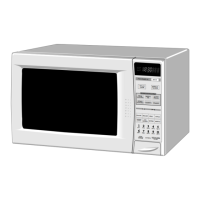
DOOR ADJUSTMENT
The door is adjusted by keeping the screws of each
hinge loose.
After adjustment, make sure of the following :
1. Door latch heads smoothly catch the latch hook
through the latch holes. and the latch head goes
through the center of the latch hole.
2. Deviation of the door alignment from horizontal line
of cavity face plate is to be iess than 1 .Omm.
3. The door is positioned with its face depressed to-
ward the cavity face plate.
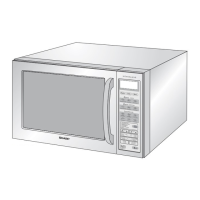
UTER CASE CABINET
4. Re-install outer case and check for microwave leak-
age around the door with an approved microwave
OVEN i NGE
R!GHT
survey meter. (Refer to Microwave Measurement .)
DOOR PARTS DISASSEMBLY
Remove door assembly. refer to “Door Replacement”.
Replacement of door components are as follows:
1. Place door assembly on a soft cloth with !atches fac-
ing up.
NOTE:As the engaging part of choke cover and door
panel are provided at ! 6 piaces, do net force any
particular part.
CHOHE COYER
2. Insert an iron plate (thickness of abcut 0.5mm] into
the gap between the choke cover and the door panel
as shown figure to free engaging parts.
3. Lift up choke cover.
4. Now choke cover is free from door panei.
Lift da
HANDLE
5. Remove the five (5) screws holding the handle to the
door panel.
6. Pull out the handle from the door frame.
7. Now, the handle is free.
DOOR FRAME
III
DOOR GLASS
8. Pull out the door glass from the door frame.
9. Now, the door glass is free.
Note: When the new door glass is installed. attach the two
both sides adhesive tapes on the upoer and iower
portion of the door frame front surface. The both side
adhesive tape should be tise~ size zf 5mm x XWVY
and thickness of 0.4mm -- 8.8mm.
DOOR GLASS
ADHESIVE T
DOOR FRAME
1 O.Remove the five (5) screws holding the door frame to the
door panel.
1 I .Release the two (2) tabs of the door frame holding the
door frame to the door panel.
12.Now, the door frame is free.
LATCH HEADS
13.Release the one (1) spring from the tab of the door panel
at the left and right sides.
14.Remove the one (5) screw holding the latch head to the
door panel at the left and right sides.
15.Remove the latch head with spring from the the door
panel at the left and right sides.
16.Release the spring from the latch head at the left and right
sides.
1 -/.Now, the latch heads are free.
18.And. the door panel is free.
37