Basic Operations
Camera Recording
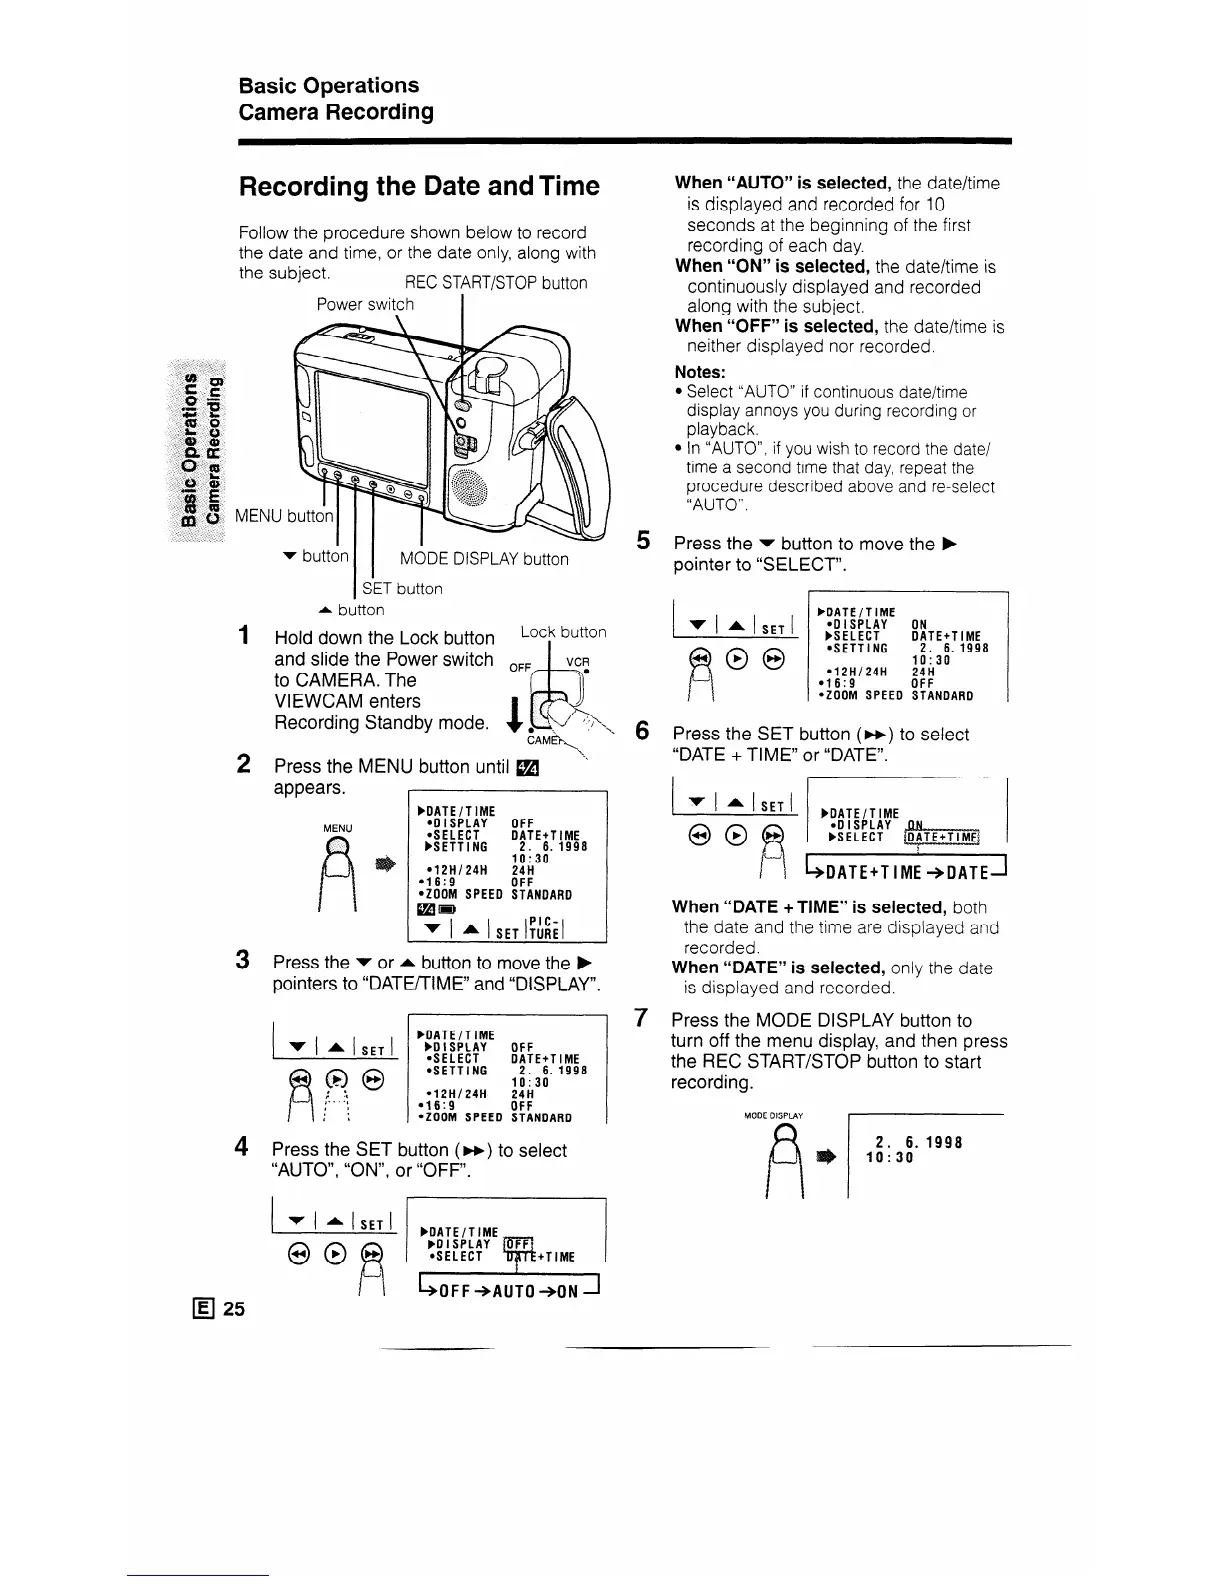
Recording the Date and Time
Follow the procedure shown below to record
the date and time, or the date only, along with
the subject.
REC START/STOP button
Power switch
1
I
MODE DISPLAY button
SET button
1
2
3
4
v button
Press the MENU button until m
* button
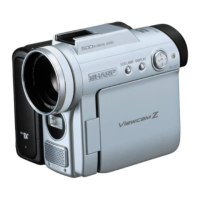
Hold down the Lock button
Lock button
and slide the Power switch
to CAMERA. The
VIEWCAM enters
Recording Standby mode.
appears.
I
bDATE/TIME
MENU
*DISPLAY
OFF
*SELECT
DATE+T IME
bSETTING 2. 6. 1998
10:30
l 12H124H 24H
l 16:9
OFF
aZOOM SPEED STANDARD
aW
v t A 1 SET t!ki
Press the v or A button to move the b
pointers to “DATUTIME” and “DISPLAY”.
bDATE/TIME
bDISPLAY
OFF
.SELECT
DATE+T I ME
*SETTING
2. 6. 1998
10:30
l 12Hl24H
24H
l 16:9
OFF
*ZOOM SPEED STANDARD
Press the SET button (w) to select
“AUTO”, “ON”, or “OFF”.
When “AUTO” is selected, the date/time
is displayed and recorded for IO
seconds at the beginning of the first
recording of each day.
When “ON” is selected, the date/time is
continuously displayed and recorded
along with the subject.
When “OFF” is selected, the date/time is
neither displayed nor recorded.
Notes:
l Select “AUTO” if continuous date/time
display annoys you during recording or
playback.
l In “AUTO”, if you wish to record the date/
time a second time that day, repeat the
procedure described above and re-select
“AUTO”.
5 Press the - button to move the b
pointer to “SELECT”.
.ZOOM SPEED STANDARD
6 Press the SET button (m) to select
“DATE + TIME” or “DATE”.
I
I
I
- bDATE/T IME
OO@
.D ISPLAY
bSELECT
4
I z
~DATE+T lME +DATE--I
When “DATE + TIME” is selected, both
the date and the time are displayed and
recorded.
When “DATE” is selected, only the date
is displayed and recorded.
7 Press the MODE DISPLAY button to
turn off the menu display, and then press
the REC START/STOP button to start
recording.
MODE DISPLAY
2. 6.1998