33
..,g
35
"i'
~.-\)
),::-:~'J,-,_.,:
__
'i
;.
,,:.,j
:::,-
_.
,',
•.
:nn
16-171819~0
~1
~-223~4-2526--
-,
1_,TAPE.1
Ilr
TAPE{2:"" 1
I
HJ"-'.
" • i
'c,,",.'
"' j - I
,28,1,29
.,30:
i~1
""
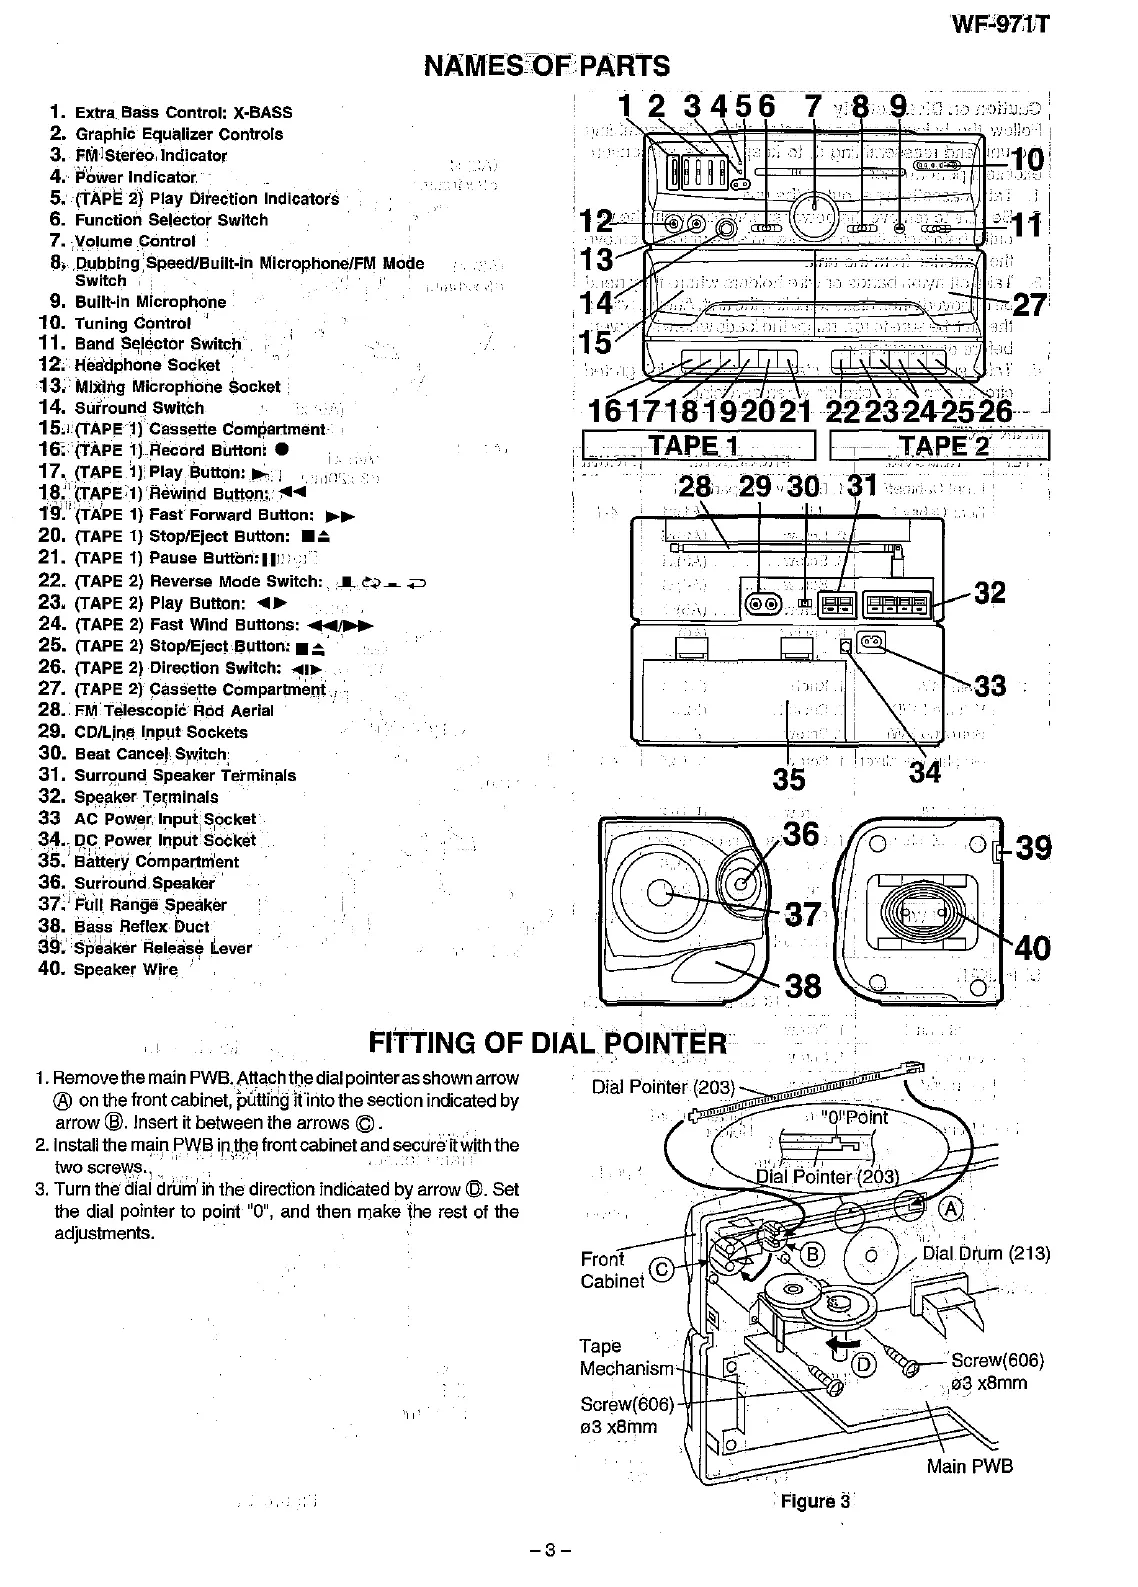
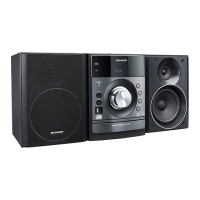
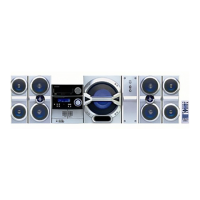
N~MES:;OF-
PARTS
1 2
34561
1.
Bxtra Bass Control: X·BASS
2.
Graphic
Equ~lizer
Controls
3.
FM,JStereo,lndicator
4.'
'Pc3wer
Indicator,
5.
(tAPE
2j Play Direction Indicators
6.
Function
Selector Switch
7.
iMQlume ,Control
8,
,P.u,b.bing
:Speed/Built-in Microphone/FM Mode
Switch
9.
Bullt~in
Mlcropho'ne
10.
Tuning C9ntrol
,I
11.
Band
,S~,ector
SWitcl;l
12;
Headphone
So~ket
13;'Mixing Microphi:>ne Socket
14.
Surround
SWit~h
15."(tAPE:1fcassetie
Com~artment·
16;
(fAPE
ljRecord
B~llon:
•
17.,
(TAPE1)'Play,Sulldn: ...., I '
,,'!',
1S:''tTAPE,1) Rewind
Bullon:,,..
...
."n:,··c. i
.'.'
.' .:'" -
,.-
......
-
1'9. (TAPE 1) Fast Forward Bullon:
~~
20.
(TAPE 1) Stop/Eject Bullon:
.~
21.
(TAPE 1) Pause Bullon:lin,
22.
(TAPE 2) Reverse Mode
SWitch:~~",_
<=>
23.
(TAPE 2) Play Button: ...
~
.
24.
(TAPE 2) Fast Wind Bullons:
~_
25.
(TAPE 2)
Stop/Ejec!sUllon:
.~.
26.
(TAPE 2) Direction Switch: .......
27.
(TAPE 2) ceeeette ComparbTIenL ..
28•.FM' Telescopic'
Rod
Aerial
29.
CD/L.in~
I.nput Sockets
30.
Beat
caneet
Switch
31.
Surround,
spe~ker'iei'minaIS
32.
Speaker Terminals
33
A6
Power.
Input
Socket
3,4.,
,?-q,
Pow~r
Input!g'ocket
35.'
Battery Compartment
36.
Surround
Speaker'
37:
j
F'lin
Range Speaker
38.Sass'
hertex Duct '
as:L",
S#~ak~r
'Relea's~
lever
40.
Speaker
Wir~
"
Main PWB
Screw(B06)
1U1-ft-~~;::&'
ea
xamm
Tape
Mechanism
'II!
FITTING OF DIALPOIN,.ER
'.
"
Di~i
PO,inte;~(203),,,
"~II
,':,,""
_
.•
'
I
,,:,;,,',"
,IIO""I'p'o'I'nt
",
,
"F7¢="I,
ialPointer (203
1.
Remove
themainPWB.Allachthedialpointeras
shown
arrow
® onthe frontcabinet, puttingit'intothesection
indicated
by
arrow
®.Insertit betweenthe arrows ©.
2.InstallthemainPWB
in.tb,e
frontcabinetand
secure"il
withthe
two screws.' ,
,,'
'!
,';,
I •
,.~"~,
.1,,;;:-
3. Turnthe dial
drum
inthe direction indicated by arrow@. Set
the dial pointerto point "0", and then make the rest of the
adjustments.
F'igure
:3
-3-