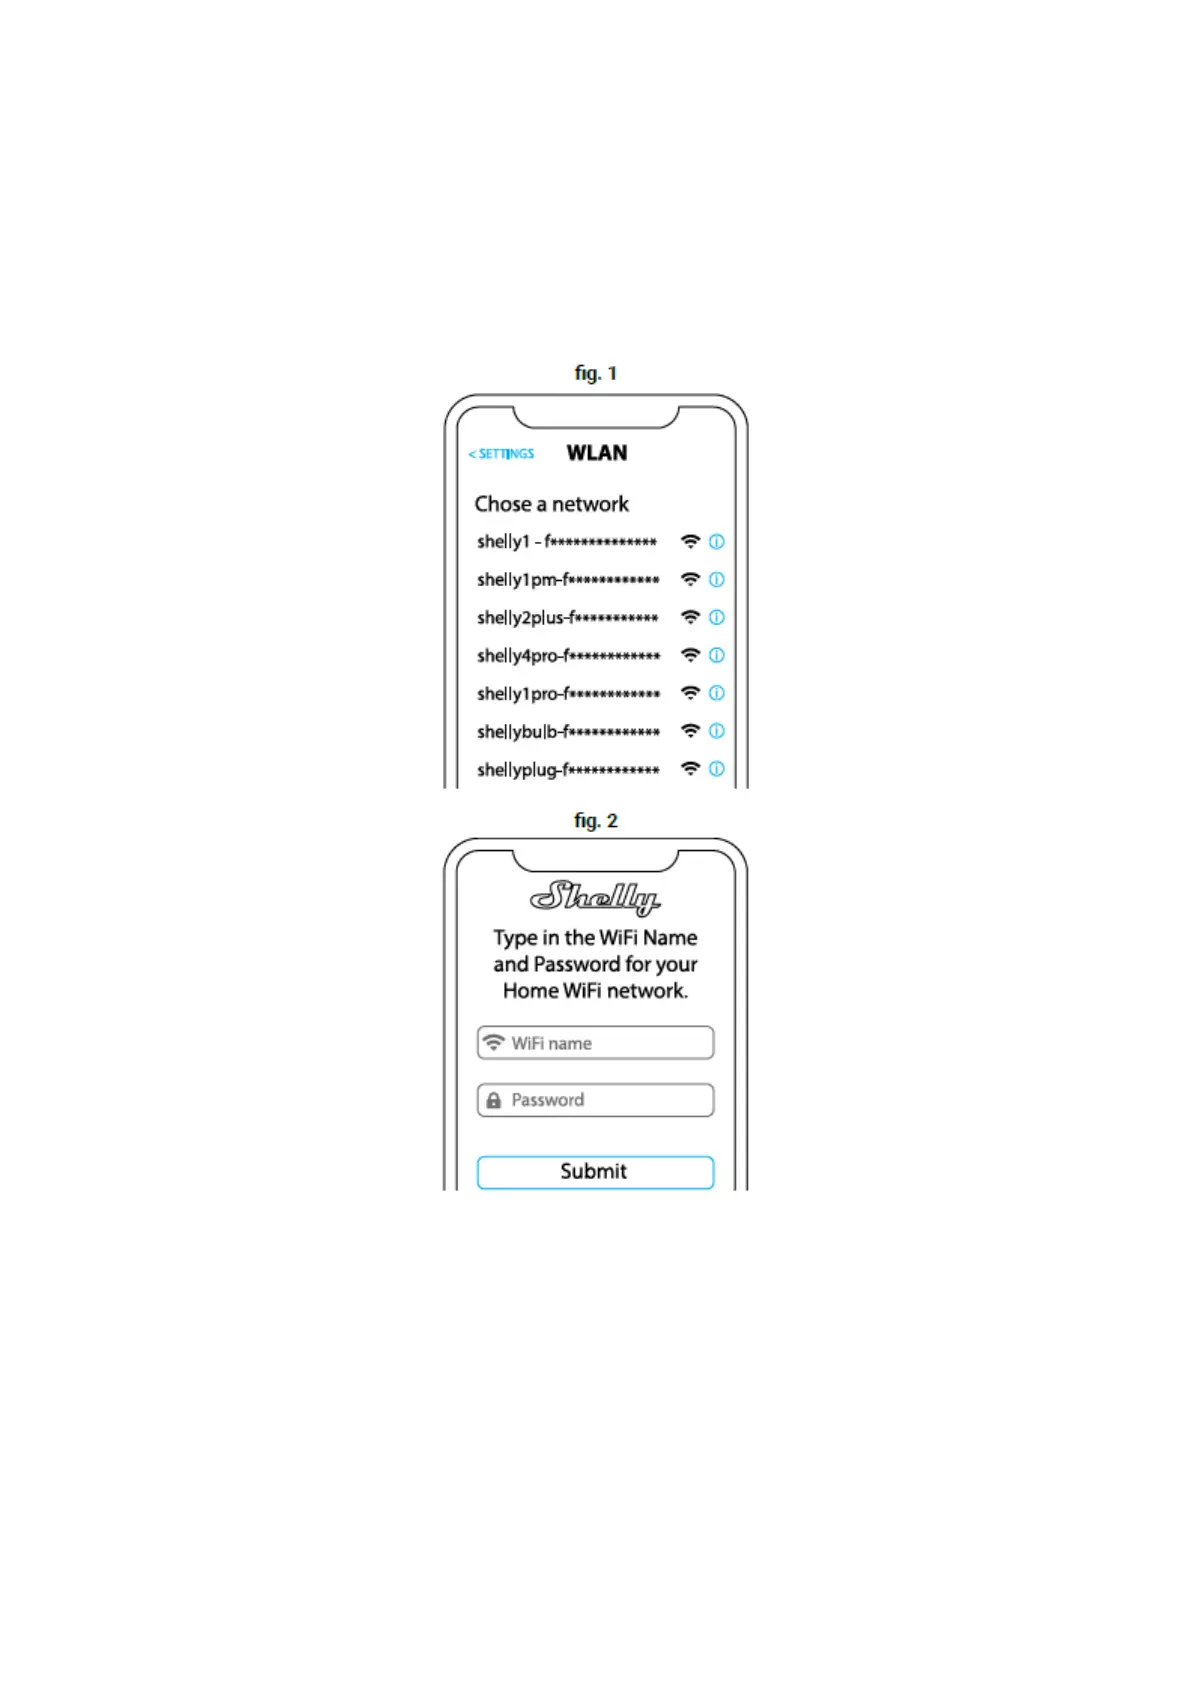
EasyManuals Logo

Shelly PRO 1 User Manual

Shelly PRO 1
17 pages
To Next Page IconTo Next Page
To Previous Page IconTo Previous Page
Page #10 background imageLoading...
Page #10 background image
1. iOS inclusion - Select Add device” from the hamburger menu on the top right of
your Shelly Cloud App. Enter your home network name and password, and click the
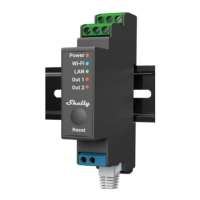
“NEXT” button. Select “Shelly Pro 1” from the dropdown list. A message will pop up
asking for your permission to connect to the AP of your Shelly Pro 1 (e.g
ShellyPro1-f008d1d8bd68). Click the “Join” button.
2. Android inclusion - Select Add device” from the hamburger menu on the top right
of your Shelly Cloud App. Select your home network from the dropdown list and
enter its password. Next, you will see listed all of the available devices. Choose your
Shelly Pro 1 device from the list and click “Yes” when asked for inclusion. A
message will pop up asking for your permission to connect to your Shelly Pro 1’s AP
address (e.g. ShellyPro1-f008d1d8bd68). Click the “Yes” button.
10

Questions and Answers:

Question and Answer IconNeed help?

Do you have a question about the Shelly PRO 1 and is the answer not in the manual?

Shelly PRO 1 Specifications

General IconGeneral
Wi-FiYes
Product typeSolid-state relay
Product colorBlue
Frequency band2.412 – 2.483 GHz
LED indicatorsLAN, Power, Wi-Fi
Wi-Fi frequency2.4 GHz
Wi-Fi standards802.11b, 802.11g, Wi-Fi 4 (802.11n)
Channels quantity1 channels
Transmission range0 - 50 m
Transmitting power13.35 dBmW
Security algorithmsHTTPS
Maximum indoor range30 m
Ethernet LAN (RJ-45) ports1
Operating temperature (T-T)-20 - 40 °C
Maximum current16 A
AC input voltage110 - 240 V
AC input frequency50 - 60 Hz
Power consumption (typical)3 W
Weight and Dimensions IconWeight and Dimensions
Dimensions (WxDxH)18.5 x 68.5 x 89.5 mm

Related product manuals