Do you have a question about the Shelly Button and is the answer not in the manual?
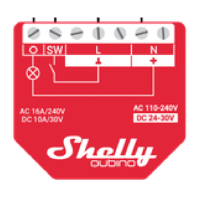
Connect the input and output wires to the Shelly device terminals as shown in the diagram.
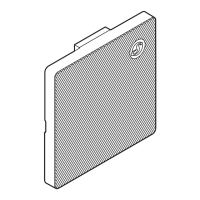
Position the button extension lead within the Shelly Button casing according to the provided illustration.
Connect the power input and output cables to the designated terminals on the Shelly device.
Arrange the power cables inside the Shelly Button case, following the guiding arrows for proper organization.
Insert screws into the designated holes and tighten the top and bottom parts of the Shelly Button.
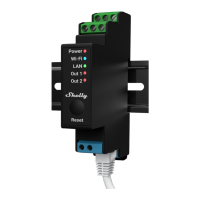
Connect the input and output wires to the Shelly 1PM device terminals as illustrated.
Position the button extension lead within the Shelly Button casing for the Shelly 1PM device.
Connect the power input and output cables to the Shelly 1PM device terminals.
Organize the power cables inside the Shelly Button casing for Shelly 1PM, using guiding arrows.
Fasten the Shelly Button casing for Shelly 1PM by inserting and tightening screws.
| Quantity per pack | 1 pc(s) |
|---|---|
| Type | Remote control |
| Interface | RF Wireless |
| Input type | Press buttons |
| Mounting type | - |
| Product color | White |
| Backlight buttons | No |
| Compatible products | Shelly 1V3, Shelly 1PM |
| Remote control proper use | Lighting |
| Maximum range | - m |