Step 6
If you’d like to connect your device to the cloud and control it remotely, click “Yes”. In
case you want to control your devices only locally, click “No”.
Device settings
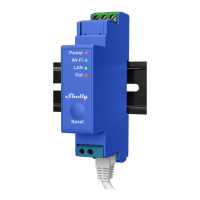
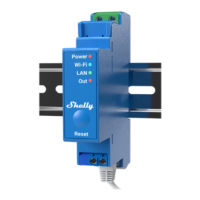
Once your Shelly Pro 1 is added to the Shelly Cloud, you can control it, change its
settings, and automate the way it works from any place where you have internet
connection. To switch the device on and off, use the ON/OFF button. For device
management, simply click on the device’s name. From there you may control the
device, as well as edit its appearance and settings.
Timer: Аllows you to manage the power supply automatically. You may use:
• Auto ON: After turning off, the relay output will be automatically turned on after a
predefined time (in seconds).
• Auto OFF: After turning on, the relay output will be automatically turned off after a
predefined time (in seconds)
Schedule: This function requires a working connection to the Internet. Shelly may
turn on/off automatically at a predefined need time and day throughout the week.
Additionally, Shelly may turn on/off automatically at sunrise/sunset, or at a specified
time before or after sunrise/sunset. You may add up to 20 weekly schedules.
Webhooks: Use events to trigger http endpoints. You can add up to 20 webhooks.
Internet:
• Wi-Fi 1: Allows the device to connect to an available Wi-Fi network. Enter the
network details in the respective fields and click the “APPLY'' button.
• Wi-Fi 2: Allows the device to connect to an available Wi-Fi network, as a secondary
(backup), if your primary Wi-Fi network becomes unavailable. Enter the network
details in the respective fields and click the “APPLY” button.
• Access Point: You can enable the device AP mode and change the password of
the Wi-Fi network created by Shelly Pro1. Click the “APPLY” button to enable the
device AP mode.