EasyManua.ls Logo

ShelterLogic Round Top User Manual

ShelterLogic Round Top
16 pages
To Next Page IconTo Next Page
Page #1 background imageLoading...
Page #1 background image
ShelterLogic, LLC
150 Callender Road
Watertown, CT 06795
www.shelterlogic.com
1-800-524-9970
1-800-559-6175
Canada:
Page 32
Assembly Instructions
12' W x 8' H or 10' H
Round Top
®
Frame Assembly
Before you start: 2+ individuals recommended for assembly, approximate time 3 hours.
Recommended tools: Power Drill, Safety Glasses, Rope, Tape Measure, Ratchet with Socket Set,
Adjustable Wrench, Step Ladder, Rubber Mallet, Utility Knife, 5/8 Concrete Drill Bit, Sledge Hammer.
05-201133_13-0D05-201133_13-0D
ShelterLogic, LLC
150 Callender Road
Watertown, CT 06795
www.shelterlogic.com
Model #201133 - 8' H x 20' L
#201233 - 8' H x 24' L
#201333 - 8' H x 28' L
#201433 - 8' H x 32' L
#201533 - 8' H x 36' L
#201633 - 8' H x 40' L
Model #201113 - 10' H x 20' L
#201233 - 10' H x 24' L
#201333 - 10' H x 28' L
#201433 - 10' H x 32' L
#201533 - 10' H x 36' L
#201633 - 10' H x 40' L
Question and Answer IconNeed help?

Do you have a question about the ShelterLogic Round Top and is the answer not in the manual?

ShelterLogic Round Top Specifications

General IconGeneral
ShapeRound Top
Frame MaterialSteel
Cover MaterialPolyethylene
UV ProtectionYes
Assembly RequiredYes
Anchor TypeAuger anchors

Summary

Product Overview and Assembly Preparation

Recommended Tools for Assembly

List of tools required for the safe and correct assembly of the shelter frame.

Warnings, Cautions, Guarantee, and Care

General Warnings and Cautions

Important safety notices, usage precautions, and potential hazards.

Product Guarantee Details

Information on the limited warranty and consumer responsibilities.

Proper Anchoring of Frame

Essential guidelines for correctly anchoring the shelter frame.

Replacement Parts and Customer Service

Information on obtaining spare parts and contacting customer support.

Care and Cleaning Instructions

Guidance on maintaining the shelter's cover and structure.

Frame Assembly Instructions

Plotting and Squaring the Frame

Steps for preparing and laying out the shelter area correctly.

Assembling End and Middle Ribs

Instructions for connecting the main rib components of the frame.

Installing Side Rails and Stabilizers

Attaching side rails and ShelterLock™ blocks to the frame.

Installing Wind Braces

Securing wind braces for enhanced structural stability.

Installing Top Rail

Attaching the top rail component to the assembled frame.

Securing Base Feet

Instructions for attaching the base feet to the frame legs.

Installing Auger Anchors

Procedure for anchoring the shelter securely to the ground.

Zipper Door and End Panel Installation

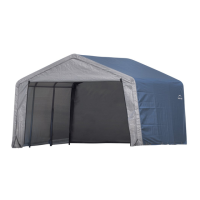
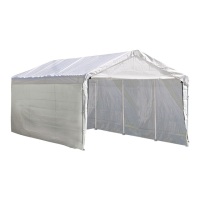
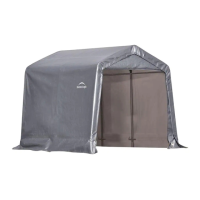
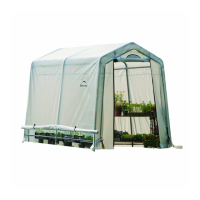
Fitting and securing the end panels and zipper doors.

Installing the Cover on the Frame

Process for laying and positioning the shelter cover onto the frame.

Securing Your Cover

Tightening and securing the shelter cover using ratchets.

Easy Roll-Up Door Kit Installation

Steps for assembling and installing the optional roll-up door kit.
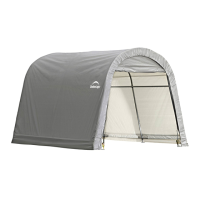
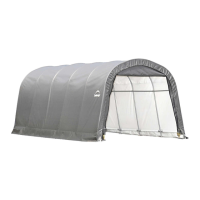
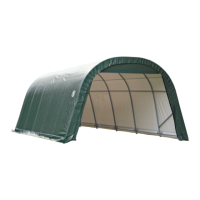
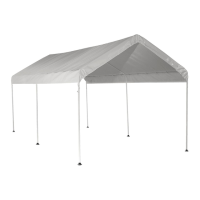
Related product manuals