3
System Overview
The new groundbreaking GLX-D Wireless Systems from Shure combine the leading edge of Automatic Frequency Management technology with best-in-class intelligent lithi-
um-ion battery rechargeability, world-renowned microphones and unparalleled design and construction. Available in a wide offering of bodypack and handheld configurations -
including vocal, headset and presenter systems as well as traditional guitar options. The revolutionary GLX-D Wireless Systems define the newest standard for seamless ease
of operation and exceptional digital audio clarity.
• Exceptional digital audio clarity
• Operates in 2.4 GHz spectrum, available worldwide
• Rechargeable batteries deliver cost-efficiency and up to 16 hours of runtime
• Adjustable transmitter gain to optimize audio signal
• Automatically moves away from interference without audio interruption
• RF back-channel for remote control of transmitter functions
• Globally-unlicensed 2.4 GHz frequency band allows operation of up to 4 com-
patible systems in a typical setting and up to 8 compatible systems under ideal
conditions
• Automatic transmitter power-off to conserve battery life when transmitter is not in
use
Included Components
Shure Rechargeable Battery SB902
Micro USB Battery Charger SBC10-USB
Power Supply PS43
Carrying Case 95E16526
Optional Accessories
Car Battery Charger SBC-CAR
Stand Alone Single Battery
Charger
SBC10-902
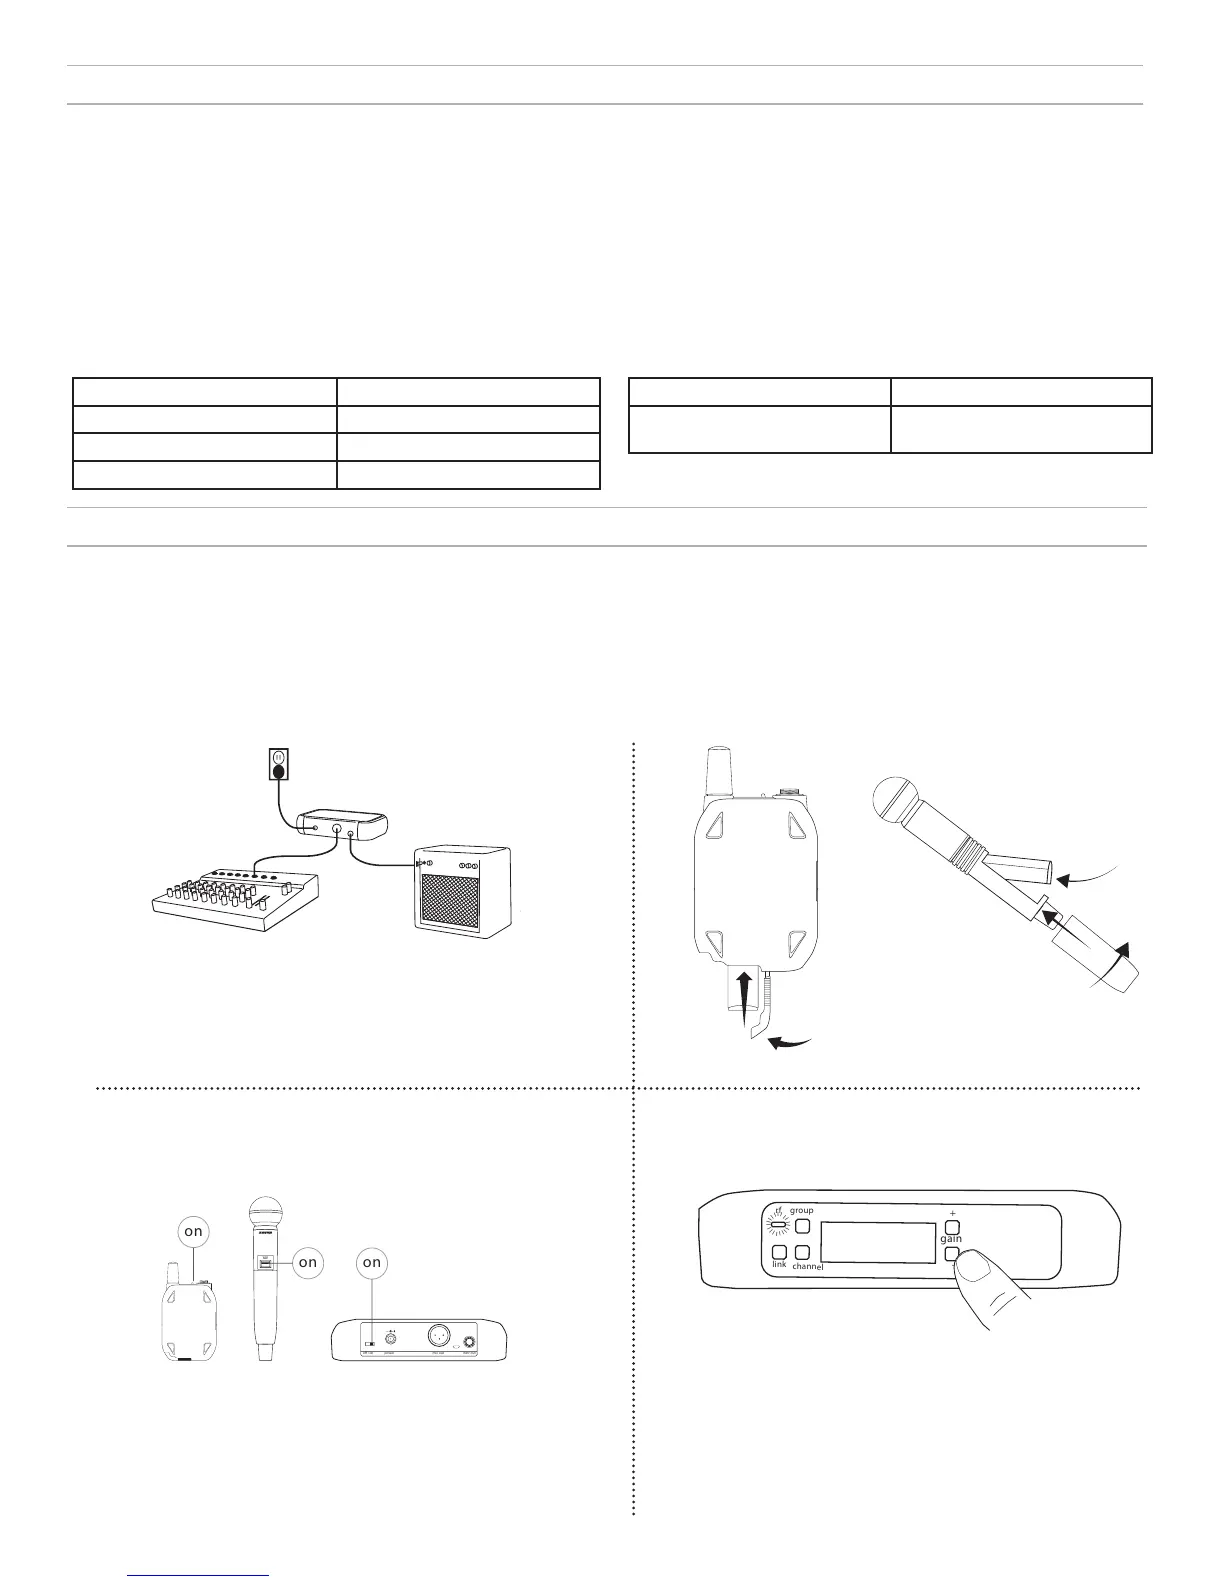
Step ①
Connect power supply to the receiver and plug cord into an AC power source.
Connect the audio output to an amplifier or mixer.
Step ③
Turn on the transmitter and receiver. The blue RF LED will flash while the
transmitter and receiver form a link. When the link has successfully formed, the
RF LED will remain illuminated.
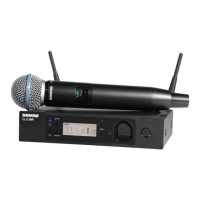
GLXD2
on
o / on power mic out instr out
on
on
on
Note: The transmitter and receiver will remain linked for future usage. At power-
up, the blue RF LED will illuminate, skipping the linking step.
Quick Start
To reduce set up time, the transmitter and receiver automatically link to form an audio channel the first time they are powered on and never have to be linked again.
Note: When setting up multiple receiver systems, turn on and link each transmitter/receiver pair one at a time to prevent cross-linking.
Step ②
Install charged transmitter
batteries.
Step ④
Check the audio and adjust the gain if necessary.
rf group
link
channel
gain
+
-
I
I
I
I
I
I
I
I
I
I
I
I
I
I
I
I
I
I
I

 Loading...