Note: Only turn on and operate one transmitter at a time to prevent interference between the
transmitters.
Syncing the Transmitters to the Receiver
Both transmitters must be individually linked to the receiver by performing an IR Sync.
1. Turn on the first transmitter and perform an IR Sync with the receiver.
2. Perform a sound check and adjust the transmitter gain if necessary. When finished, turn off the
transmitter.
3. Turn on the second transmitter and perform an IR Sync with the receiver.
4. Test the transmitter at performance conditions and adjust the transmitter gain if necessary. When
finished, turn off the transmitter.
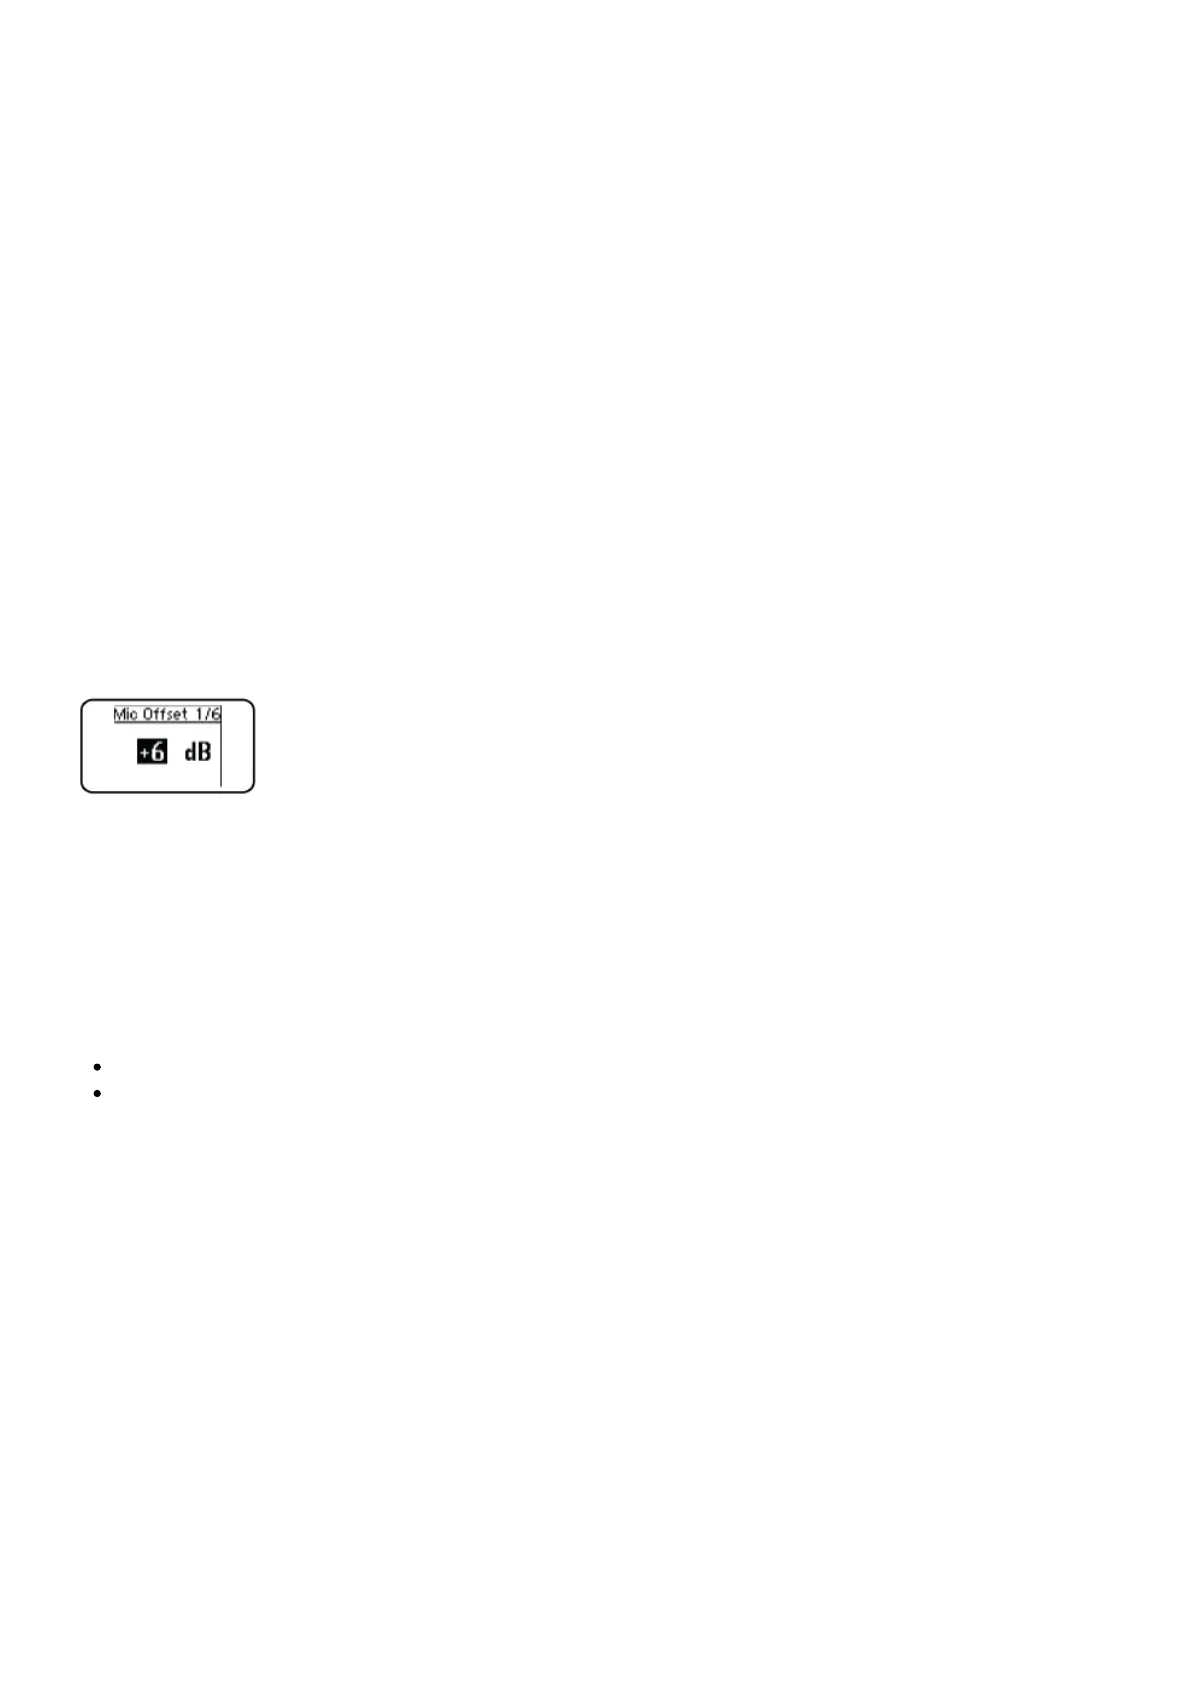
Matching Audio Levels with Mic Offset
When linking two transmitters to a receiver, there may be a difference in volume levels between
microphones or instruments. If this occurs, use the Mic Offset function to match the audio levels and
eliminate audible volume differences between transmitters. If using a single transmitter, set Mic Offset
to 0 dB.
1. Turn on the first transmitter and perform a sound check to test the audio level. Turn off the
transmitter when finished.
2. Turn on the second transmitter and perform a sound check to test the audio level.
3. If there is an audible difference in the sound level between the transmitters, navigate to the Mic
Offset menu on the transmitter to increase or decrease the Mic Offset to match the audio levels.
Adding SLX-D to Other Shure Wireless Systems
Use Shure’s Wireless Workbench frequency coordination tool to find compatible frequencies across
different Shure wireless systems. To get started, download the software from
http://www.shure.com/wwb. For additional assistance, please visit http://www.shure.com/contact.
Radio Frequency (RF) Settings
Setting the Transmitter RF Power
The transmitter offers two RF power settings which determine the transmitter range.
Low = 1 mW
High = 10 mW
Use the Low setting when the transmitter and receiver are in close proximity.
1. Navigate to the transmitter RF power menu.
2. Use the menu button to select High or Low.
3. Press enter to save.
Networking
The receiver uses an Ethernet connection to network with other components and includes an internal
DHCP client for automatic network configuration when connected to a DHCP enabled router.
Connecting to a Network
1. Insert an Ethernet cable in the Ethernet port on the rear of the receiver.
2. Connect the cable to a computer or router.
3. The port LEDs on the receiver will illuminate to indicate network connectivity and network traffic.
Automatic IP Addressing
1. Enable a DHCP service on the server or use a DHCP enabled router.
2. When the receiver is powered on, the DHCP server will automatically assign an IP address to the
receiver.
 Loading...