SICK AG | Waldkirch | Germany | www.sick.com
8018629
19.0 mm (M10) and 13.0 mm (M8) torque
wrenches,
5.0 mm (M8) allen key
Scope of delivery:
- Heavy Duty mounting kit incl.
pre-mounted screws.
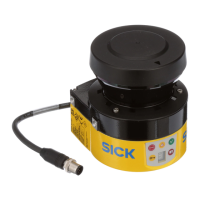
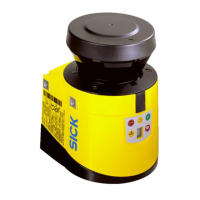
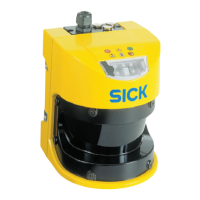
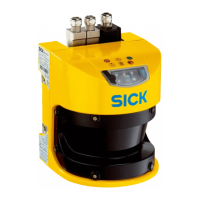
- 4x screws to mount the scanner.
Mounting steps:
- Align and mount the base holder (mounting
material not included with delivery).
- Adjust the upper mounting unit (protective
cover) to the required height and secure
using the pre-mounted M10 hexagon screws
(tightening torque 50 Nm +/- 5%).
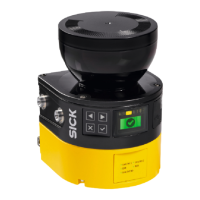
- Mount the scanner on the side panels of the
stainless-steel backplate. Use the M8 screws
(included with delivery) to do this.
- Adjust the scanner horizontally and vertically
and secure it in the required final position
using the pre-mounted M8 screws
(tightening torque 16 Nm +/- 5%).
The scanner operating instructions contain
information on how to align the scanner
correctly. These are included with the
delivery of the scanner or are available at
www.sick.com.
- The mounting bracket and the scanner are
now mounted.
Drehmomentschlüssel 19,0 mm (M10) und
13,0 mm (M8),
Innen-Sechskantschlüssel 5,0 mm (M8)
Lieferumfang:
- Heavy Duty Befestigungsset inkl.
vormontierter Schrauben.
- 4x Schrauben zur Befestigung des Scanners.
Montageschritte:
- Sockelhalterung ausrichten und montieren
(Befestigungsmaterial nicht im Lieferumfang
enthalten).
- Obere Befestigungseinheit (Schutzabdeckung)
auf die gewünschte Höhe einstellen und mit
den vormontierten M10-Sechskantschrauben
befestigen
(Anziehdrehmoment 50Nm +/- 5%).
- Den Scanner an den seitlichen Flügeln der
Edelstahl-Rückplatte montieren. Hierzu die
M8-Schrauben (Lieferumfang) verwenden.
- Den Scanner horizontal und vertikal
feinjustieren und in der gewünschten End-
position mit den vormontierten M8-Schrauben
fixieren (Anziehdrehmoment 16Nm +/- 5%).
Informationen zur korrekten Ausrichtung des
Scanners enthält die Betriebsanleitung des
Scanners. Diese findet sich im Lieferumfang
des Scanners oder unter www.sick.com.
- Befestigungsset und Scanner sind nun
montiert.
 Loading...
