Installation instructions en
23
Shelf positions
Shelf positions for baking on two levels:
Note:Items that are placed in the oven on baking trays
or in baking tins/dishes at the same time will not ne-
cessarily be ready at the same time.
¡ Universal pan: Shelf position3
Baking tray: Shelf position 1
¡ Baking tins/dishes on the wire rack
First wire rack: Shelf position 3
Second wire rack: Shelf position 1
Shelf positions for baking on three levels:
¡ Baking tray: Level 5
Universal pan: Level 3
Baking tray: Level 1
Hot water sponge cake:
When baking on 2levels, place the springform tins
each in the centre of the wire racks.
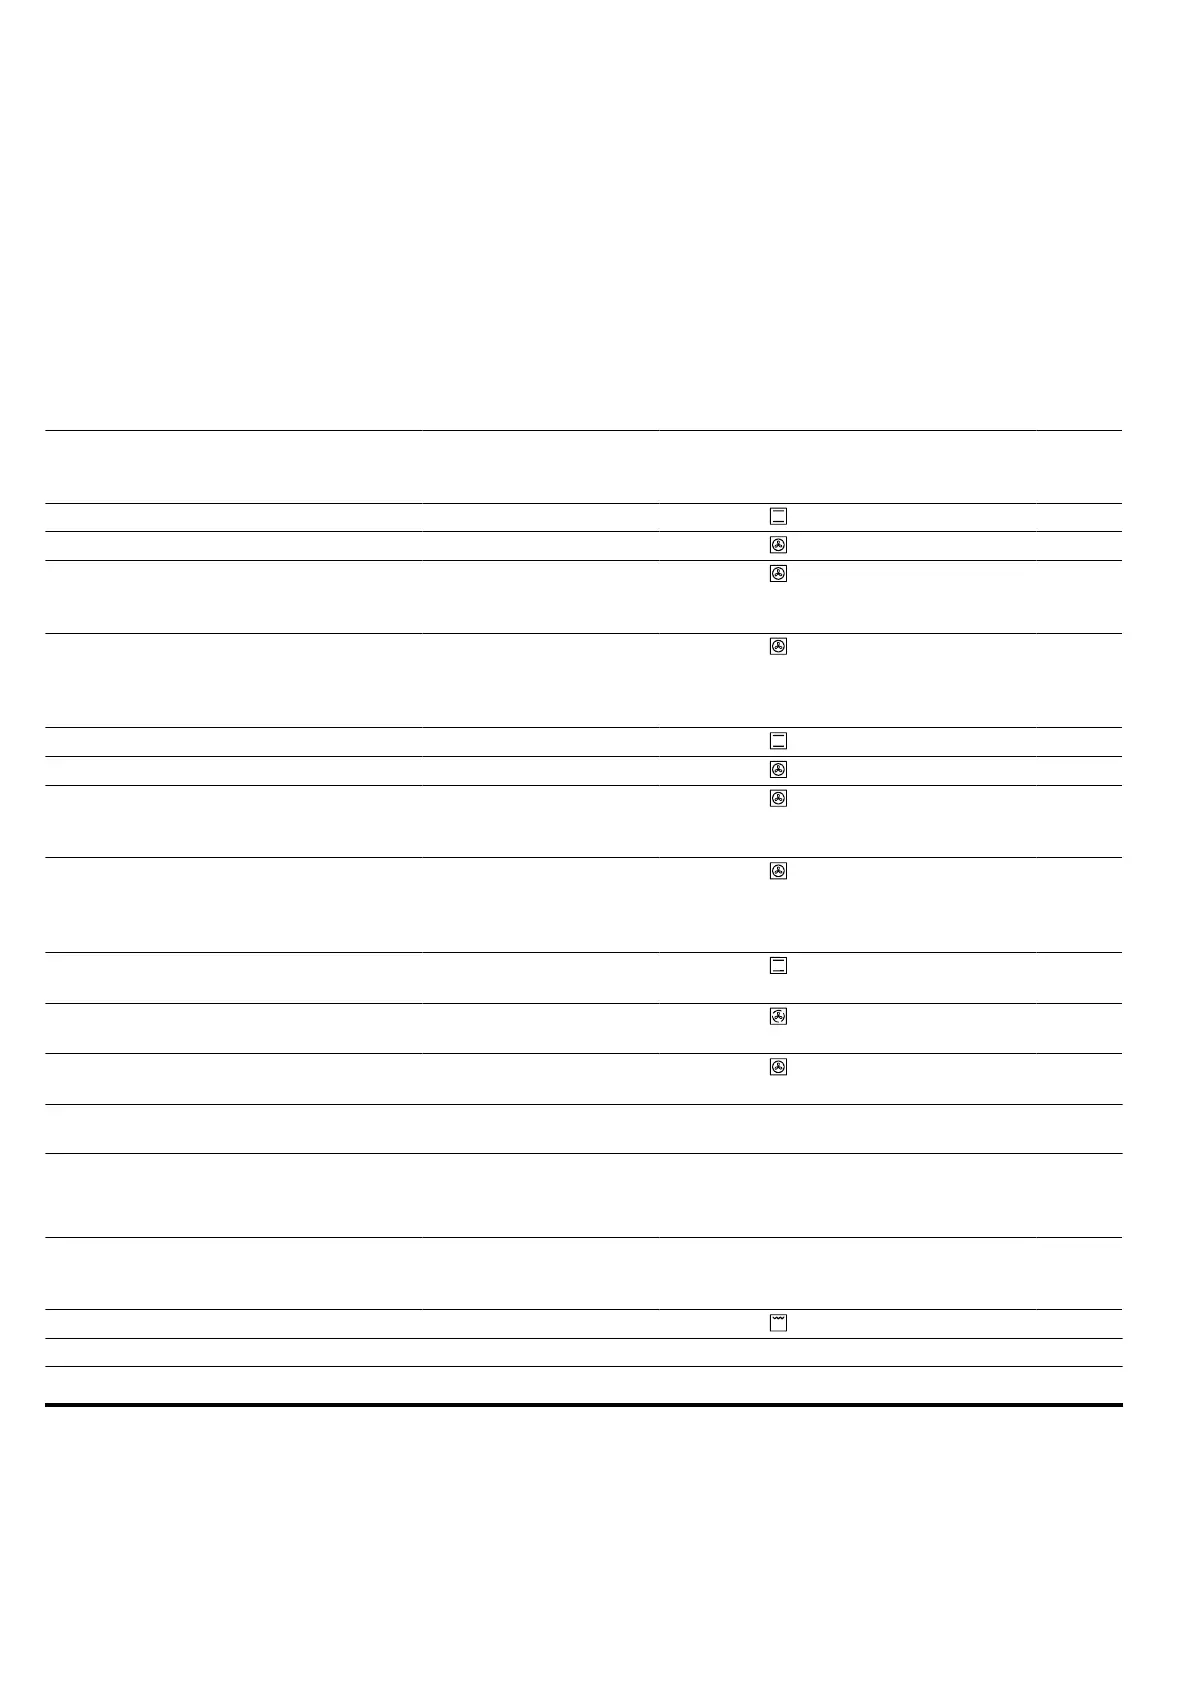
Recommended settings for baking
Food Accessories/cookware Shelf pos-
ition
Type of
heating
Temperature in
°C
Cook-
ing time
in mins
Shortbread Baking tray 3 140-150
1
25-35
Shortbread Baking tray 3 140-150
1
20-30
Shortbread, 2 levels Universal pan
+
Baking tray
3+1 140-150
1
25-35
Shortbread, 3 levels Universal pan
+
x 2
Baking tray
5+3+1 130-140
1
35-55
Small cakes Baking tray 3 150-160
1
25-35
Small cakes Baking tray 3 150
1
20-30
Small cakes, 2 levels Universal pan
+
Baking tray
3+1 150
1
25-35
Small cakes, 3 levels Universal pan
+
x 2
Baking tray
5+3+1 140
1
30-40
Hot water sponge cake Springform cake tin,
diameter 26 cm
2 160-170
2
25-35
Hot water sponge cake Springform cake tin,
diameter 26 cm
2 160-170 30-35
Hot water sponge cake, 2 levels Springform cake tin,
diameter 26 cm
3+1 150-160
2
35-50
1
Preheat the appliance for five minutes. Do not use the rapid heating function.
2
Preheat the appliance. Do not use the rapid heating function.
Recommended settings for grilling
Food Accessories/cookware Shelf pos-
ition
Type of
heating
Temperature in
°C/grill setting
Cook-
ing time
in mins
Toasting bread Wire rack 5 3
1
0.5–1.5
1
Preheat the appliance for five minutes. Do not use the rapid heating function.
18 Installation instructions
Observe this information when installing the appliance.
 Loading...