7
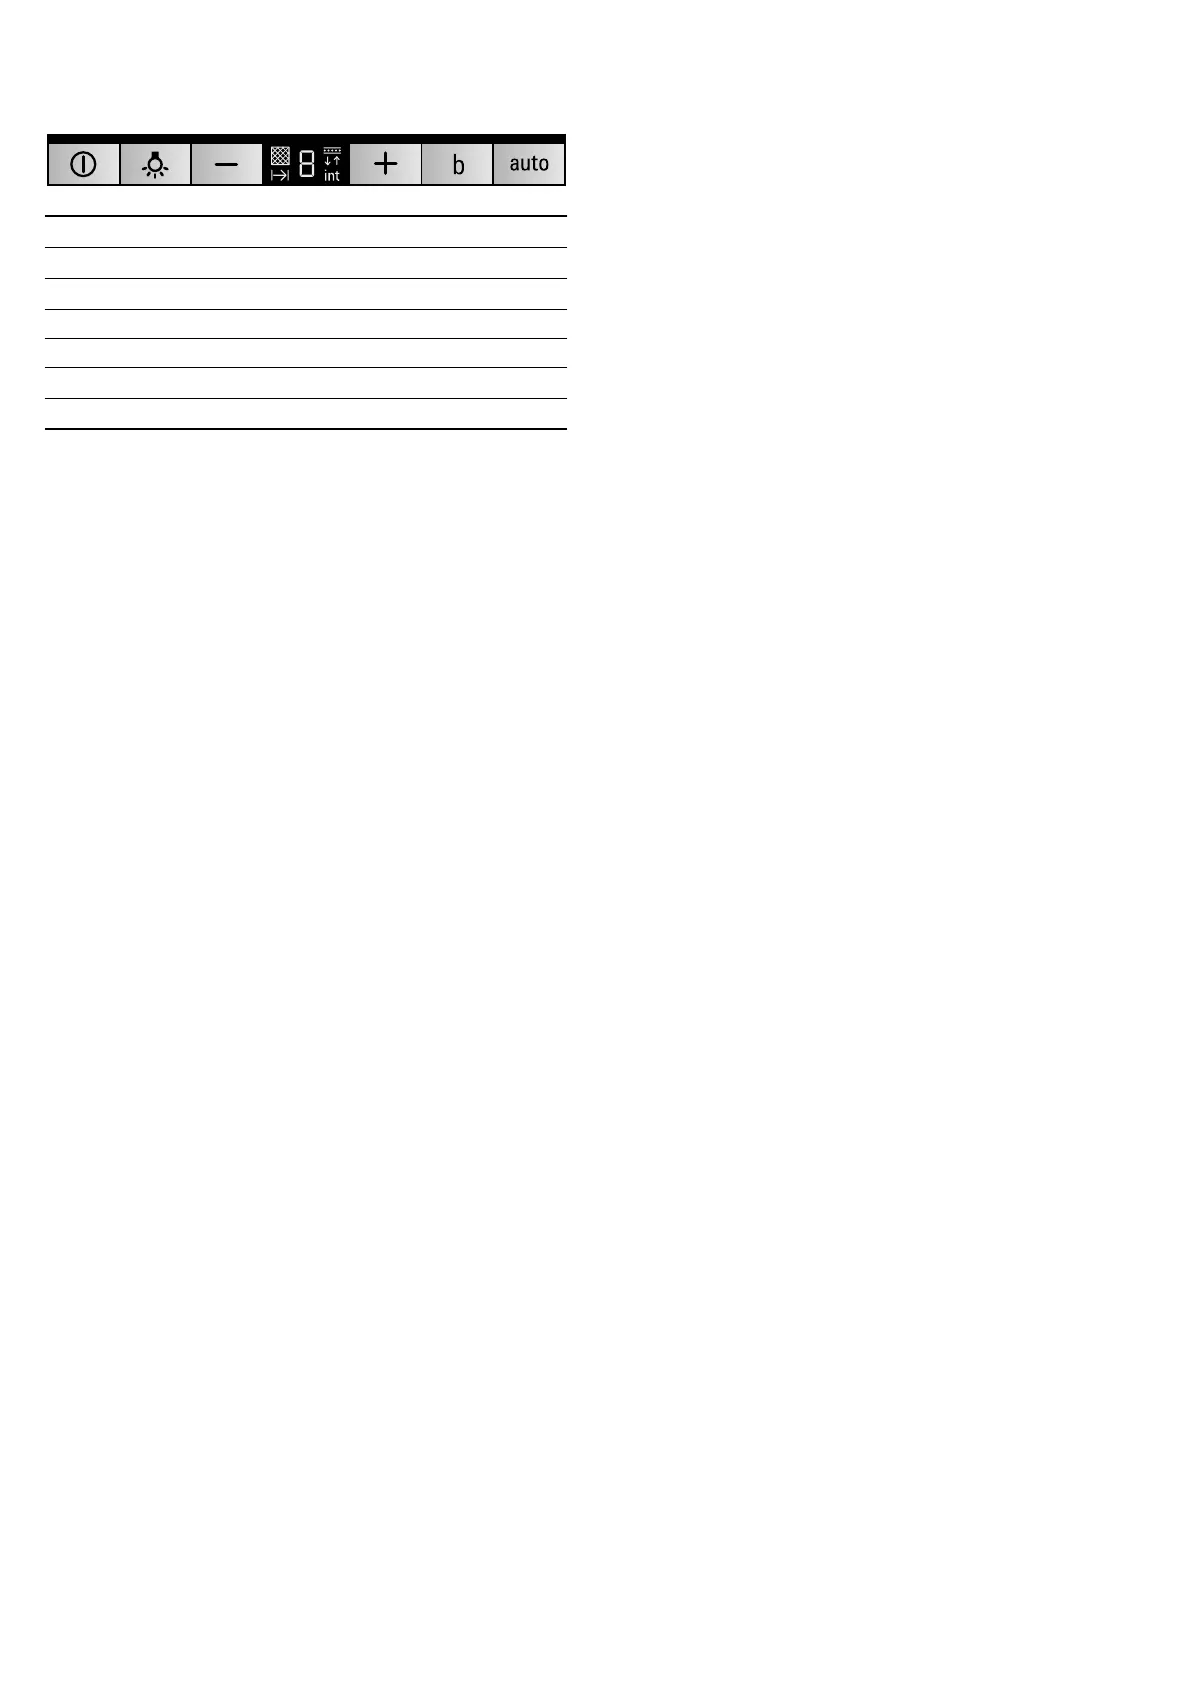
Control panel model 3
Control panel
Setting the fan
Switching on the appliance
■ Press the # button.
The fan starts at setting
ƒ.
■ Press the + or - button to change the fan strength.
Switching off
Press the
# button.
Intensive setting
You can use the intensive setting if there is a large build-up of
odours and fumes/vapours.
Press the + button when the fan is at setting
„.
The intensive setting
2‚ is activated. Pressing the + button
again activates the intensive setting
2 ƒ.
After approx. six minutes, the electronics automatically reduce
the fan to a lower setting . If you want to end the intensive
setting before the preset time expires, press the - button until
the required fan setting is reached.
Boost function
The boost function is a short-term maximum power setting
which can be activated in any fan setting.
Press the
& button. After approx. 20 seconds, the fan switches
back to the previously set fan setting.
Automatic mode
Switching on the appliance
■ Press the # button.
The fan starts at
ƒ setting.
■ Press the ! button.
The optimum fan setting
‚, ƒ or „ is automatically set via a
sensor.
Switching off the appliance
Press the
! or # button to switch off automatic mode.
The fan switches off automatically if the sensor no longer
detects a change in the air quality of the room.
The automatic mode lasts 4 hours at most.
Sensor control
In automatic mode, a sensor in the extractor hood detects the
intensity of the cooking and roasting fumes. Depending on the
setting of the sensor, the fan automatically switches to another
fan setting.
Default sensitivity setting:
†
Lowest sensitivity setting: ‹
Highest sensitivity setting: Š
If the sensor control responds too quickly or too slowly, it can
be changed accordingly:
1. When the fan is switched off, press the ! button and hold it
for approx. 4 seconds. The setting is displayed.
2. The setting of the sensor control is changed by pressing the
+ or – button.
3. To confirm the entries, press and hold the ! button for
approx. 4 seconds.
Lighting
The lighting can be switched on and off independently of the
fan.
Press the
A button.
Setting the brightness
Press and hold the
A button until the desired brightness is
reached.
Saturation display
When the metal mesh grease filters or the activated carbon
filter are saturated, a signal sounds for approx. 4 seconds after
the fan is switched off.
In addition, the corresponding symbol appears in the display:
■ Metal mesh grease filter:!
■ Activated carbon filter: "
If you have not yet done so, the metal mesh grease filters
should be cleaned or the activated carbon filter changed now.
For instructions on how to clean the metal mesh grease filters,
please refer to the section Cleaning and maintenance.
While the saturation displays are flashing, they can be reset. To
do this, press the – button.
Switching over the display for circulating-air mode
For circulating-air mode, the electronic control display must be
switched over accordingly:
■ The extractor hood must be connected and switched off.
■ Press the # and ! buttons at the same time until the
™"display for starter sets for circulating-air mode or
’" display for CleanAir circulating air modules
lights up.
■ Repeatedly press the button combination to switch the
electronic control display back to exhaust air mode (
!
display).
Audible signal
Switching on the acoustic signal
When the fan is switched off, press the
# and + at the same
time for approx. three seconds. An acknowledgement signal
sounds.
Switching off the acoustic signal
Repeat the "Switching on the acoustic signal" process.
Explanation
#
Fan on/off
A
Light on/off/dimming
- Reduce the fan settings
+ Increase the fan settings/intensive setting 1, 2
&
Boost function (short-term maximum power)
!
Automatic mode with fan run-on time
 Loading...