OpenAir™ GLB Enhanced Non-Spring Return Rotary Electronic Damper Actuator Technical Instructions
Document Number 155-785
January 20, 2017
Siemens Industry, Inc. Page 13
WARNING:
Do not open the actuator.
If the actuator is inoperative, replace the unit.
Start-Up/
Commissioning
24 Vac/dc
Two-position/
Floating 24 Vac/dc
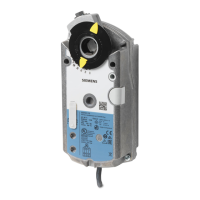
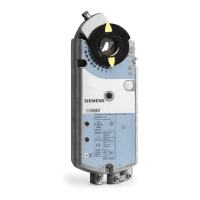
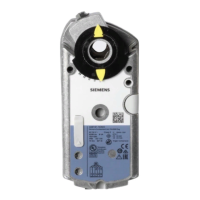
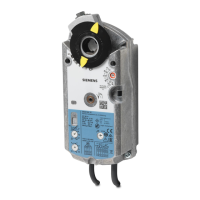
GLB14x
1. Connect a Digital Multimeter (DMM) to the supply voltage wires.
2. Verify that the supply voltage is between 19.2 and 28.8 Vac/dc.
3. Turn off the power supply.
Check Operation:
1. Connect all wires per Figure 18.
2. Apply a control signal (24 Vac/dc) to wires 1 (red) and 6 (violet).
3. Allow the actuator shaft coupling to rotate from 0° to 90°.
4. Stop applying the control signal to wires 1 (red) and 6 (violet).
5. Apply a control signal (24 Vac/dc) to wires 1 (red) and 7 (orange).
6. Allow the actuator shaft coupling to rotate from 90° to 0°.
Check Auxiliary Switch A:
1. Set the DMM dial to ohms (resistance) or continuity check.
2. Connect wires S1 and S3 to the DMM. The DMM should indicate open circuit or no
resistance.
3. Apply a control signal (24 Vac/dc) to wires 1 (red) and 6 (violet). The DMM should
indicate contact closure as the actuator shaft coupling reaches the setting of Switch A.
4. Stop applying the control signal to wires 1 (red) and 6 (violet).
5. Connect wires S1 and S2 to the DMM. The DMM should indicate open circuit or no
resistance.
6. Apply a control signal (24 Vac/dc) to wires 1 (red) and 7 (orange). The DMM should
indicate contact closure as the actuator shaft coupling reaches the setting of Switch A.
Check Auxiliary Switch B:
1. Set the DMM dial to ohms (resistance) or continuity check.
2. Connect wires S4 and S6 to the DMM. The DMM should indicate open circuit or no
resistance.
3. Apply a control signal (24 Vac/dc) to wires 1 (red) and 6 (violet). The DMM should
indicate contact closure as the actuator shaft coupling reaches the setting of Switch B.
4. Stop applying the control signal to wires 1 (red) and 6 (violet).
5. Connect wires S4 and S5 to the DMM. The DMM should indicate an open circuit or no
resistance.
6. Apply a control signal to wires 1 (red) and 7 (orange). The DMM should indicate contact
closure as the actuator shaft coupling reaches the setting of Switch B.
 Loading...