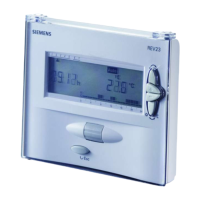
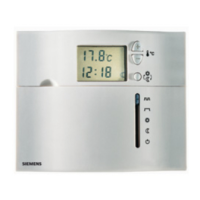
2 Accessing the expert level
Move the selector slider to the RUN position and press simultaneously and for 3 seconds, then release the buttons and, within 3
seconds, press simultaneously
and for 3 seconds, release and keep depressed for another 3 seconds. This enables you to
access the expert level for making the settings on that level.
on display (also refer to Fig. G).
Starting with code 00, the display shows the choice of languages. Navigation on the expert level is made possible with and . Confirm
the settings by pressing
.
The expert level is quit by pressing the operating mode selection button .Code list
Function block Code Name Factory setting Your setting
Language English 00
01 Sensor calibration off
Basic settings
Switching differential 0.5 °C 02
Illumination time 10 seconds 10
11 Background brightness 0
LCD settings
Contrast 12 0
Time zone
Deviation from time signal
received from Frankfurt
(Central European Time CET)
0 hours 30
(refer to Note 1)
31
Start of summer time
(refer to Note 2)
March 31 (31-03)
Clock settings
End of summer time
October 31 (31-10) 32
(refer to Note 3)
Note 1:
If the radio clock is not active or not present, this setting has no impact.
With the radio clock active, the time signal received from Frankfurt is shifted by the value set under code 30 (time zone).
Note 2:
If the radio clock is not active or not present, the time change always takes place at 02:00 on the Sunday before the set date.
With the radio clock active, the time change is shifted by the value set under code 30 (time zone).
Note 3:
If the radio clock is not active or not present, the time change always takes place at 03:00 on the Sunday before the set date.
With the radio clock active, the time change is shifted by the value set under code 30 (time zone).
3 Function check 4 Reset
g) Check the display. If there is no display, check the batteries
User-defined settings:
Press simultaneously
h) “Continuously Comfort mode“ , read the temperature
displayed
i) REV.. in heating mode: Set the temperature setpoint to a level
above the displayed room temperature (see operating
instructions).
REV.. in cooling mode: Set the temperature setpoint to a level
below the displayed room temperature (see operating
instructions).
j) The relay and thus the actuating device must respond within
1 minute. Symbol
▲ appears on the display. If not:
• Check actuating device and wiring
• In heating mode, the room temperature is possibly higher
than the adjusted temperature setpoint, in cooling mode
possibly lower
k) Set temperature setpoint of “Continuously Comfort mode“
to
the required level
l) Select the required operating mode
, and for 3 seconds:
All temperature and time settings of the slider positions are reset to
their default values (refer to section “Factory settings“ in the
operating instructions). The settings made on the expert level will
remain unchanged.
The clock starts at 12:00, the date on 01-01-08
(01 - January - 2008). During the reset time, all sectors of the
display are illuminated and can thus be checked.
All user-defined settings plus those made on the expert level:
Press simultaneously the DIP switch reset button,
and
for 5 seconds:
After this reset, all factory settings will be reloaded. This applies to
both the slider settings and the settings made on the expert level.
Notes
• The controller is classified as a device of software class A and
designed for use in environments with normal degree of
pollution
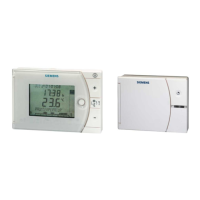
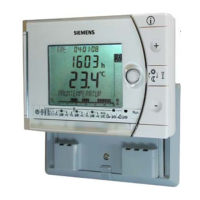
• REV24RF/SET is a set of units consisting of electronic room
temperature controller with 7-day time switch, RF transmitter
(REV24RF..) and RF receiver (RCR10/868)
10/29 13.12.2007 CE1G2206xx
 Loading...