First commissioning steps
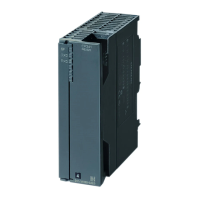
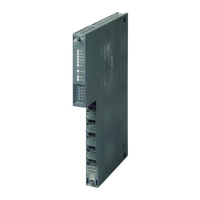
CP 340 first commissioning steps
1-2 Getting Started, 04/2005, A5E00442606-01
Install CP 340 and connect with the communication partner
1. Plug the connector supplied with the CP 340 into the bus connector of the CPU.
2. Mount the CP 340 on the rail, tilt it downwards and then screw it tight.
3. Use the connecting cable to create a connection between the CP 340 and your
connection partner. Refer to the manual for the assignment of the interface connector.
Test: Switch on the voltage on the power supply module.
After the initialization phase, the SF LED of the CP 340 illuminates.
Configure the CP 340
1. Open your project in the SIMATIC Manager.
2. In your project, call the HWCONFIG configuration table.
3. From the hardware catalog select the CP 340 with the correct MLFB and mount it in the
intended slot.
4. By double clicking on the CP 340 you open the "Properties CP 340" screen.
5. Under "Address" note the module address (in the example this is 288 --> 120 Hex). You
may need this value when integrating in your user program, where applicable.
6. Click on the Parameter button and select the protocol "3964(R)". Double click on the
Envelope.
7. Accept the configuration dialog box by clicking on the OK button with the default setting
9600 Bit/s, 8 data bits, 1 stop bit, parity even, priority low.
8. Save the configuration with File → Save and exit the configuration dialog box with File
→ Exit. In the "Properties CP 340" dialog box, click on the OK button.
9. Save the configuration you have created with Station → Save and Compile in your project.
10. Transfer the configuration in the STOP mode of the CPU with PLC → Download to
module.
11. The data are transferred directly to the CPU and the CP 340. The SF LED goes out to
indicate the successful completion of downloading.
12. Use Station → Exit to close HW Config.
该文档是极速PDF编辑器生成,
如果想去掉该提示,请访问并下载:
http://www.jisupdfeditor.com/
 Loading...